Make your own supplies from household items using these 20 Recycled Crafts That Are Very Useful that’s are so easy and fun-making projects for all ages. You can make brand new things using old things lying in the house. Kids will also love to make these amazing art projects for the garden and their living room. You can create amazing accessories from waste material, at home. This can also help your kids to make for classroom project. Lost of waste is generated at home such as diy pencil holders, tissue paper Mason Jars, DIY onesies, and many more.
To create something new from the old, recycling, is the best way to reduce one’s footprint. You can use these craft ideas to decorate your home and garden. You can make useful things at home from waste material to decorate your home such as table lamps, showpieces, and flower vases from used bottles. A variety of homemade decorative items can be crafted from the solid waste in your home. Here is the list of the best easy crafts to create something useful and extraordinary for your home.
1. Decorating Glass Pickle Jars
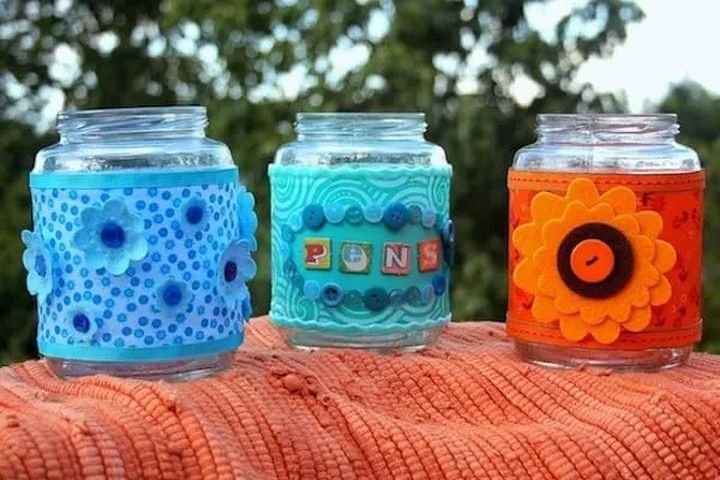
A quick and inventive approach to upcycle glass pickle jars and make them into ornamental items for your house is to decorate them. Clean pickle jars, acrylic paint, a brush, and some string are required to make this project. After the jars have dried and been painted in the colours you want, tie some twine around the jar’s neck. These jars may be used as vases, candlesticks, or standalone ornamental items. Tutorial
2. Recycled Storage
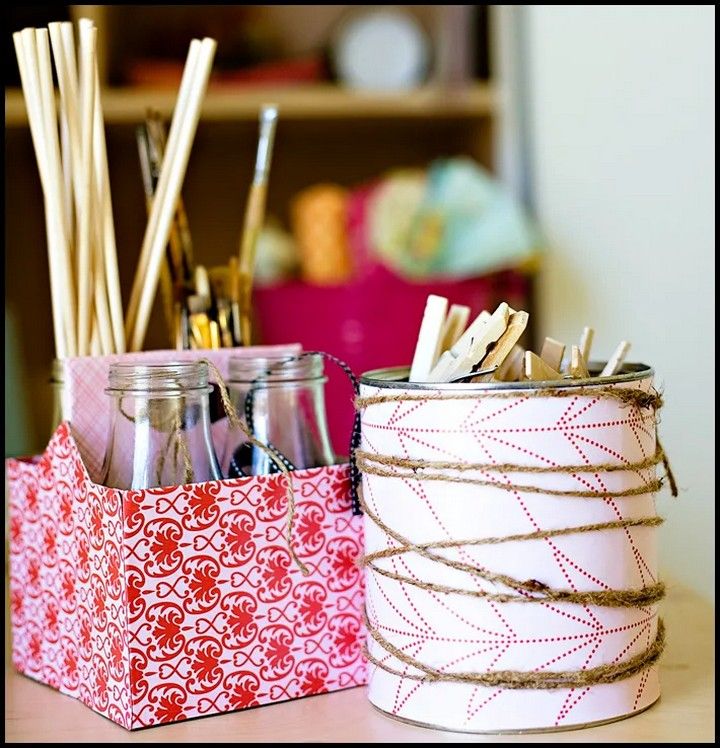
Recycling storage is the process of turning trashed or unwanted materials into functional storage for your house. This may entail making use of materials like cardboard boxes, plastic containers, and wooden crates that would often be recycled or thrown away. These supplies allow you to make one-of-a-kind storage options that are inexpensive and eco-friendly. Recycled storage concepts include utilising old mason jars to arrange craft items, turning an old ladder into a bookcase or building a wall-mounted shoe rack out of a wooden pallet. Tutorial
3. Cereal Box Notepads
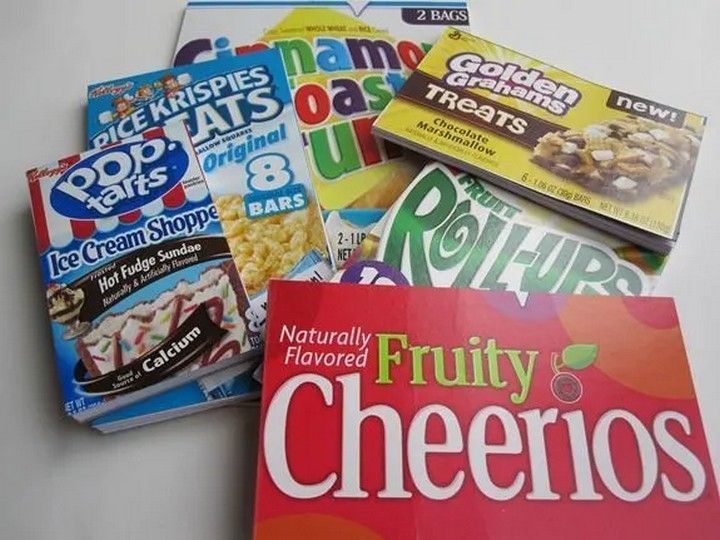
Cereal box notepads are a quick and environmentally responsible craft that upcycles used cereal boxes into useful notepads. You’ll need cereal boxes, scissors, paper, and glue to construct these notepads. Simply cut a stack of paper to the appropriate size, glue it to the cereal box, and let it dry. To add some unique flare, you may personalise the notebook with markers or stickers. These notepads are ideal for making to-do lists, grocery lists, and other lists. Tutorial
4. DIY Pencil Holder
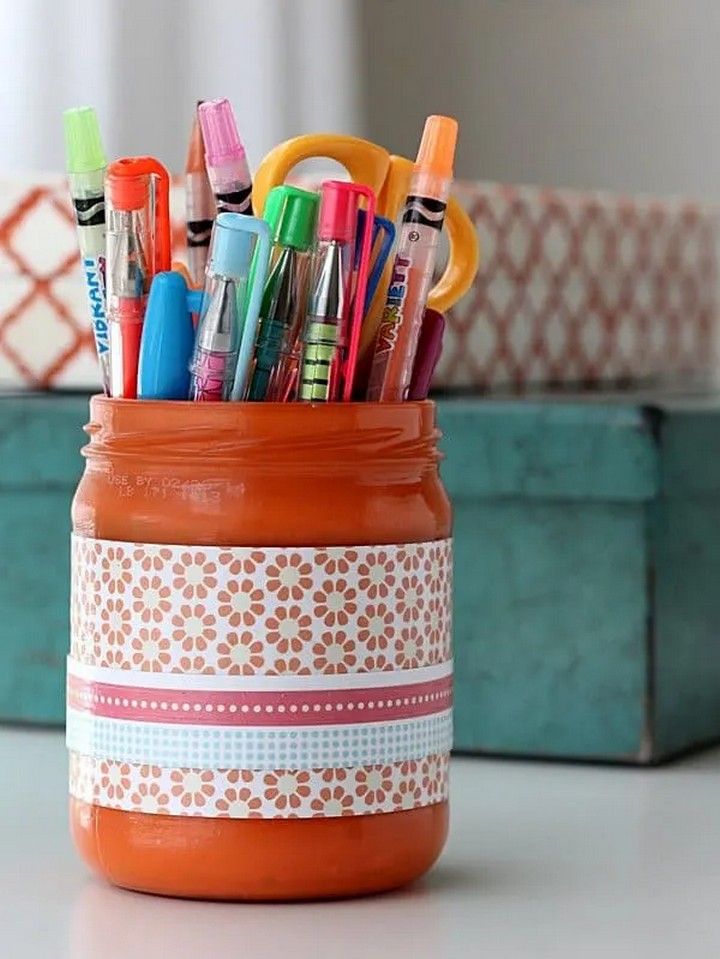
Making your own pencil holders is a terrific way to personalise your workstation and keep your desk organised. You’ll need a clean tin can, acrylic or spray paint, and any extra embellishments you choose, such washi tape, stickers, or ribbon, to build one. The can should first be cleaned and dried before being painted the colour of your choice. Once dry, finish the project by adding any desired decorations. This activity is terrific for both adults and children and is a fantastic way to reuse empty cans. Tutorial
5. DIY Onesies
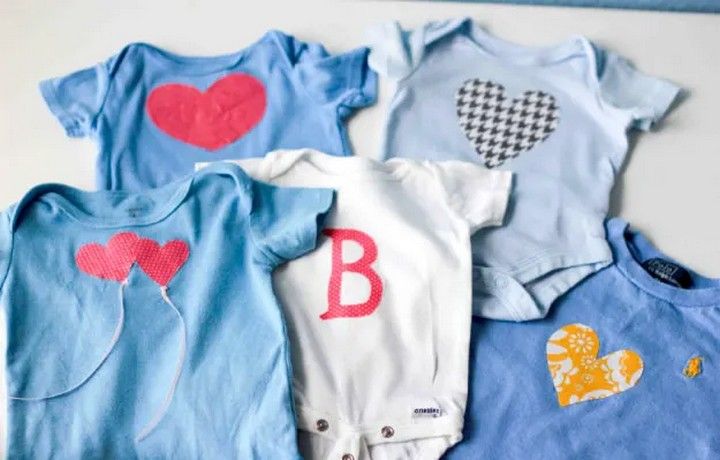
Onesies made by hand are customised and one-of-a-kind for infants or toddlers utilising a variety of tools, including fabric markers, iron-on transfers, stencils, paint, and appliques. Onesies may be personalised by parents or carers with amusing patterns, words, or photographs, making them ideal for special occasions, presents, or regular use. Tutorial
6. Tissue Paper Mason Jar Centerpieces
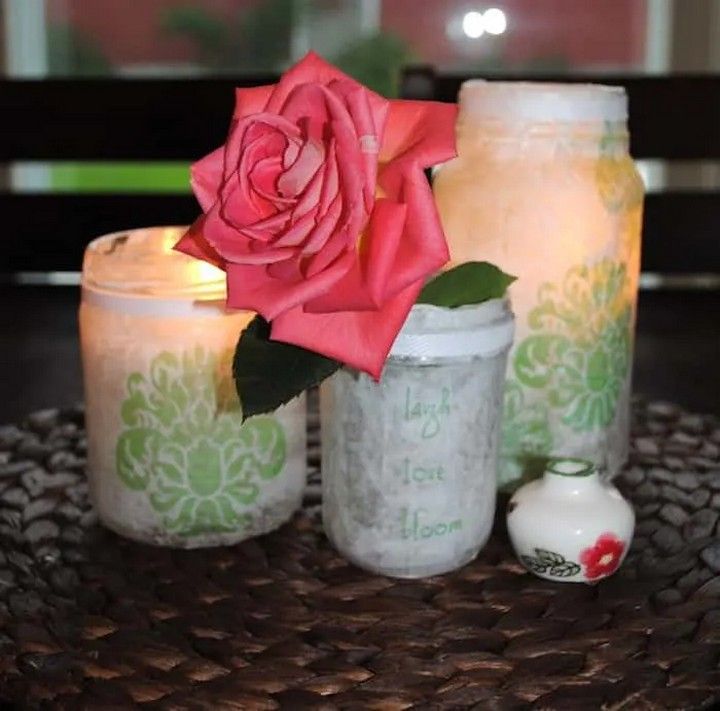
Mason jars are covered with colourful tissue paper to create Tissue Paper Mason Jar Centrepieces, which are DIY ornamental items. These jars may serve as the centrepieces for gatherings like weddings and celebrations. With the help of glue or decoupage media, the tissue paper is adhered to the jars and may be customised by being cut into different sizes and shapes. The outcome is a cheap and simple to construct centrepiece that is colourful and eye-catching. Tutorial
7. Mod Podge Paper Mache Bowls
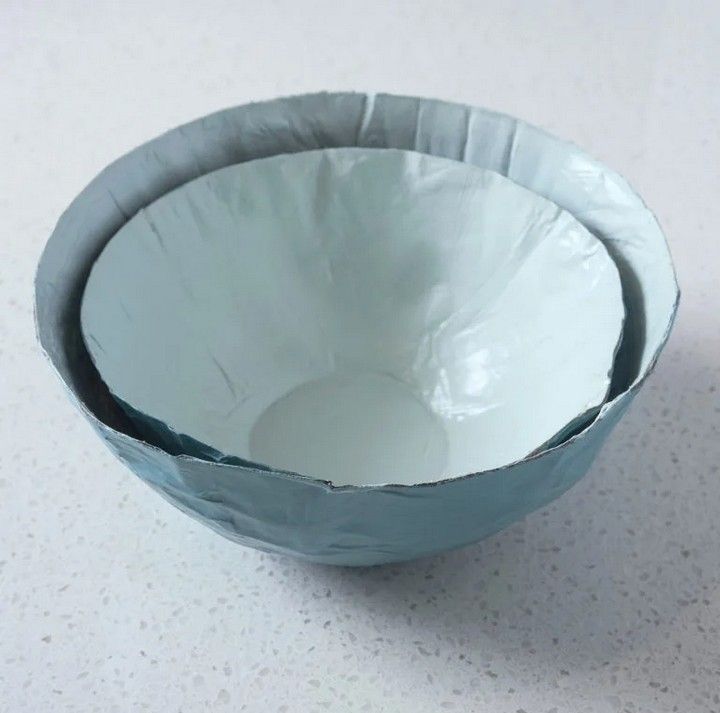
Anyone can complete the easy and enjoyable craft project of making Mod Podge Paper Mache Bowls. You’ll need tissue paper in the colours you want, paper mache bowls, Mod Podge, and paintbrushes. Simply cut the tissue paper into small pieces, cover the bowl with Mod Podge, and then cover that with the tissue paper. Finish by covering the tissue paper with Mod Podge to seal it. These bowls look fantastic displayed or kept in storage. Tutorial
8. Decoupage Candle Holder
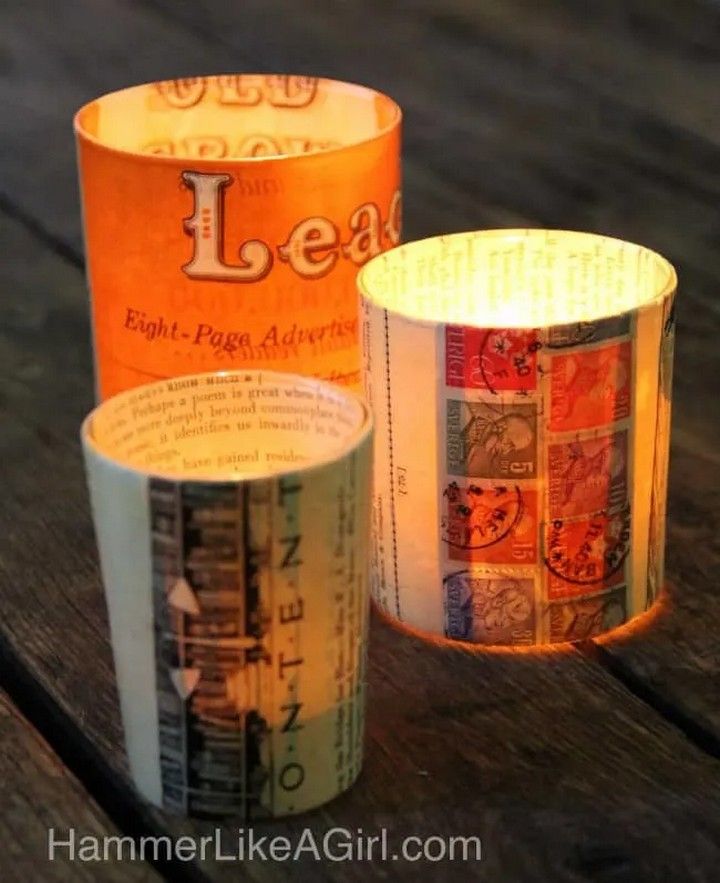
Decoupage is a crafts method where paper or fabric is cut out and adhered to a surface to produce a decorative look. A candle holder is covered with a layer of ornamental paper or fabric using decoupage adhesive to create a decoupage candle holder. As a result, a one-of-a-kind, personalised candle holder is made, which may be used for home décor or given as a present. Tutorial
9. Candlestick Holders Out of Crib Parts
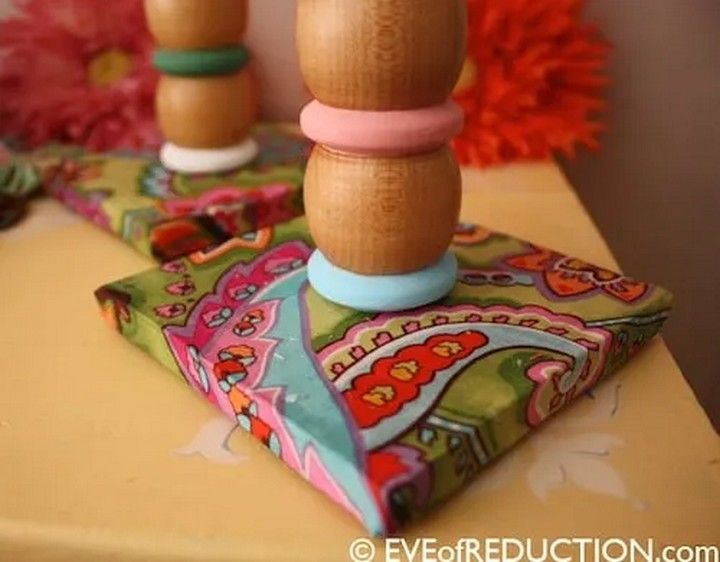
Creating candlestick holders out of crib parts is a simple and unique way to repurpose old crib parts. The process involves removing one side of the crib and cutting it into four sections, which are then sanded, painted, and assembled into candlestick holders. This DIY project is perfect for those who enjoy upcycling and want to add a personalized touch to their home decor. Tutorial
10. Mod Podge Magazine Art
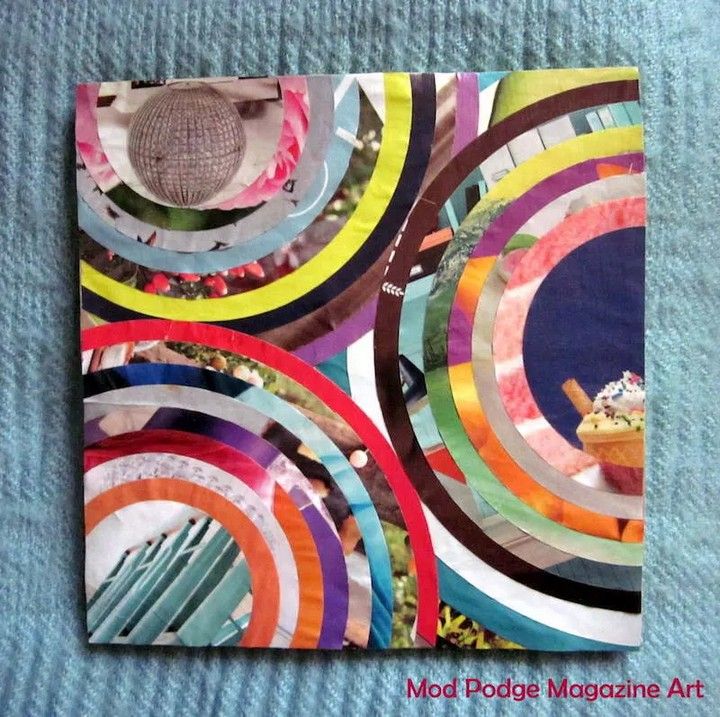
Adhesive Magazine Art is a simple and enjoyable activity that transforms used magazines into stunning and one-of-a-kind pieces of art. You’ll need magazines, Mod Podge, a canvas, and a paintbrush to do this project. Arrange the phrases and images you cut out of the magazines on the painting. For a glossy finish, add Mod Podge over the top with a brush. You may hang the magnificent collage that is the end product on your wall. Tutorial
11. Mod Podge a Cardboard Box
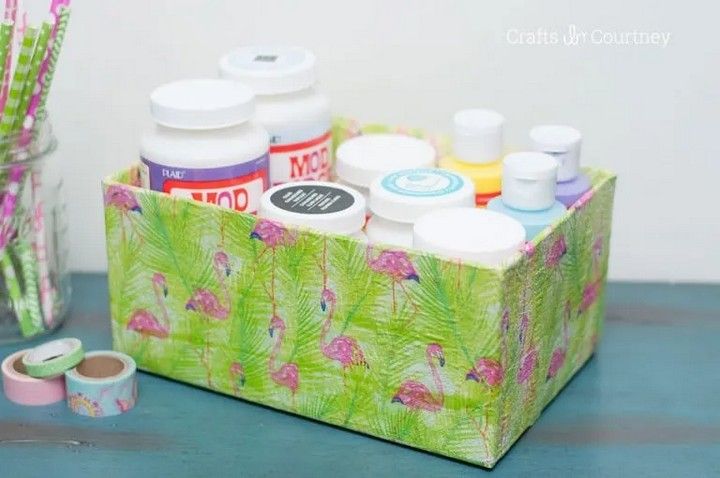
A popular water-based sealant, adhesive, and finish used in crafts is called Mod Podge. Cardboard boxes are among the surfaces that may be embellished and customised using Mod Podge. A cardboard box, Mod Podge, a brush or sponge applicator, and ornamental paper or fabric are all need to Mod Podge a cardboard box. Put the paper or fabric on top of the cardboard box and secure it in place by applying a coating of Mod Podge, followed by another layer of Mod Podge. Before utilising the box, let the Mod Podge finish drying. Tutorial
12. Spoon Garden Markers on a Budget
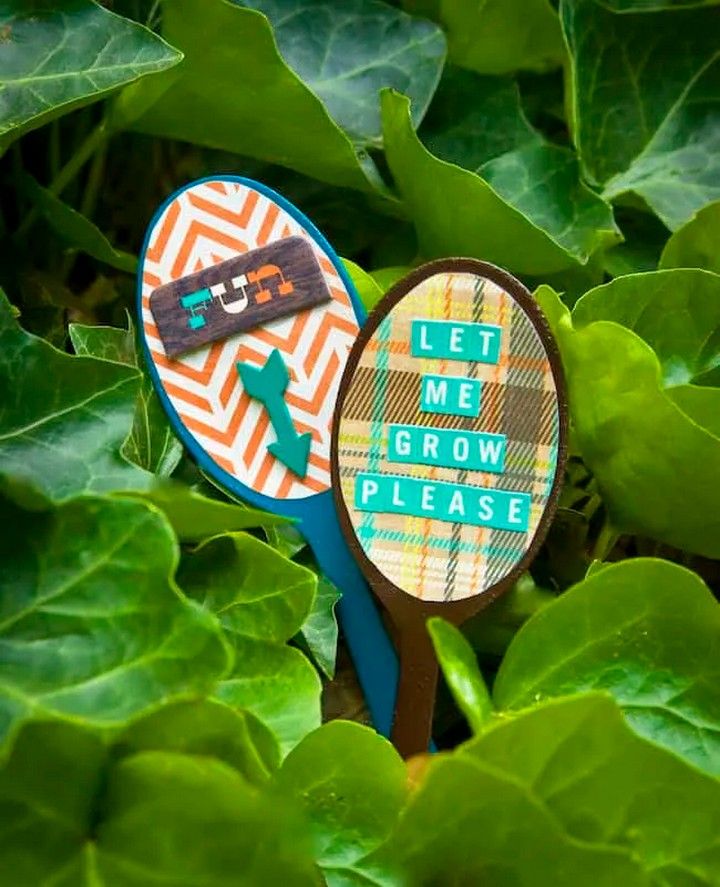
A simple and inexpensive way to give your yard some individuality is using spoon garden markers. A few wooden spoons, acrylic paint, and a permanent marker are all you need. Write the names of the plants on the spoons after painting them in the colours of your choice. Place them in the soil close to your plants and take pleasure in the unique touch they provide your landscape. Tutorial
13. Whirlygig Pins
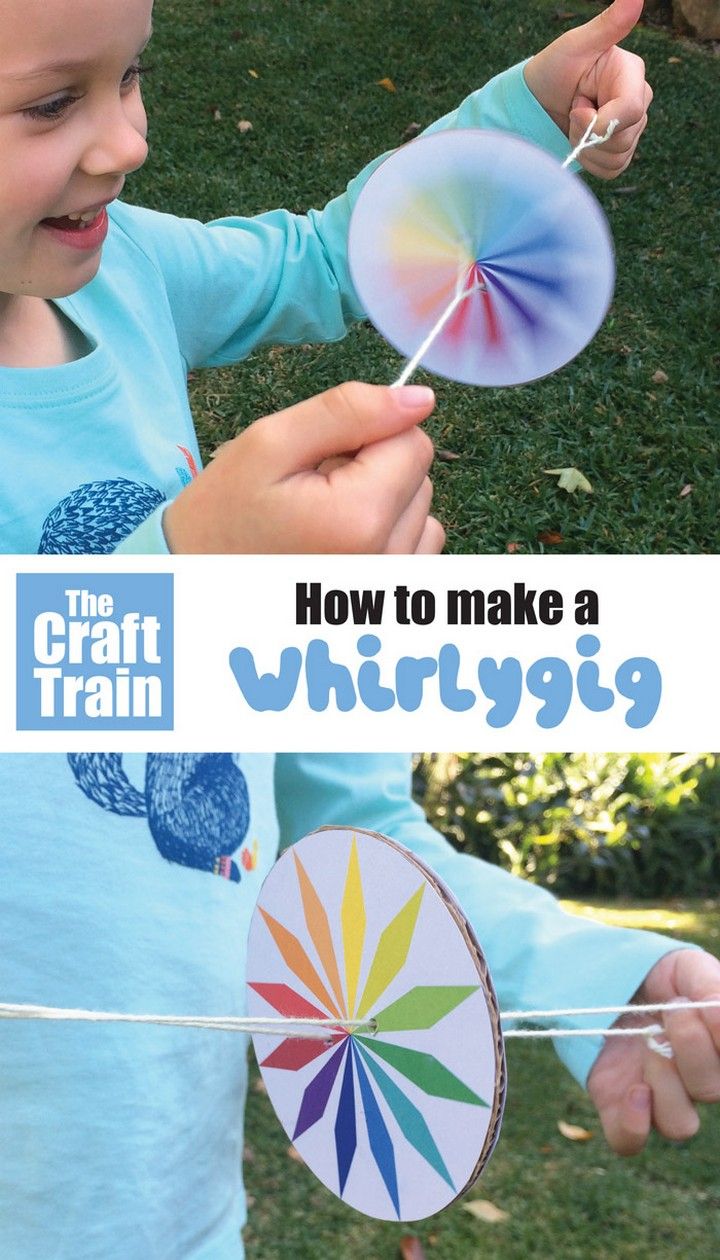
Whirlygig Pins are tiny, vibrant pins that revolve in a circle. They are frequently used as a whimsical and ornamental addition to garments, luggage, and caps. With a few simple materials, such as tiny plastic or metal discs, vibrant paper, glue, and pins or clips, Whirlygig Pins can be made with ease. Tutorial
14. Cardboard Rainbow Wings Pin
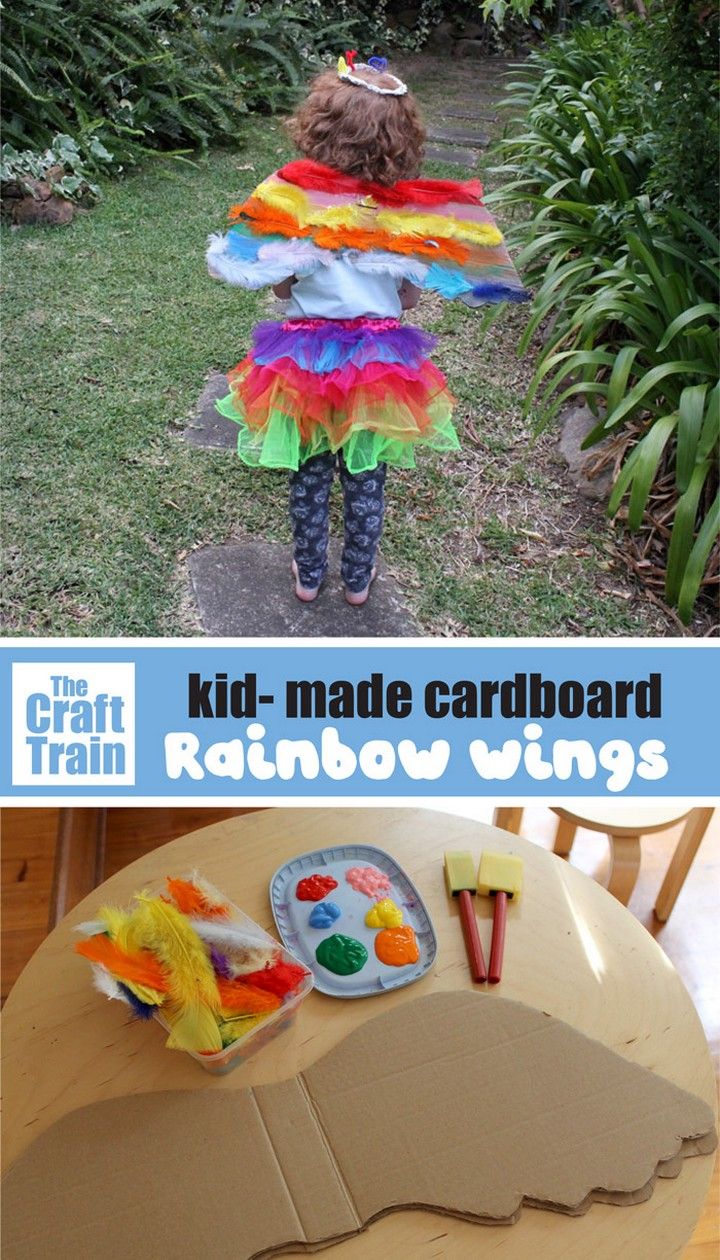
Kids might enjoy making the cardboard rainbow wings pin since it’s simple and straightforward to do. You will need cardboard, paint, glue, and a pin backing to build it. Cardboard wings that have been cut into layers and painted in a rainbow of hues. Your rainbow wings pin is ready to wear once you’ve attached a pin backing to the back of the wings. Tutorial
15. Cereal Box Bookmarks
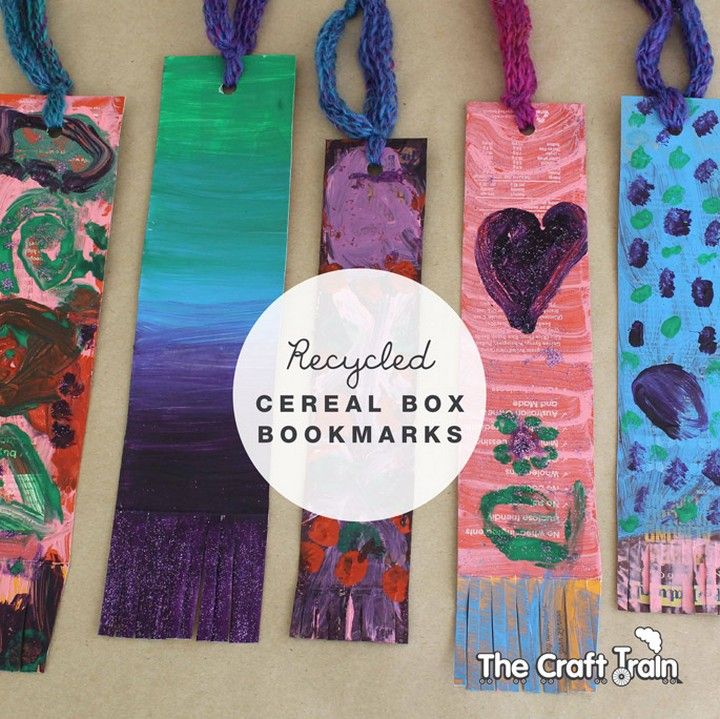
Bookmarks fashioned from recycled cereal boxes are known as cereal box bookmarks. The cardboard is then drawn on, covered with stickers, or otherwise embellished after being cut into the proper size. To make a tassel, a hole is pierced in the top and a string or ribbon is threaded through. Tutorial
16. Monster Munch Sight Word Game
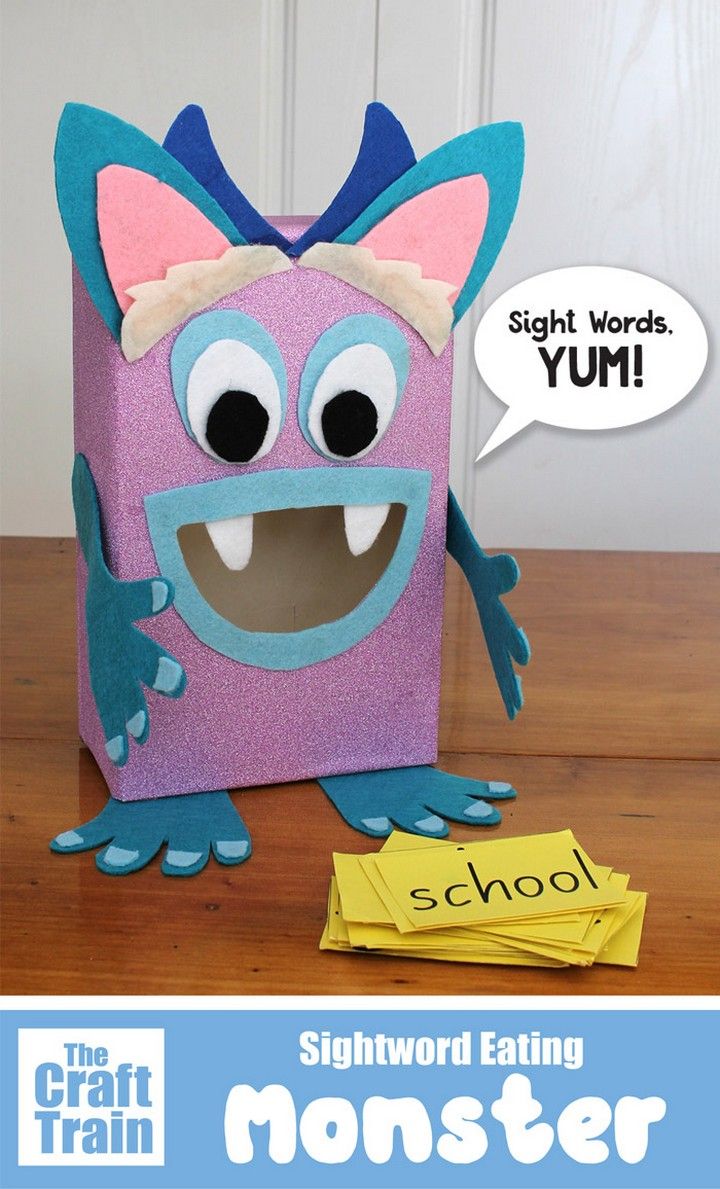
Children may practise reading and identifying sight words by playing the educational game Monster Munch Sight Word Game. The game’s “monster” is a tissue box with a mouth cut off, and the “food” is paper with sight words printed on it. By reading the sight word on the food and depositing it into the monster’s mouth, kids take turns “feeding” the monster. Tutorial
17. DIY Solar Oven from Cardboard Box
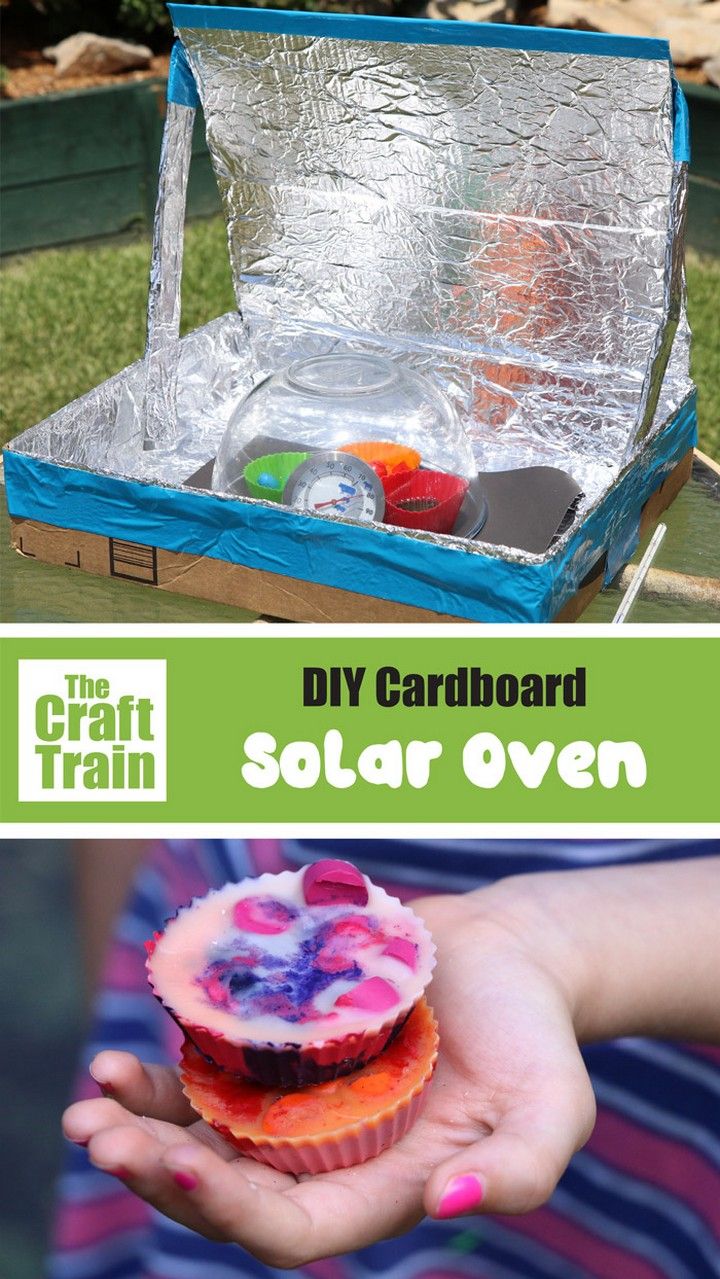
An oven that cooks or heats food using solar energy is referred to as a DIY solar oven. Aluminium foil, a cardboard box, and other common items may be used to make it. To retain heat, a transparent plastic sheet and foil are used to line the cardboard box. The box contains food, which is heated by the sun’s rays as they are focused on it. Kids may learn about solar power and sustainability via this entertaining and instructive activity. Tutorial
18. Egg Carton Train
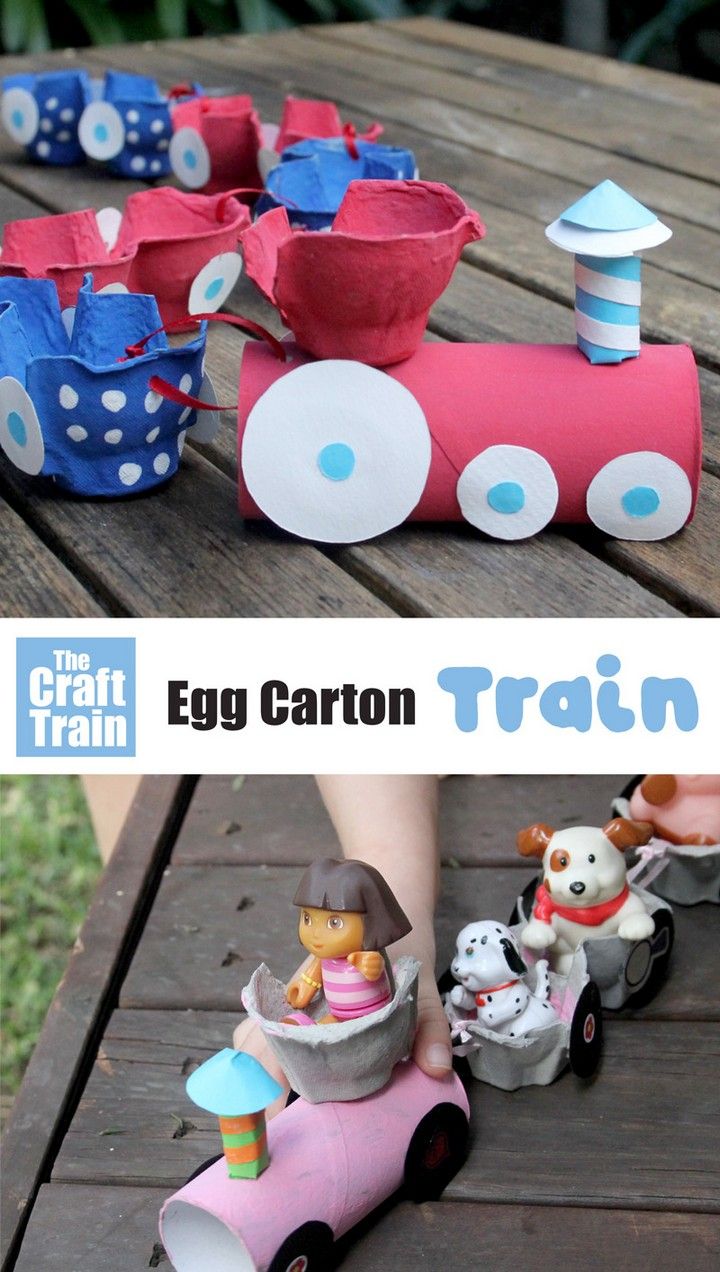
DIY Egg Carton Train is a simple and enjoyable children’s hobby. Egg boxes, scissors, glue, and paint are all you need. Egg cartons are transformed into railroad carriages by cutting, painting, and glueing them. Your egg carton railway is complete once you’ve added finishing touches like wheels and a chimney! Tutorial
19. Egg Carton Spider Puppets
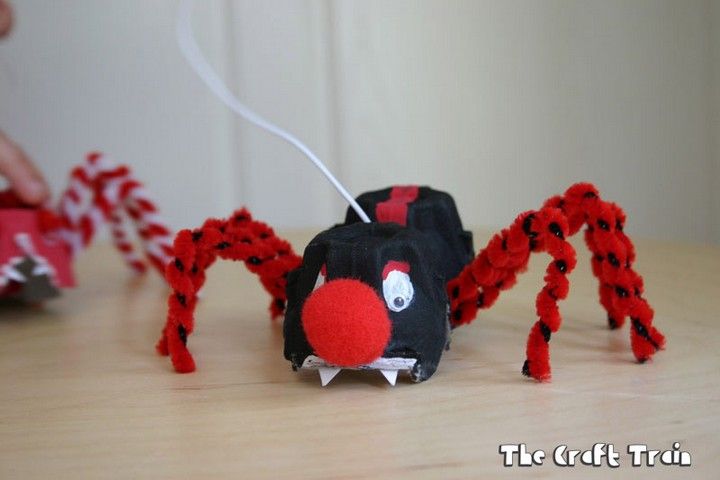
These simple and entertaining egg carton spider puppets are great for kids to create their own scary crawlies! Perfect for Halloween decorations or pretend play. Tutorial
20. Light Up Reef Craft
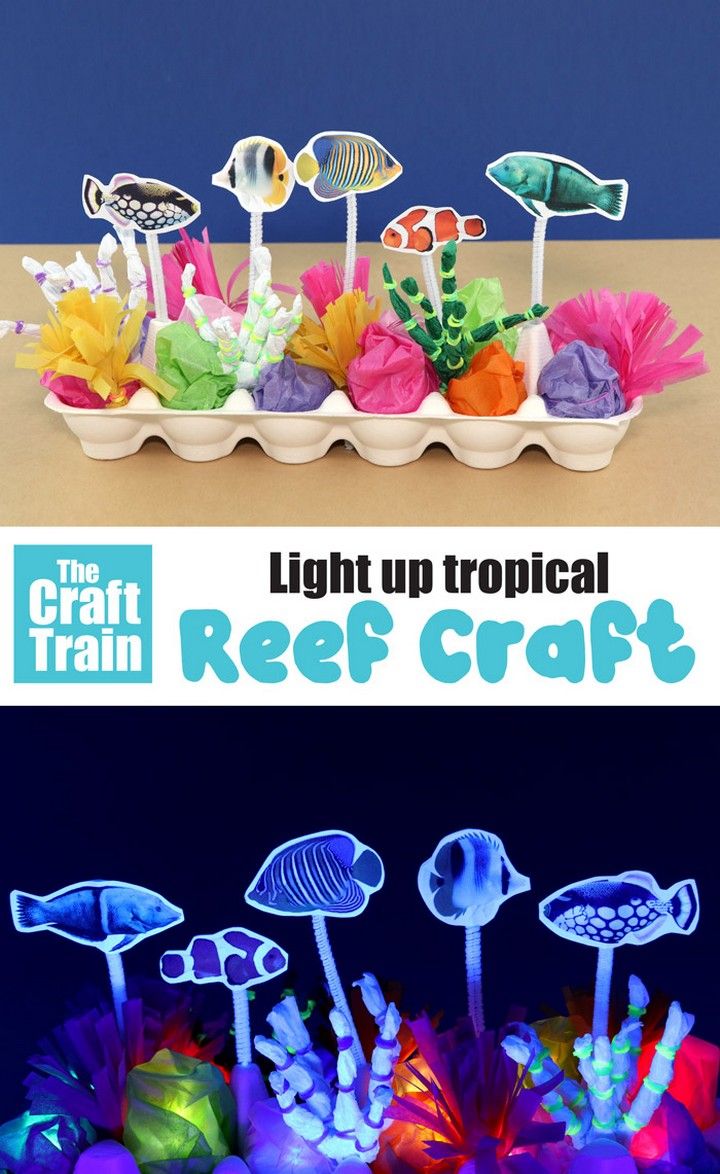
A creative project called a light-up reef craft entails creating a stunning underwater landscape with vibrant coral reefs, marine life, and LED lights. The many elements of the reef and sea life are often created using materials like paper, foam, and paint. Once the scene is prepared, tiny LED lights can be added to illuminate the reef at night and create the appearance of bioluminescent creatures. Tutorial


