Try out these 22 DIY Paper Towel Roll Crafts for perfect boredom busters, which are so easy and fun-making projects for all ages especially for your kids. For this project apple barrel and folk art paint are perfect to use with your kids because they are safe and water-based for easy cleanup. You can make fun of Halloween Monsters with your kids using paper towels. These paper towel crafts look pretty and amazing.
There are various ways to use paper towel crafts to make different stuff by rescuing empty paper towel rolls from the trash. You can make a cable organizer using a few paper towels and a plastic bin. Your kids will love paper towels because they are inexpensive and they are an amazing way to transform a simple material into magical fun. You can make gift boxes, rainsticks, cardboard snakes, advent calendars, bowling games, and many more using paper towel roll crafts.
1. Polka Dot Paper Lanterns
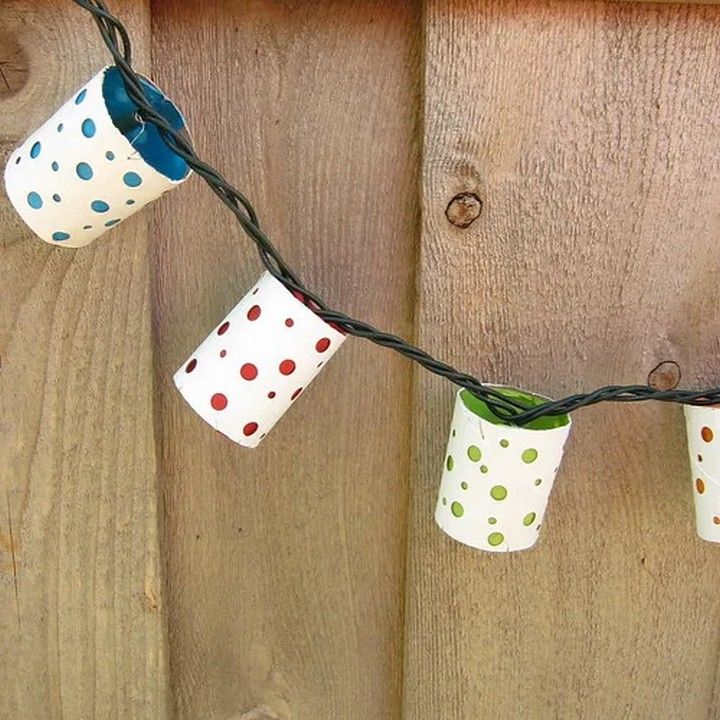
Polka dot paper lanterns are normally composed of lightweight paper and come in a variety of sizes and colours to accommodate a variety of tastes and décor styles. To create a joyful and whimsical environment, they can be suspended from ceilings, strung up on tree branches, or set on tables or other surfaces. Tutorial
2. Make a Rainstick
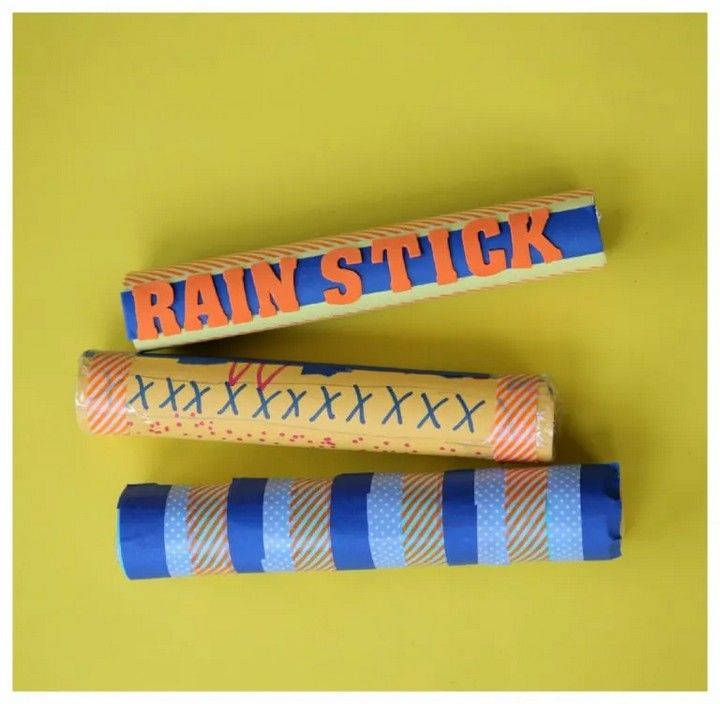
A rainstick is a percussion instrument that mimics the sound of rain. Rainsticks were traditionally created by indigenous peoples from cactus or bamboo, but they may now be made from PVC pipes, cardboard tubes, or paper towel rolls. A DIY rainstick is a simple project that can be completed using materials available around the house. Tutorial
3. Make a Colorful Kazoo
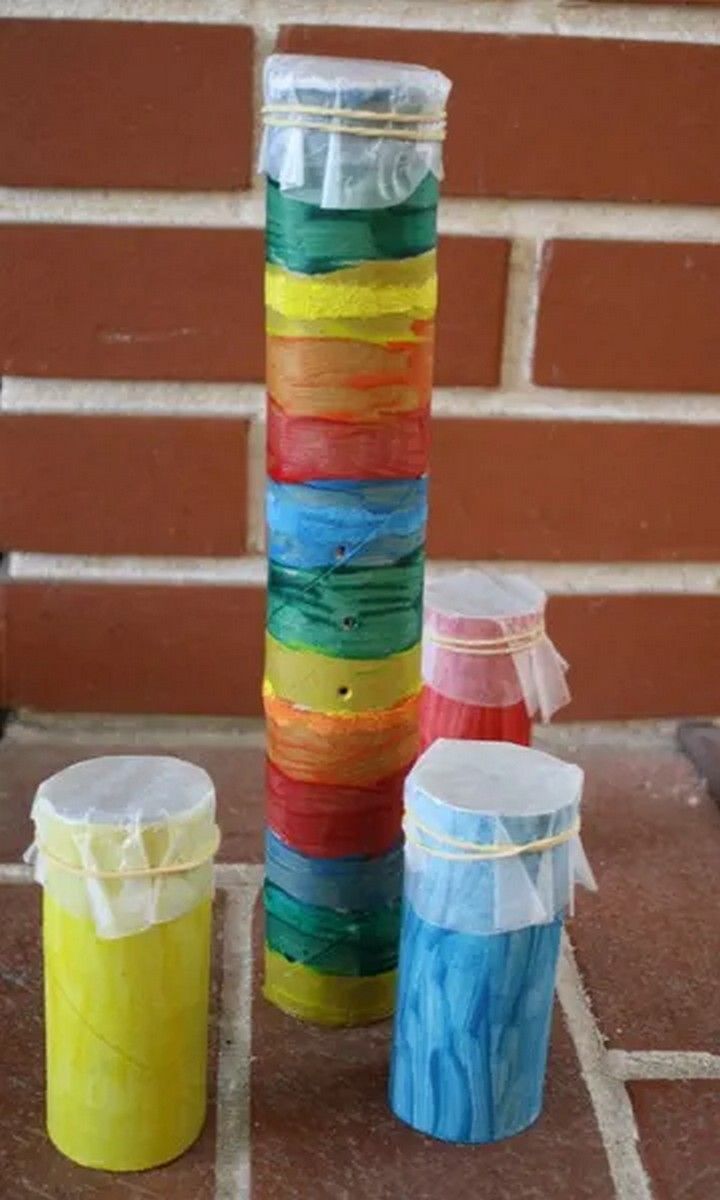
A toilet paper roll, wax paper, a rubber band, and markers are required to build a colourful kazoo. Decorate the toilet paper roll in any way you like using markers. Stretch a tiny circle of wax paper over one end of the roll. Use a rubber band to secure it. When you hum into the open end of the kazoo, the sound vibrates through the wax paper, generating a buzzing sound. Tutorial
4. Cardboard Snake
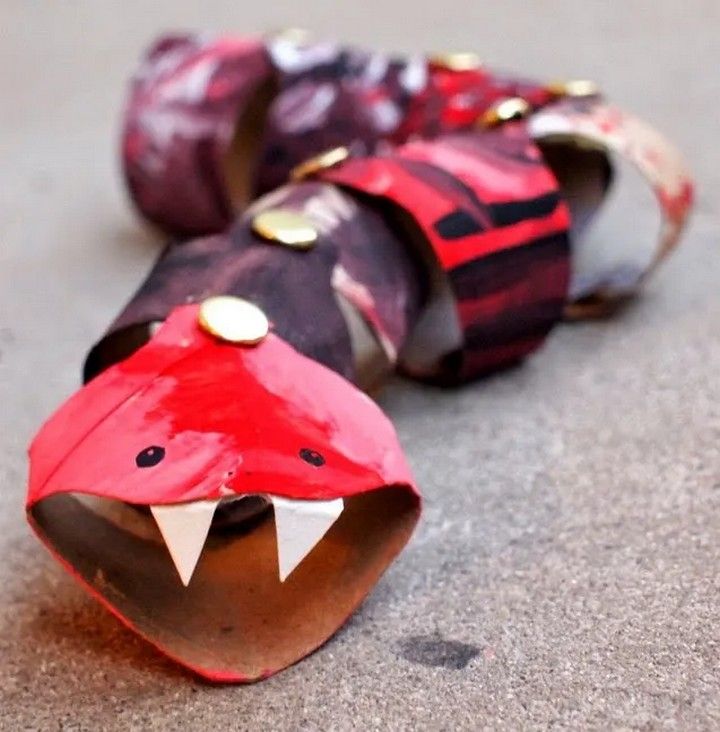
A cardboard tube (similar to a paper towel roll), paint, and scissors are required to create a cardboard snake. Make a snake out of the cardboard tube, leaving a little bit at one end to act as the head. You may paint the snake in whatever design you choose. Draw eyes and a tongue when the paint has dried. Your cardboard snake is now ready to go! Tutorial
5. Paper Roll Gift Box
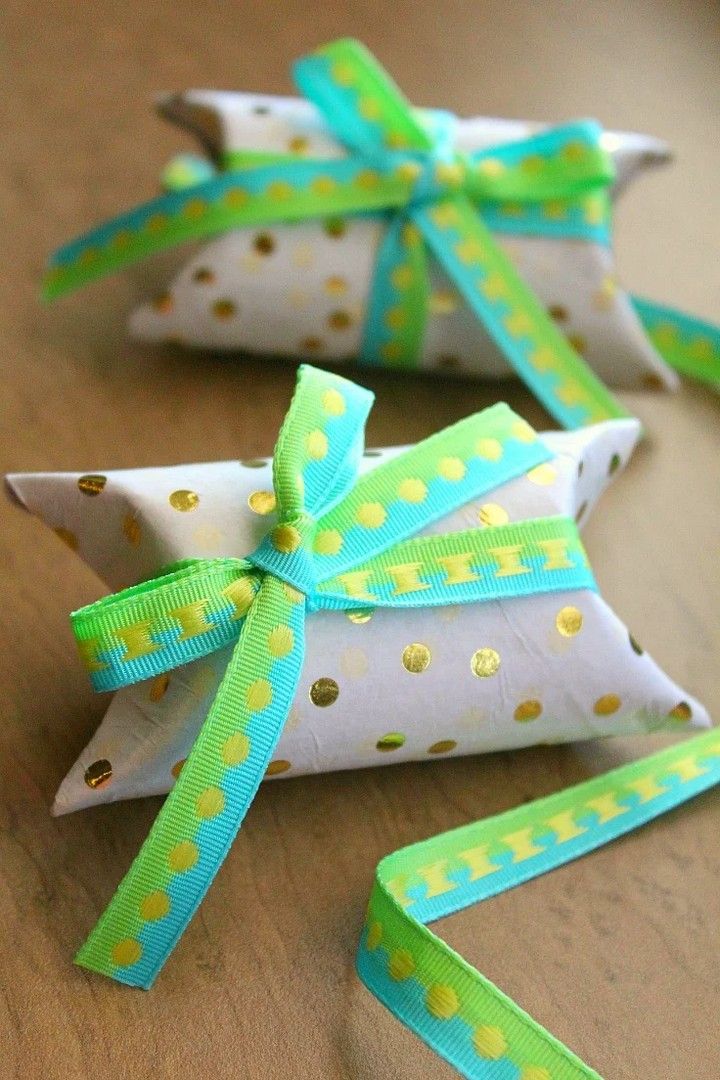
Make a lovely and eco-friendly present box out of an average paper roll! This easy DIY project is suitable for any occasion. Simply flatten the paper roll, cut it into a box form, and fold it. Decorate it with paint, markers, or stickers to make it stand out. Not only will your handmade gift box save money, but it will also minimise trash. Tutorial
6. Easy Wind Twirlers
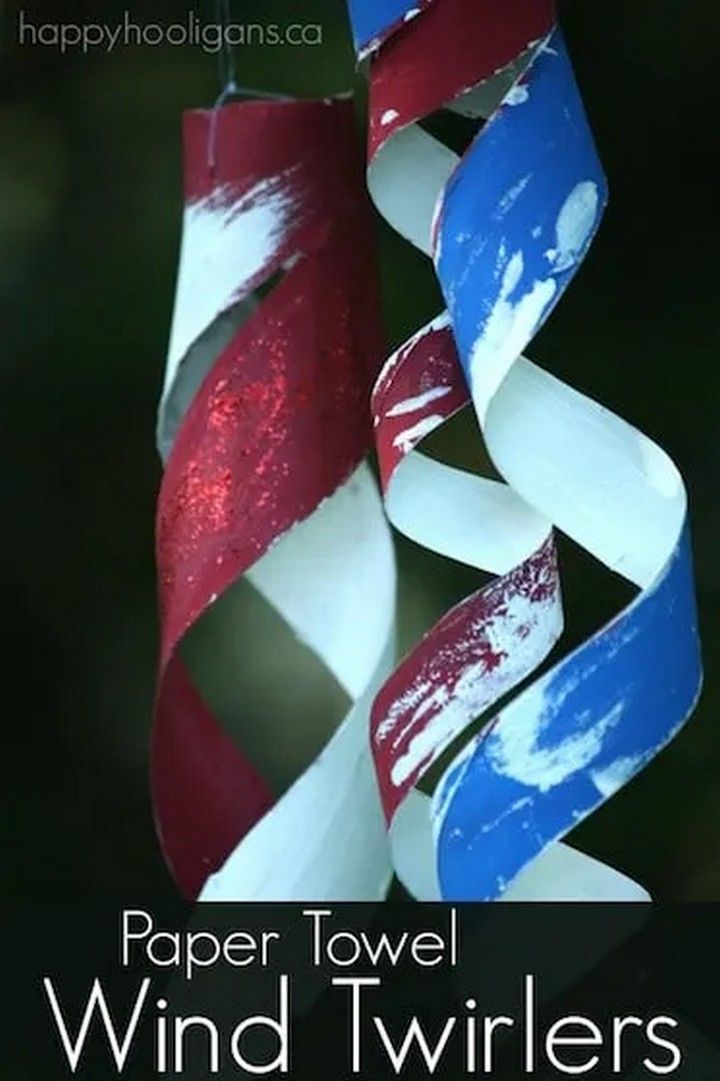
With these simple wind twirlers, you can add some colourful fun to your outdoor environment! You only need colourful paper, scissors, a pencil, and twine. Make strips of paper and wrap them around the pencil. Remove the paper from the pencil and tie a thread around the centre. Watch the twirlers spin and twirl in the breeze by hanging them outside. This do-it-yourself project is suitable for both children and adults! Tutorial
7. Bowling Game
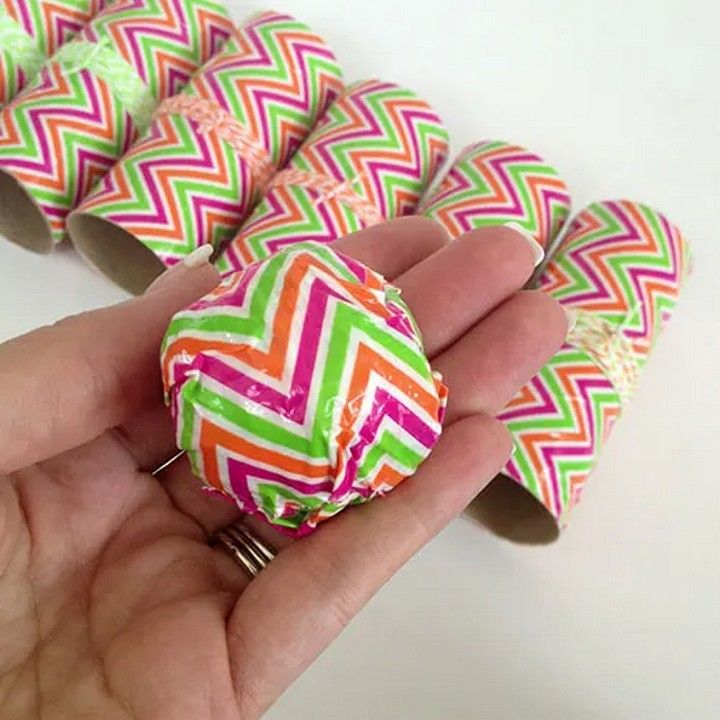
Collect 10 empty plastic bottles and a ball to construct a DIY bowling game. Arrange the bottles in a triangular shape, then decorate with paint or stickers. When the bottles are dry, use the ball to try to knock them all down in one roll. This inexpensive and enjoyable craft is ideal for a family game night or an outdoor party. Tutorial
8. Rainbow Wind Catcher
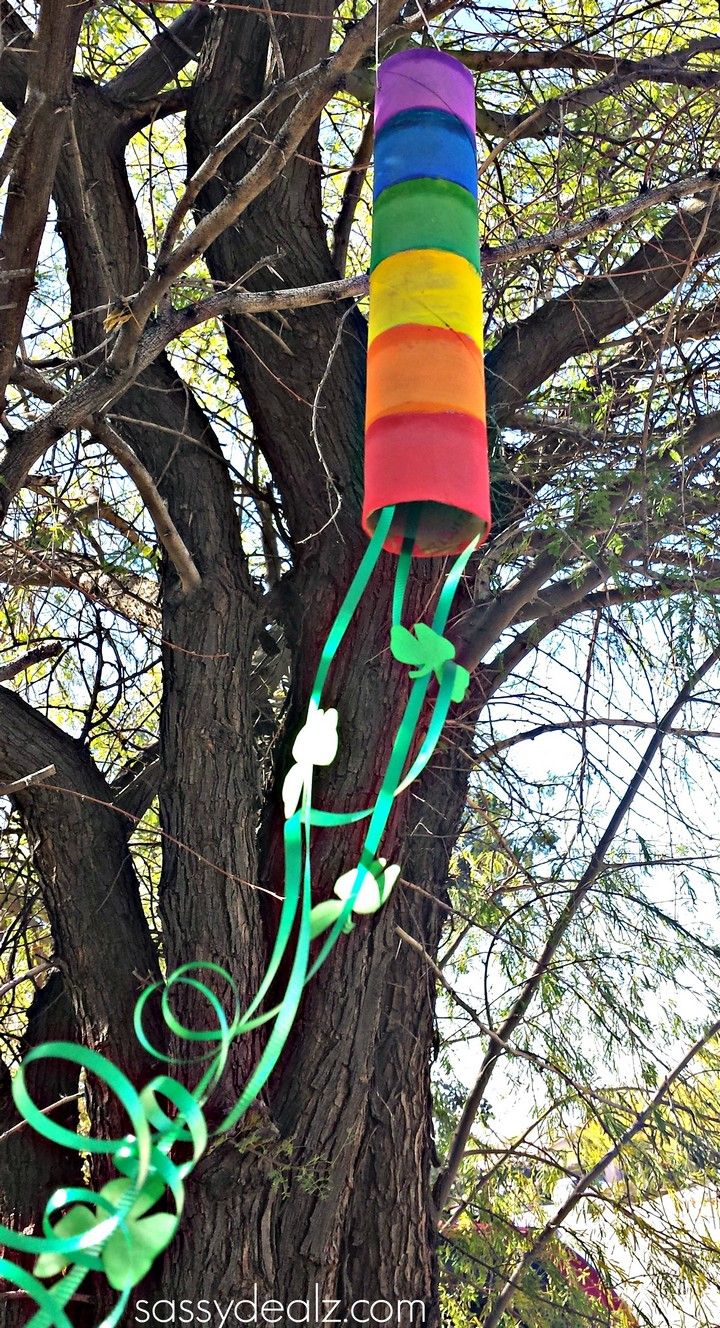
A paper plate, paint, yarn, and scissors are required to build a rainbow wind catcher. Remove the plate’s centre and paint it with rainbow colours. Cut eight lengths of yarn and tie them around the plate’s rim. Then, at the bottom, knot the free ends of the yarn together. Hang the wind catcher outside and watch it swirl and dance in the breeze, producing a lovely rainbow effect. Tutorial
9. Dragon Pencil Pot
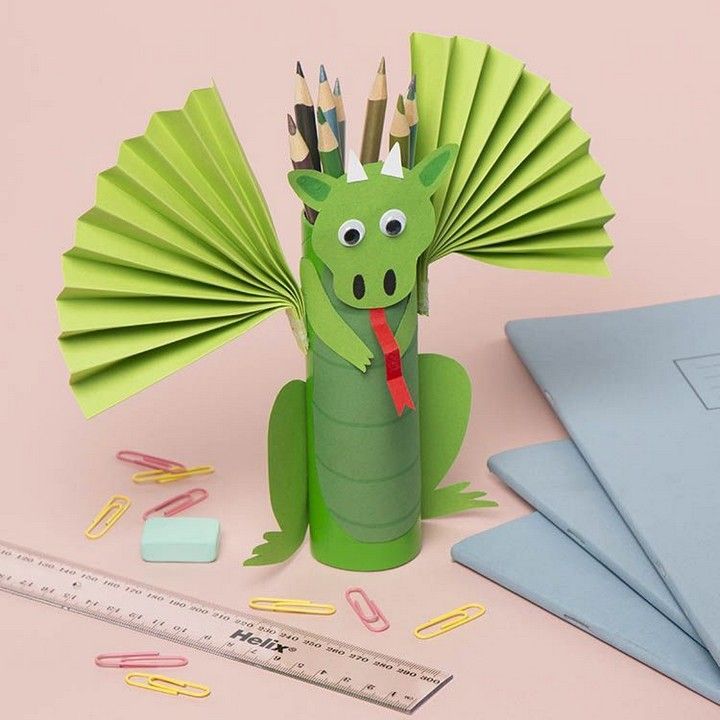
With this fun and easy DIY project, you can turn an ordinary tin can into a dragon pencil pot! Paint the can green, then add googly eyes and green craft foam or felt wings, tail, and spikes. Glue them to the can, and you’ll have a tough and practical pencil pot to keep your writing equipment organised. Tutorial
10. Cardboard Tube Zebra
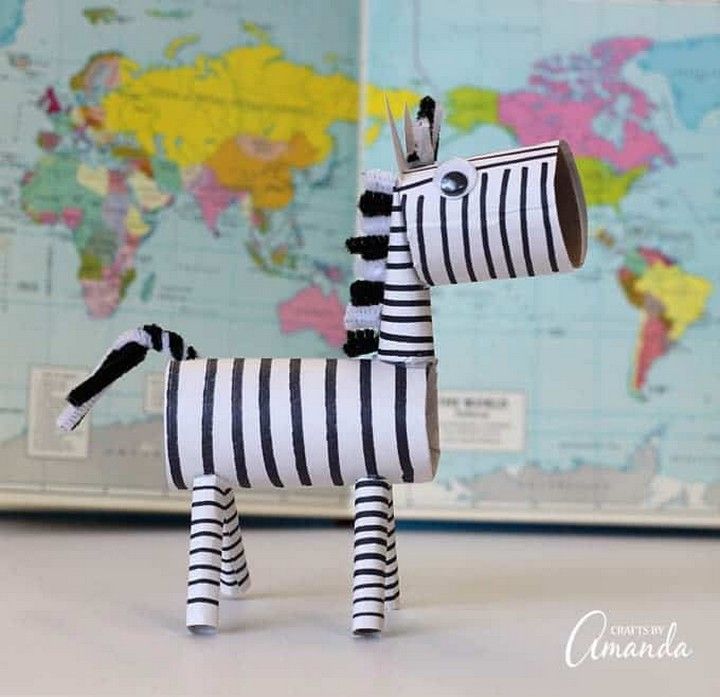
You’ll need a cardboard tube (like a paper towel roll), black and white paint, scissors, and googly eyes to build a cardboard tube zebra. Make four legs out of a cardboard tube and paint them white. Paint the remainder of the tube black, leaving some white stripes visible. When the glue has dried, glue on googly eyes and your cardboard tube zebra is ready for play or display! Tutorial
11. Four Seasons
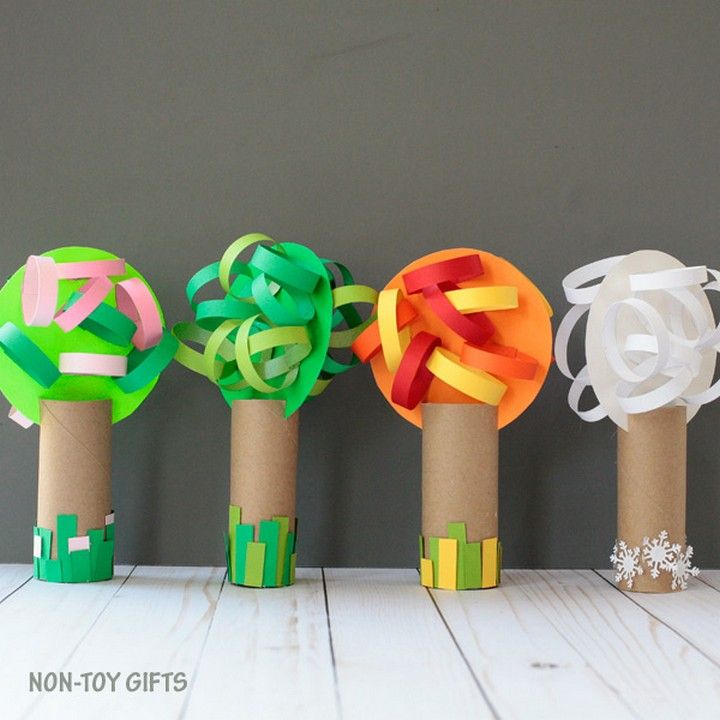
Four Seasons DIY is a creative project in which you may portray the four seasons of the year using various arts and crafts. Make a winter-themed snow globe, a spring-themed flower wreath, a summer-themed beach scene, or a fall-themed leaf collage, for example. This do-it-yourself activity will allow you to explore and enjoy the change of the seasons while also allowing you to express your creativity. To make one-of-a-kind and personalised decorations, you can use a variety of materials such as paper, paint, fabric, or natural things. Tutorial
12. Advent Calendar
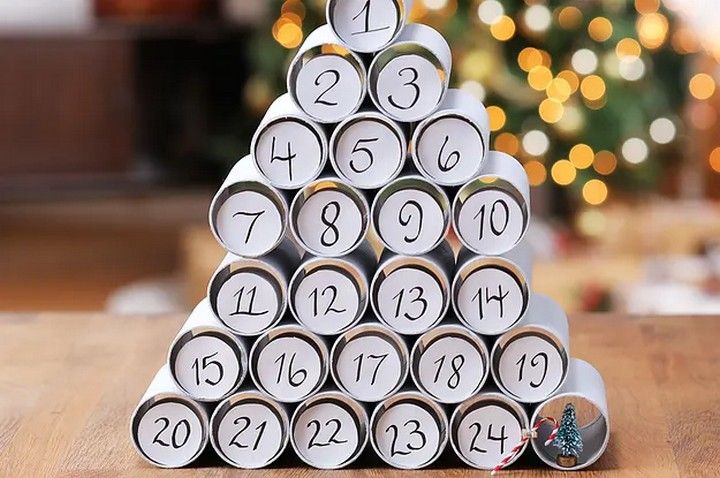
A DIY Advent Calendar is a festive and enjoyable activity that counts down the days before Christmas. Advent calendars are often made out of a box or a series of numbered pockets or envelopes that contain tiny presents, chocolates, or other surprises for each day of the month leading up to Christmas. You may construct your own Advent Calendar out of paper, cardboard, fabric, or even recycled goods. You may also customise your calendar with different themes or decorations to match your personality and hobbies. Advent Calendars are a terrific way to get people excited about the holiday season. Tutorial
13. Seahorse Puppets
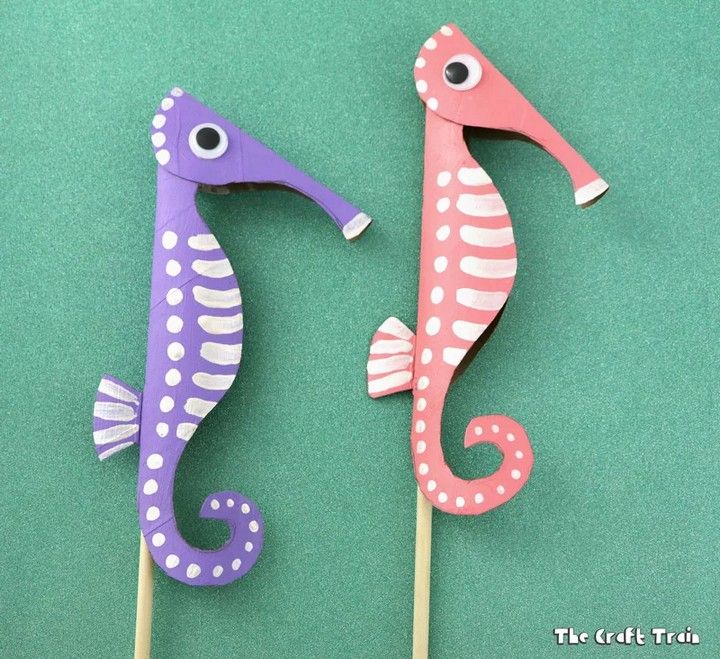
You’ll need cardboard, paint, scissors, a hole punch, and thread to construct seahorse puppets. Make a seahorse out of cardboard and decorate it with colourful motifs. Make a hole in the top of the seahorse’s head and thread a string through it. To make the seahorse move like a puppet, put your hand through the thread. This simple and enjoyable craft is ideal for children and promotes creativity and creative play. Tutorial
14. Giraffe Marionette
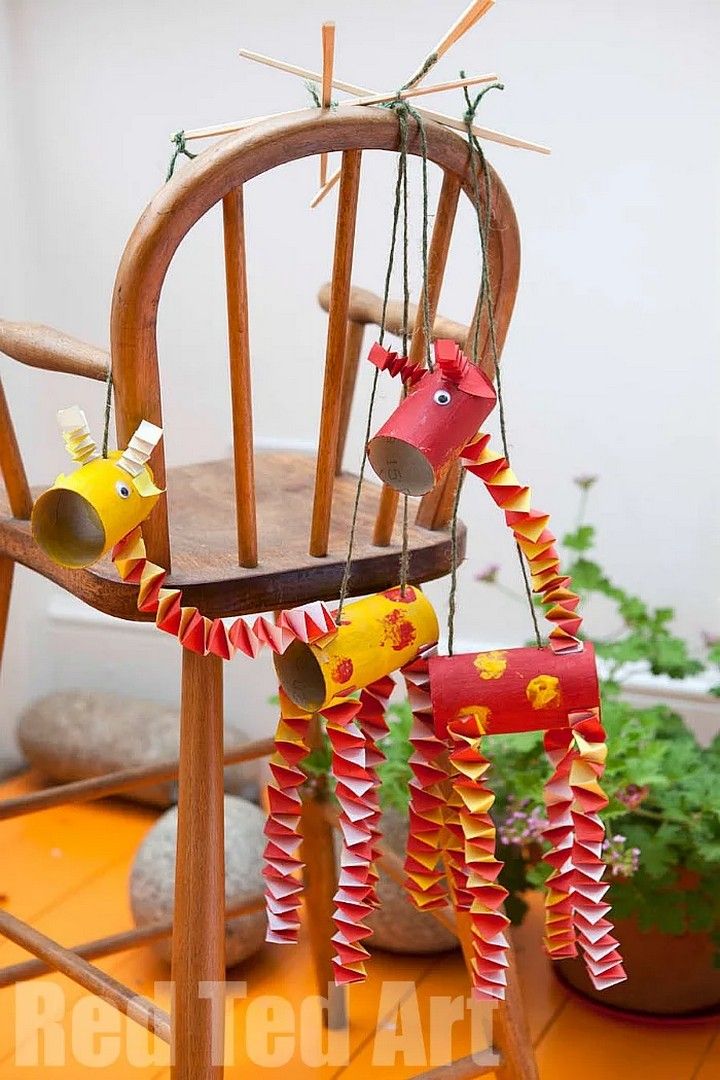
With this simple DIY project, you can create your own giraffe marionette puppet! Make a giraffe out of cardboard, paint it with bright decorations, and attach four legs. Attach strings to regulate the movements after adding a wooden dowel for the neck and two more for the legs. You’ll have a fun and unusual toy to play with and entertain your friends and family with just a little practise. Tutorial
15. Paper Roll Cacti
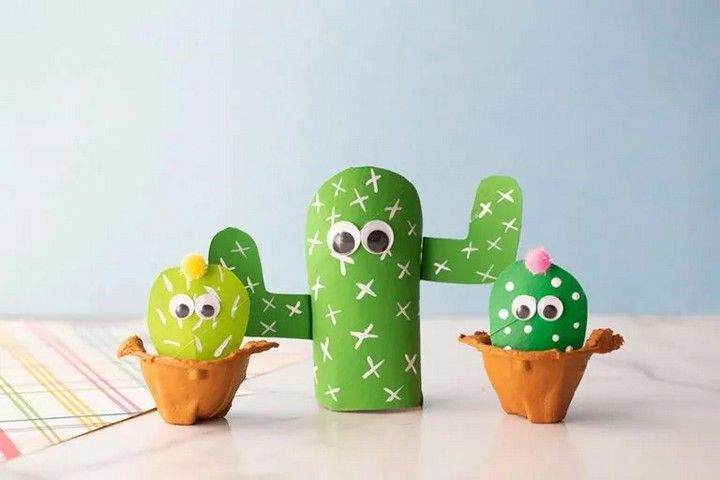
Paper roll cactus are a simple DIY project that turns cardboard tubes into adorable and colourful cacti decorations. You’ll need cardboard tubes, paint, scissors, and glue to build paper roll cactus. Cut and shape the tubes to look like various cactus shapes, then paint them with various colours and decorations. Once dried, add texture and realism by glueing on little paper flowers or other features. These paper roll cactus are an excellent way to add some desert flair to your house or business. Tutorial
16. Paper Roll Angel
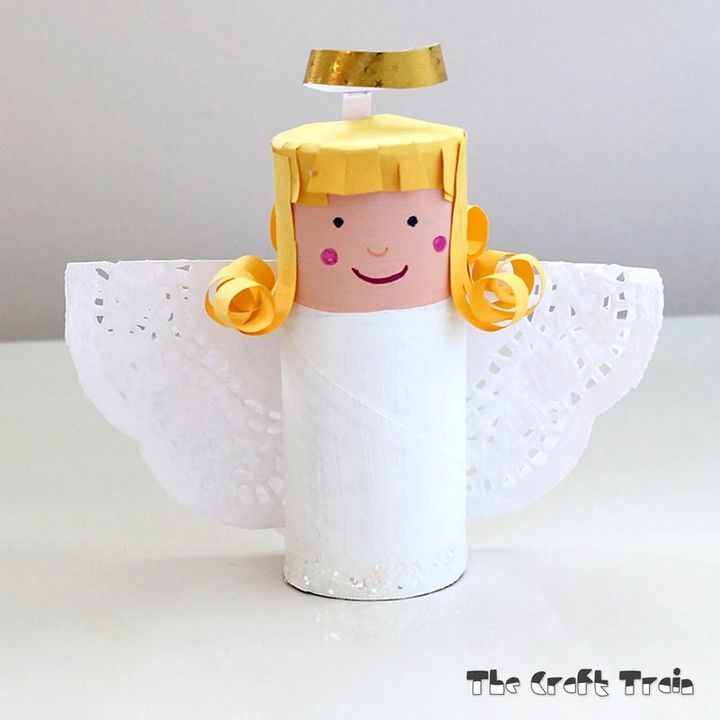
A paper roll angel is a fun and easy DIY project that turns cardboard tubes into colourful Christmas decorations. You’ll need a cardboard tube, paint, scissors, glue, and ribbon or yarn to build a paper roll angel. Cut and shape the tube to resemble the angel’s body, then add decorations like wings and a halo. When the angel’s hair is dry, add ribbon or yarn and attach a loop of ribbon or thread to the back to hang it up. These paper roll angels are a fun and creative way to personalise your Christmas decorations. Tutorial
17. Caterpillar Pencil Holder
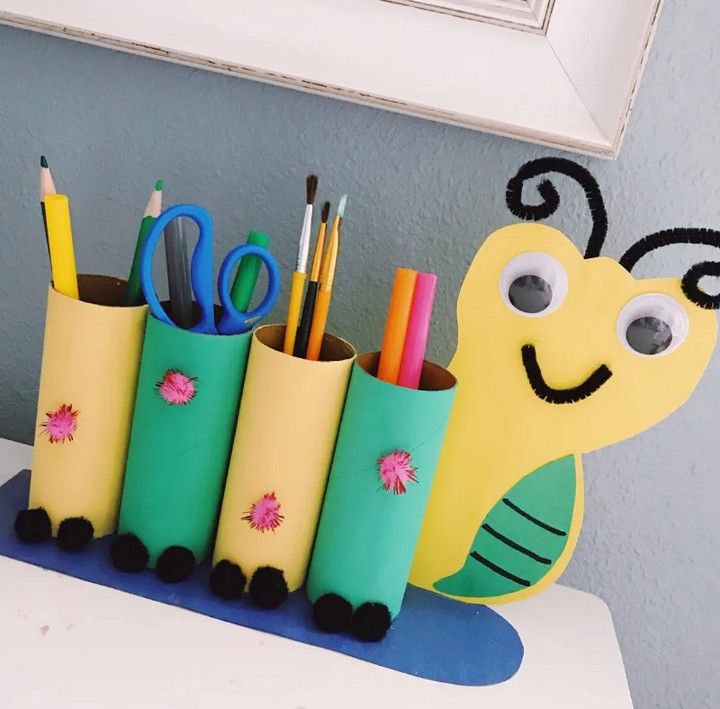
A caterpillar pencil holder is a fun and practical DIY project that transforms a plain cardboard tube into a cute workplace item. You’ll need a cardboard tube, paint, scissors, and glue to construct a caterpillar pencil holder. Cut the tube into pieces, then paint each segment with different colours and motifs to represent the body of a caterpillar. Glue the portions together in a row, then embellish with googly eyes and pipe cleaner antennae. This adorable and vibrant pencil holder is ideal for organising your writing tools and brightening up your desk. Tutorial
18. Paper Tube Pumpkins
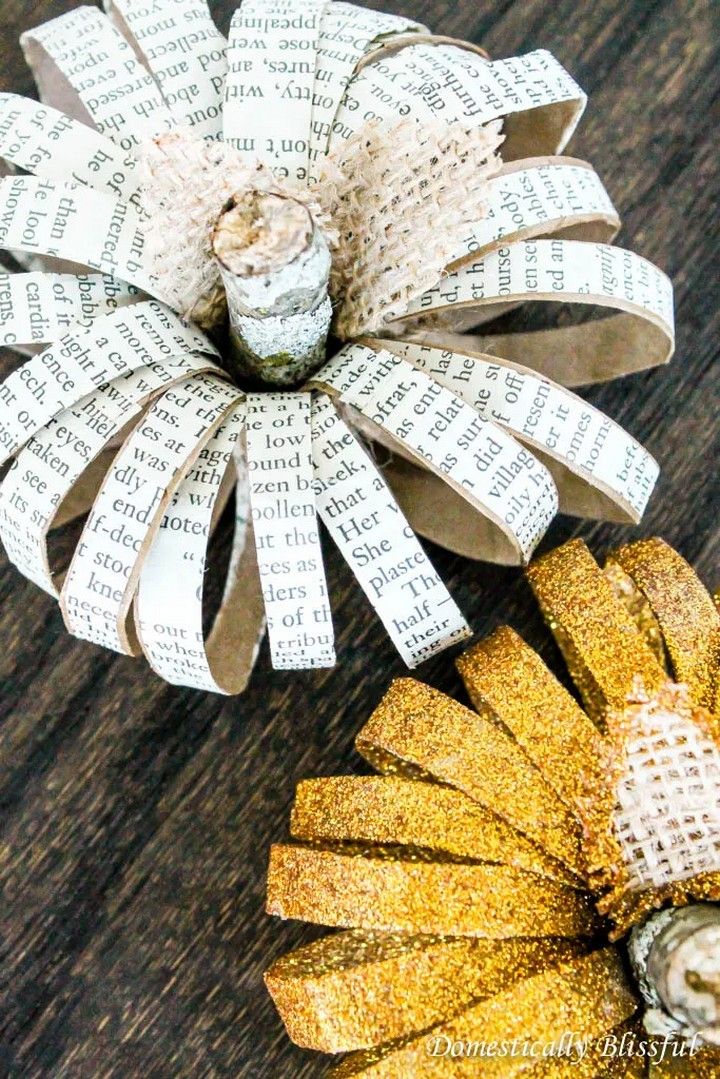
You’ll need cardboard tubes, paint, scissors, and thread to build paper tube pumpkins. Section the tubes and paint them orange or another pumpkin colour. To finish the pumpkin appearance, add green paper leaves and a twine stem. To give texture and depth to the stem, use brown paint or a pen. Paper tube pumpkins are a simple and entertaining DIY project that can be used as fall decorations or as part of a Halloween display. Tutorial
19. DIY Kaleidoscope
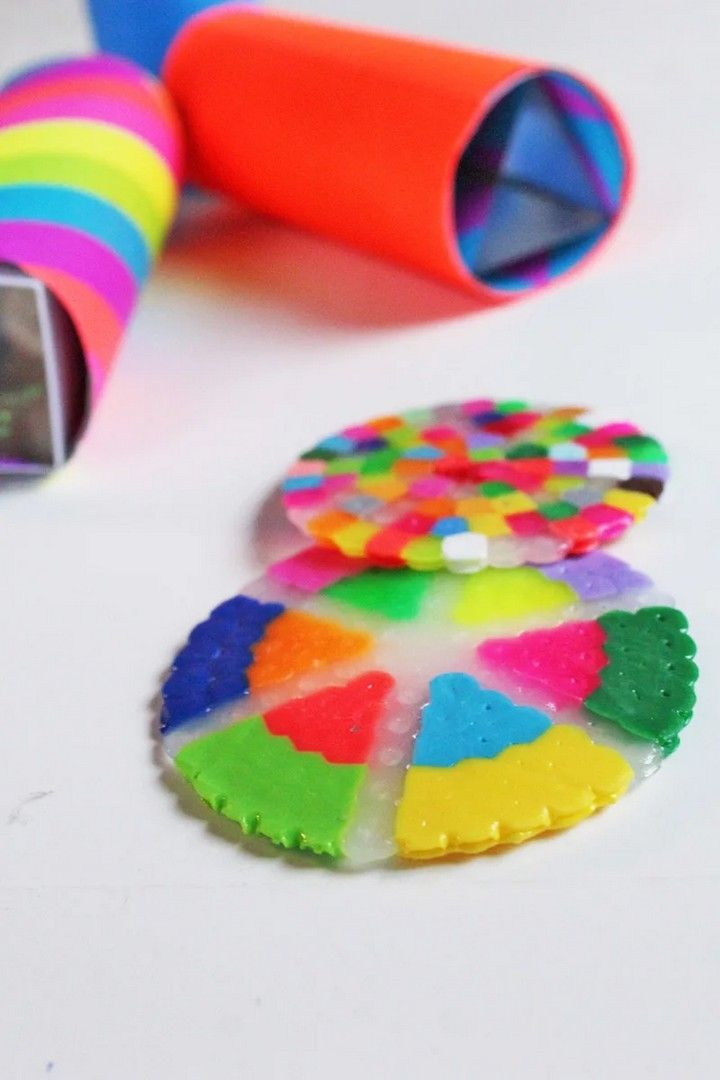
Making a DIY kaleidoscope is a fun and instructive art and science activity. A cardboard tube, a tiny mirror, coloured plastic or glass pieces, and adhesive are required. Cut the tube to the required length and secure one end with a tiny mirror. Fill the tube halfway with coloured pieces, then shut the other end with a piece of mirror or transparent plastic. When you gaze through the kaleidoscope, the coloured parts form complicated and beautiful patterns. Tutorial
20. Marble Run
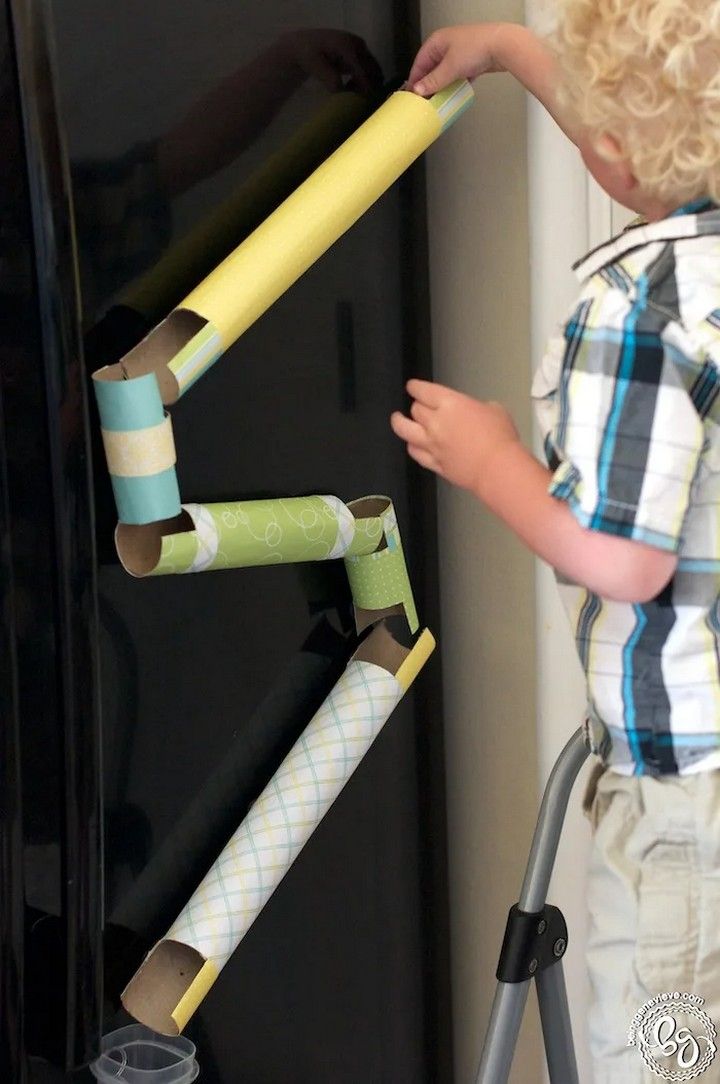
A marble run DIY project is a fun and imaginative method for youngsters to learn about physics and problem-solving. You’ll need cardboard tubes, scissors, glue, and marbles to create a marble run. Cut the tubes into various lengths and forms, then glue them together to provide a route for the marbles to roll down. You may add ramps, tunnels, and other obstacles to make the game more difficult. The completed marble run is a fascinating and engaging toy that will keep you entertained for hours. Tutorial
21. Jumping Jellyfish
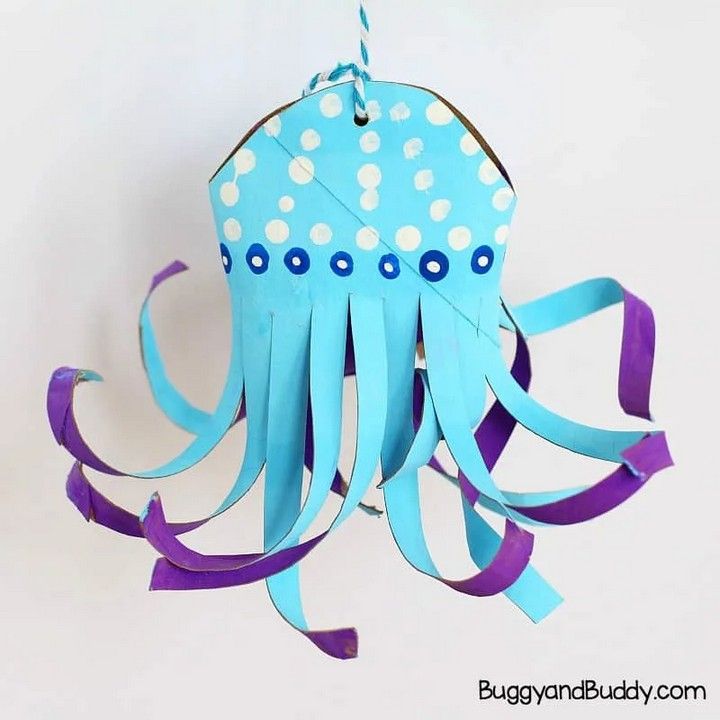
The Jumping Jellyfish is a do-it-yourself creation that transforms a plain paper plate into a colourful and exciting toy. You’ll need a paper plate, paint, scissors, glue, and yarn to construct a Jumping Jellyfish. Cut and twist the plate to look like jellyfish tentacles before painting it bright colours. Glue googly eyes to the jellyfish and tie a length of yarn to the top to make a handle. The jellyfish leaps and bounces like it’s swimming in the water as you pull the handle. Tutorial
22. Recycled Flowers
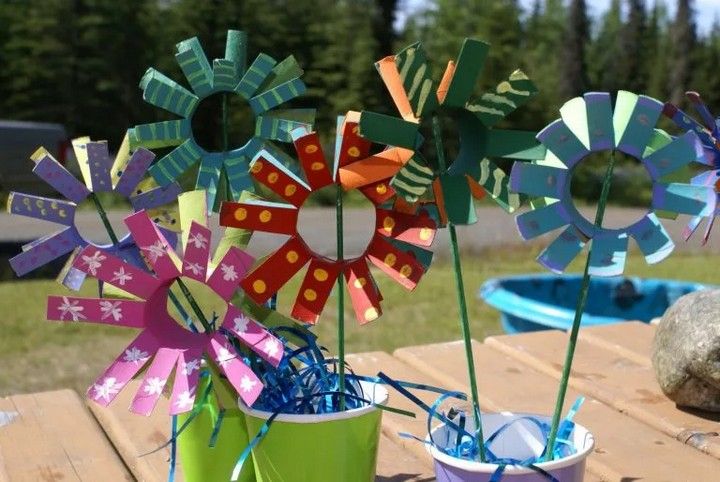
Recycled flowers are a fun and eco-friendly DIY project that transforms discarded plastic bottles into colourful decorations. You’ll need plastic bottles, scissors, paint, and glue to build recycled flowers. Paint the bottles in various colours after cutting them into petal shapes. To make a floral form, layer and glue the petals together. You may also use recyclable materials like paper or wire to add decorations like stems and leaves. These upcycled flowers are an excellent way to bring nature and sustainability into your home or yard. Tutorial


