All of these 20 DIY No Sew Fabric Craft Project Ideas are so simple and easy to make with no high-level skill. These projects are perfect for beginner crafters. If you have leftover fabric scrap, it means you have a lot of ways to use this fabric in different ways. These are fun-making projects to do with your mother, friends, and kids also. You can easily make tops, bags, accessories, and many more using fabric crafts. These DIY projects are the best way to look a step away from sewing and keep you more creative.
These DIY projects include everything from tabletop with fabric to decoupage bookcases with fabric and Headbands to doggie bows. You can impress everyone with your DIY skills by decorating your house, classroom, and lounge. You can take a storage table from a craft store and decorate it with fabric and use it to place different things on it and store things in it. If you don’t like sewing, then this DIY no sew fabric craft project is for you. These projects are less time-consuming and generally completed in just a day or less.
These projects are perfect to add a cute look to your wardrobe and can make an amazing gift for many occasions like Mother’s Day, teacher’s Day, and birthday parties. You can make cute hair accessories from the craft to match any of your outfits. Kids can easily make different things from these projects because they are ready in minutes. If you have a piece of fabric, you can create beautiful wall art from this piece of fabric that takes no sewing and less time. Below are the various ideas for using fabric in many different ways that you will love to do these crafts.
1. Fabric Lined Drawers
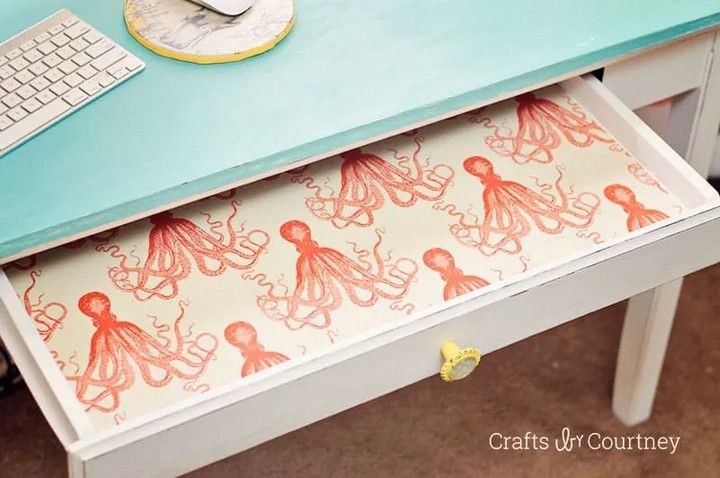
With fabric lining, you can transform your drawers into elegant storage options! Select your favourite fabric design and cut it to fit the insides of your drawers. To adhere the cloth to the drawer bottoms and sides, use adhesive or fabric glue. This easy DIY project not only adds a splash of colour and flair to your drawers, but it also protects them from scratches. Today, revitalise your storage area with fabric-lined drawers! Tutorial
2. Tabletop with Fabric
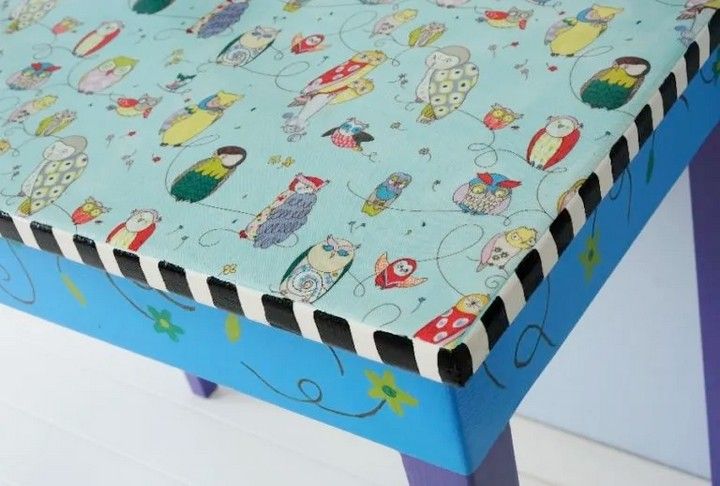
Use cloth to dress up your tabletop décor! Select a cloth that matches your decor and cut it to fit the measurements of your tabletop. Using adhesive or double-sided tape, secure the cloth to provide a smooth and wrinkle-free surface. This simple do-it-yourself project quickly adds beauty and flair to any table. Whether for regular usage or a special event, use fabric to create a statement on your desk! Tutorial
3. Decoupage Bookcase with Fabric
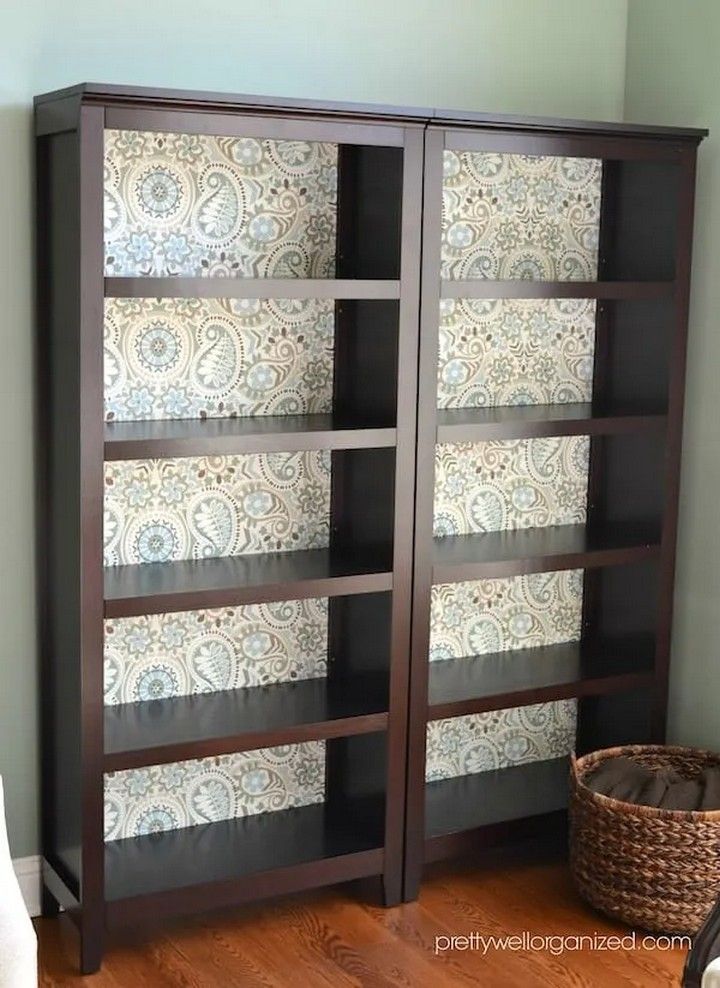
Refresh your bookshelf with a gorgeous fabric decoupage! Choose a favourite fabric design and cut it into different shapes and sizes. Apply decoupage adhesive to the back of each fabric piece and apply it to the bookshelf surfaces with care. Remove any creases or air bubbles. When the cloth is dry, seal it with a coat of decoupage glue for a long-lasting and eye-catching finish. Use fabric decoupage to add a personal touch to your bookshelf! Tutorial
4. DIY Luggage Tag Made from Fabric
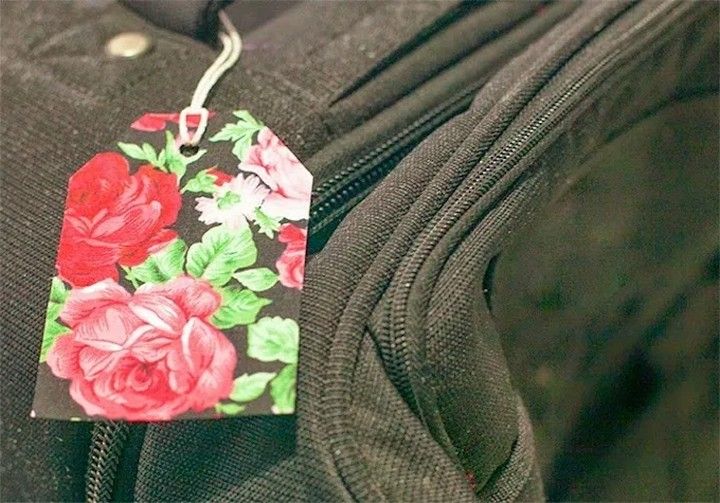
Make a DIY cloth baggage tag to personalise your luggage! Cut a piece of durable cloth to the required form and size for your tag. Sew across the borders, leaving the top free for the strap. Insert a cloth strap piece and stitch it in place. Use fabric markers or embroidery to add your name or design. Attach it to your baggage and travel with style and distinction! Tutorial
5. Revamp a Clip Lamp with Scrap Fabric
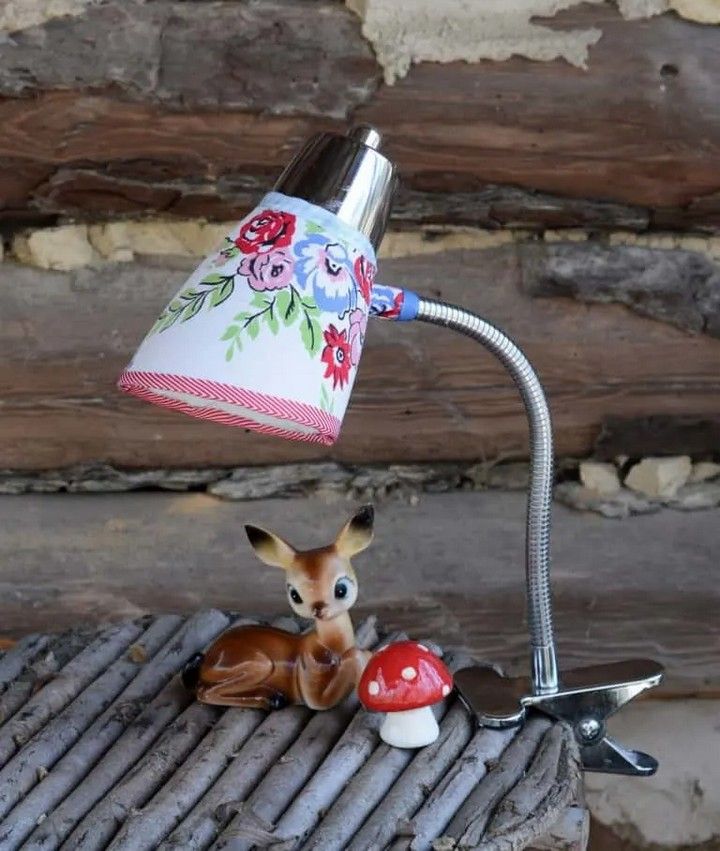
Make a clip lamp out of leftover fabric! Remove the lampshade from the clip light and take measurements. Cut fabric strips broad enough to cover the lampshade and fix them with fabric glue or adhesive. Remove any extra fabric from the lampshade and reconnect it to the clip. With the appeal of waste fabric, your clip lamp changes into a fashionable and personalised lighting item! Tutorial
6. Suitcase Using Vintage Fabric
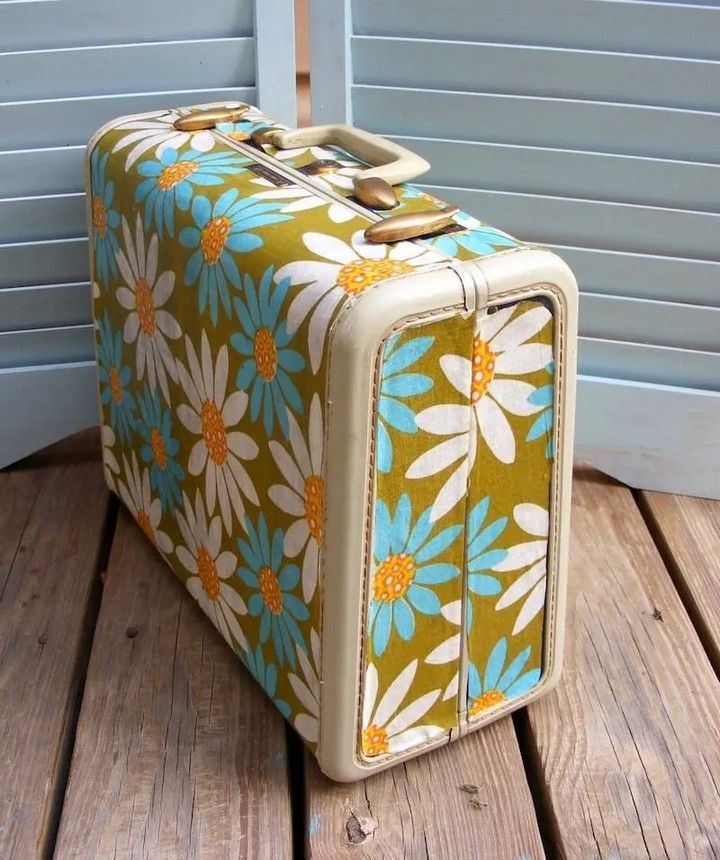
Make a retro-inspired suitcase out of gorgeous antique fabric! Find a solid suitcase and take measurements of its outside panels. Cut antique fabric pieces to fit each panel and fix them with fabric glue or adhesive. For a genuine touch, add vintage-style trim or handles. This do-it-yourself technique will give your luggage a distinctive, vintage appeal, making it ideal for vacation or home decor. Tutorial
7. Cork Board Jewelry Organizer with Fabric
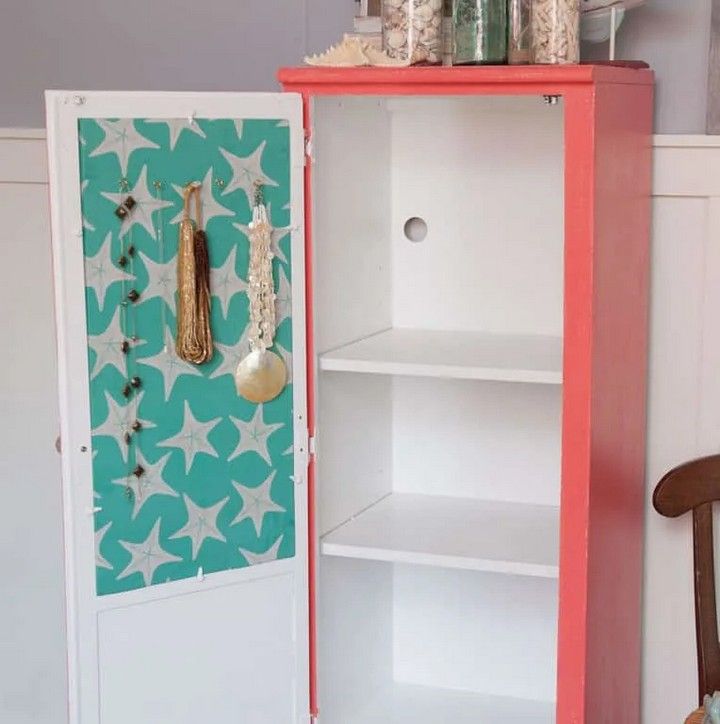
Using a fabric-covered cork board, you can organise your jewellery in flair! Begin with a cork board of the proper size and cover it with fabric, either using glue or with a staple gun. To hang your necklaces, bracelets, and earrings, arrange and connect small hooks or pins to the fabric-covered cork board. With this DIY fabric cork board jewellery organiser, you can display and conveniently access your jewellery collection while also adding a sense of refinement to your room. Tutorial
8. DIY Decorative Books
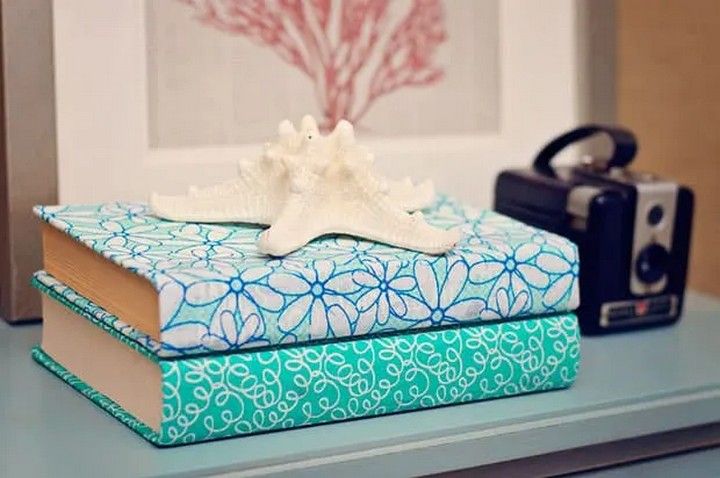
DIY ornamental books will add a touch of refinement to your décor! Remove the dust jackets from hardcover books of various sizes. Colour, pattern, or metallic finish the covers as requested. To add ornamental designs or quotations, use stencils, stamps, or markers. For an instant visual boost, stack them on shelves or arrange them as tabletop accessories. With this simple DIY project, you can make your own personalised and elegant ornamental books! Tutorial
9. DIY Flower Pot
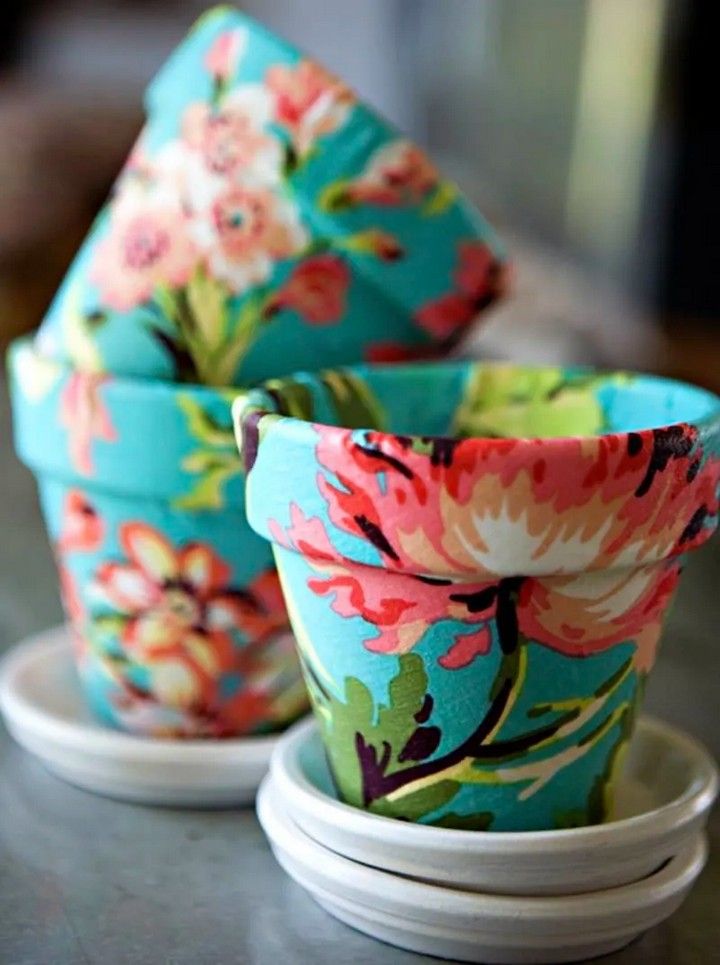
Try your hand at a DIY flower pot project! Begin with a foundation layer of acrylic paint on a basic clay pot. Once dried, create unique motifs or patterns with stencils or freehand painting. You may also use colourful paper or fabric to decorate the pot. For further durability, seal with a clear varnish. Plant your favourite flowers or succulents for an eye-catching and personalised addition to your house or yard! Tutorial
10. DIY Floor Cloth Made with Fabric
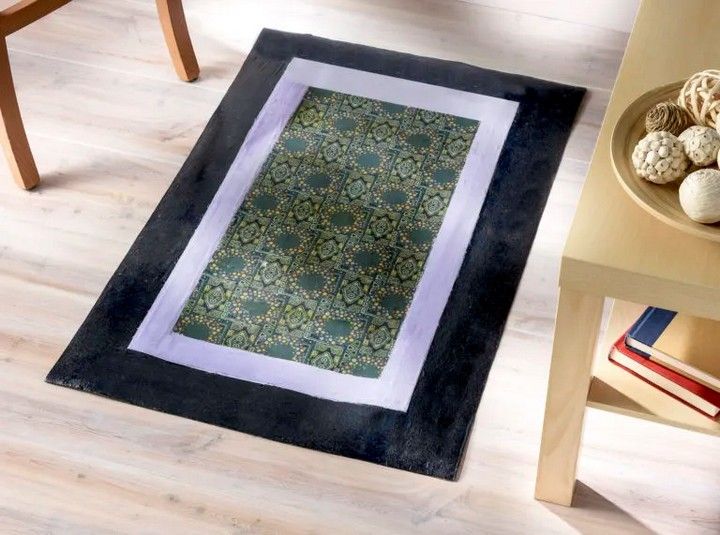
Make a beautiful floor covering out of fabric! Begin with a heavy-duty canvas or drop cloth as your foundation. Measure and cut your cloth to suit the canvas, leaving a tiny margin all around. Attach the cloth to the canvas with fabric glue or a staple gun. When the cloth is dry, apply a layer of clear polyurethane to make it more durable. Take pleasure in your custom-designed floor covering, which adds character and uniqueness to your area! Tutorial
11. Step Stool Makeover with Mod Podge
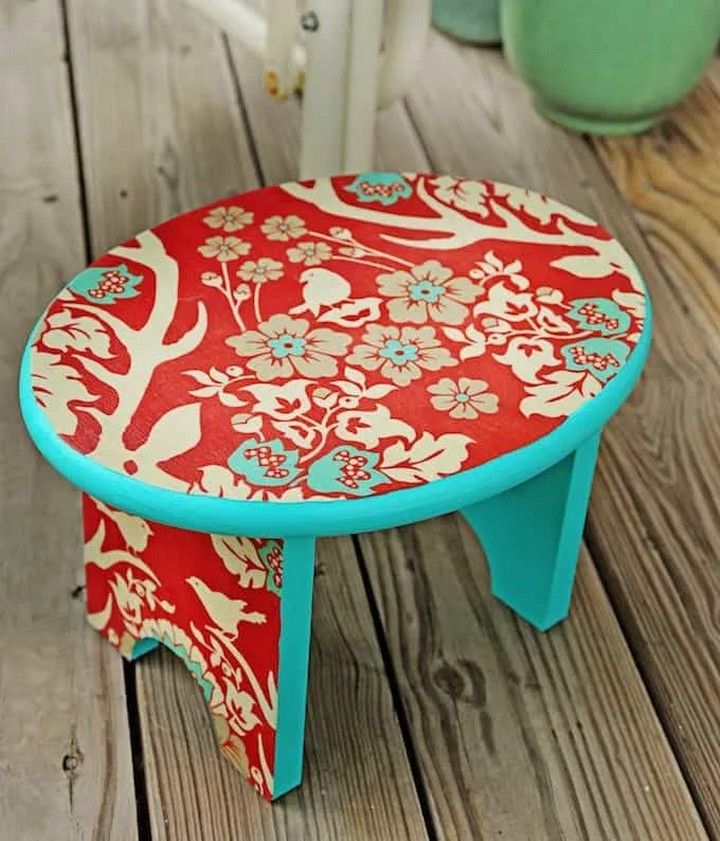
Makeover your step stool using Mod Podge! Begin by washing and sanding the surface to improve adherence. Cut ornamental paper or cloth to size for each stage. Apply Mod Podge to the surface and put the paper or cloth gently, smoothing out any creases. Seal with extra coatings of Mod Podge once dry. Enjoy a new and personalised step stool with a creative twist! Tutorial
12. Decorate a Canvas Bag with Fabric
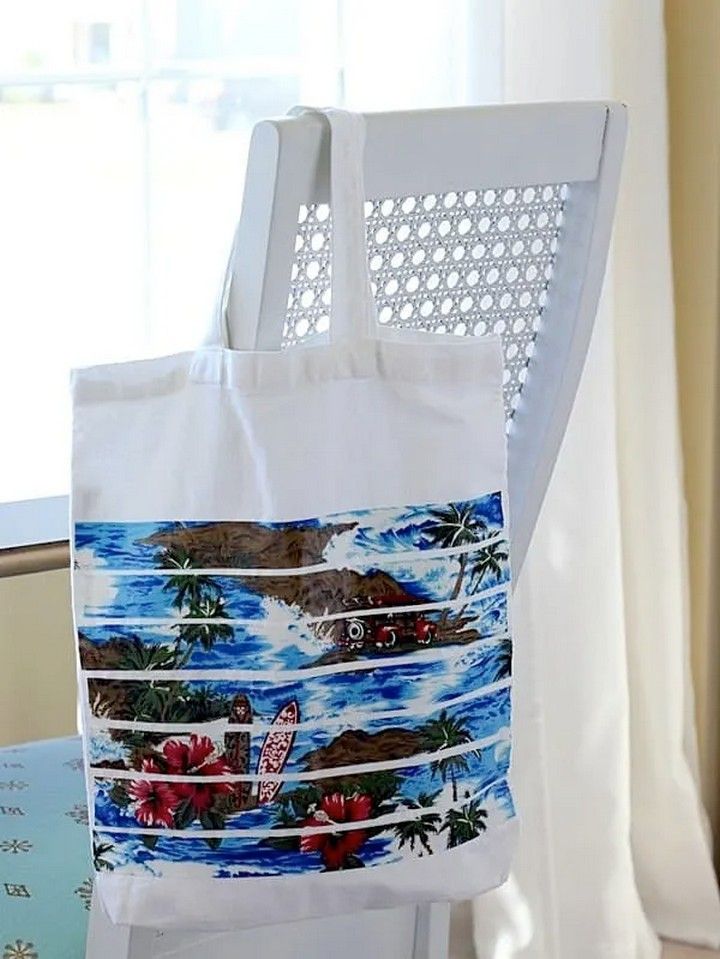
Decorate a canvas bag with fabric to make it unique! Cut out shapes or motifs from your favourite cloth. Attach the fabric pieces to the bag with fabric glue or a sewing machine. Make patterns, monograms, or bright embellishments. Allow your imagination to go wild! This do-it-yourself project lets you to turn a plain canvas bag into a one-of-a-kind and attractive item that expresses your personality. Tutorial
13. DIY Dress Form Covered in Fabric
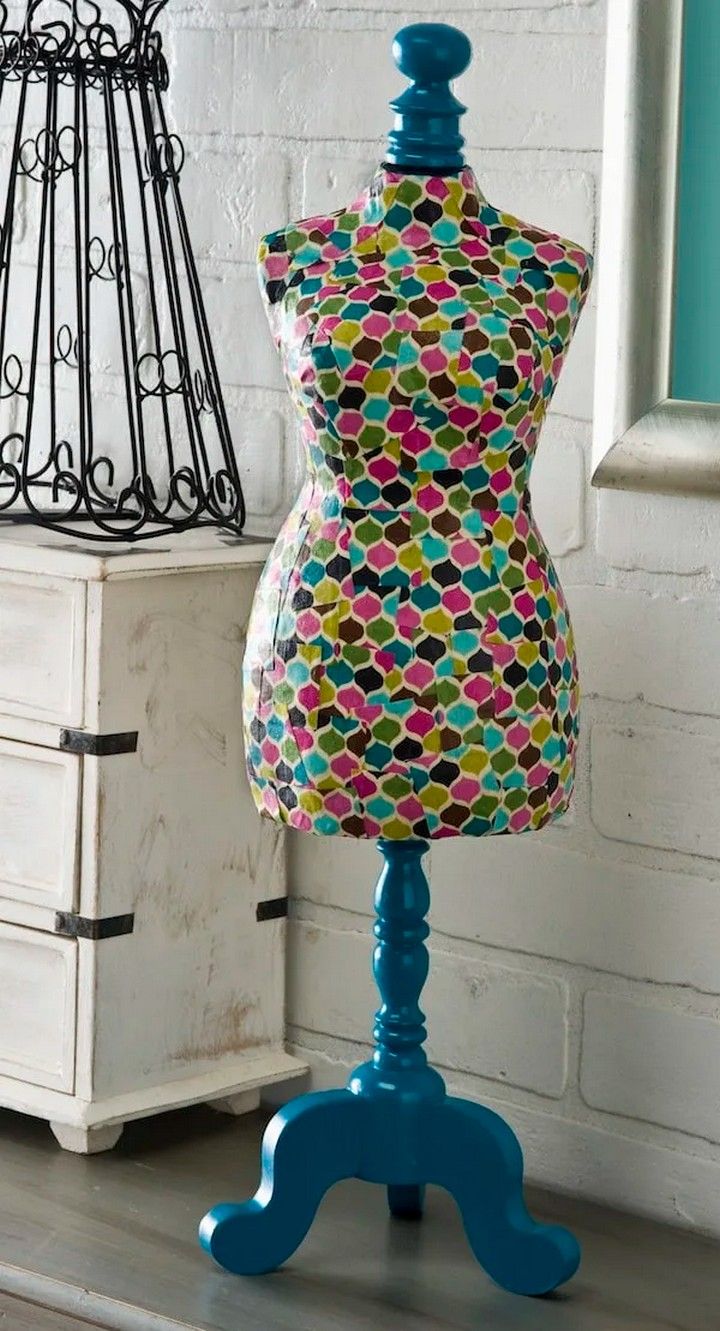
Make your own dress form out of cloth! Remove any existing covers from a dress form or mannequin. Cut cloth to suit the shape, allowing enough for seam allowances. Sew the fabric pieces together using a sewing machine to make a fitted cover. Slip the dress form cover over it and fix it with pins or glue. Enjoy your personalised and fashionable fabric-covered dress form! Tutorial
14. DIY Gift Box
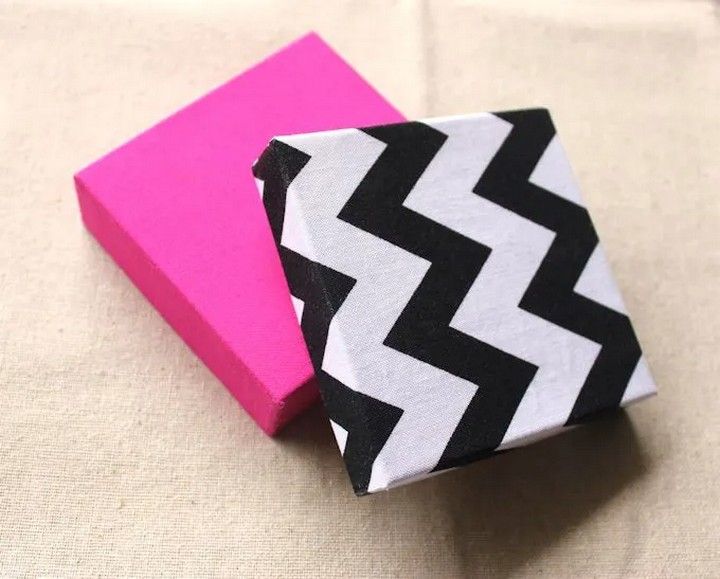
Make your gifts extra unique by making your own gift box! Begin with a solid cardboard box that has been decorated with patterned paper, cloth, or paint. Make a matching lid and attach it to the box using glue or tape. Finish with accessories like as ribbons, bows, or tags. Personalise and customise your gift box to make a unique and considerate gift for your loved ones. Tutorial
15. Picture Frame in Five Steps
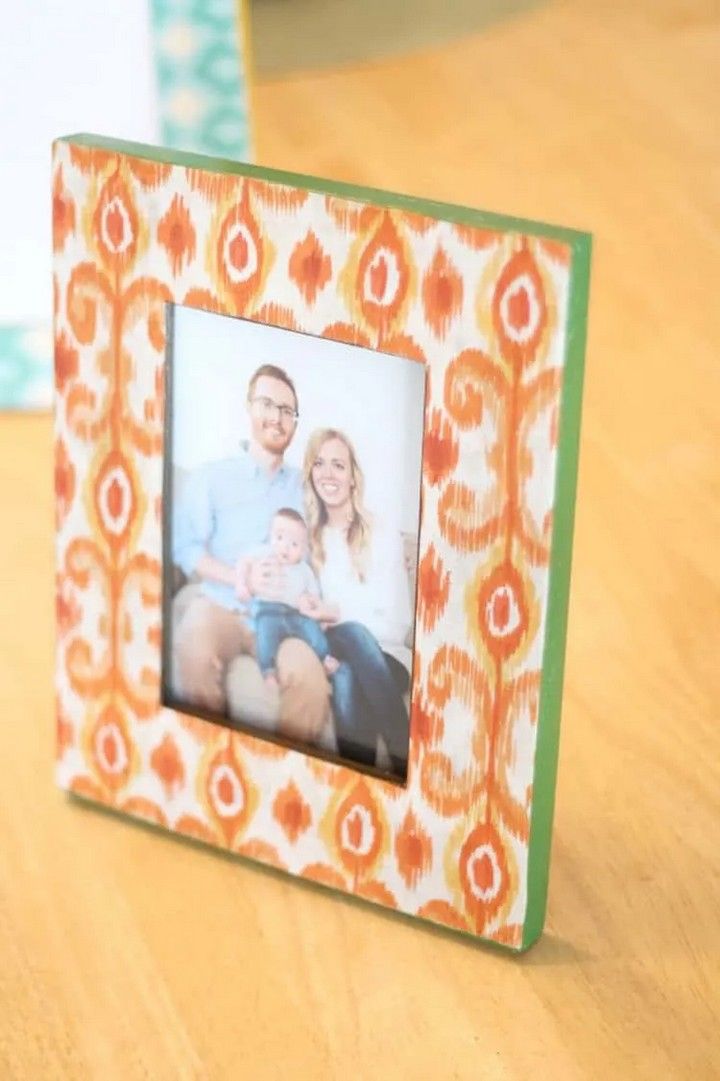
In only five easy steps, you can make a picture frame! To begin, choose a wooden frame or reuse an old one. Sand it down and paint it the colour you choose. Then, to fit the frame, measure and cut a piece of glass or plexiglass. Insert the photo or artwork of your choice and fasten it with tape or clips. Finally, add a hanger or a stand. Display your treasured memories with a lovely handcrafted photo frame! Tutorial
16. Glass Jars is a Fun Recycled Craft
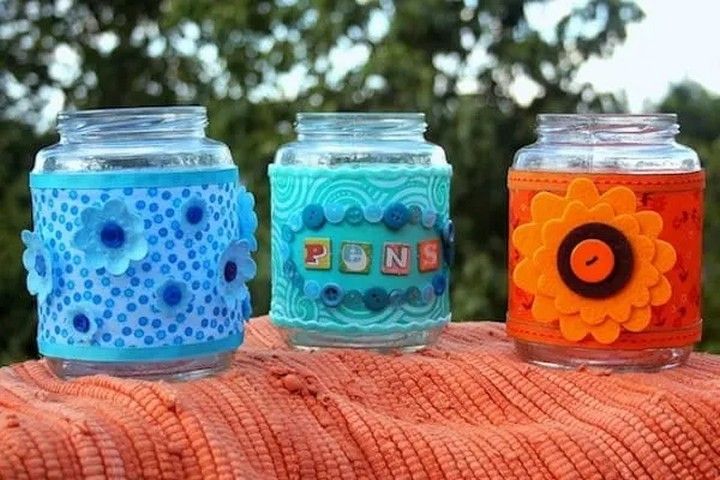
Make a fun recycled craft project out of glass jars! Clean the jars and remove the labels. For a rustic effect, paint them with acrylic paints or a layer of chalk paint. Make attractive vases, candle holders, or storage containers out of them. For added appeal, add accessories such as ribbons, twine, or beads. Allow your imagination to run wild as you transform glass jars into gorgeous and eco-friendly sculptures! Tutorial
17. American Flag Art
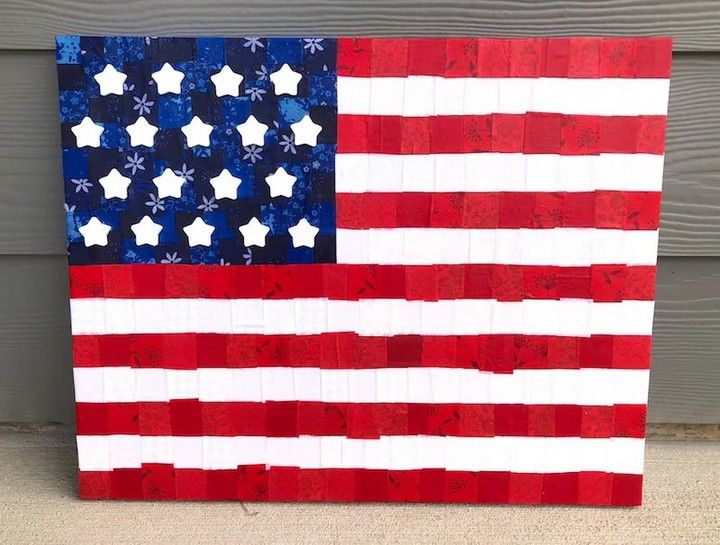
With just a few items, you can make patriotic American flag art! Begin with a canvas or wooden panel as your foundation. Make the stripes with painter’s tape, allowing room for the stars. Allow the red and white stripes to dry after painting them in alternating colours. Remove the tape and paint or stencil the stars in a blue corner with care. Display your American flag artwork boldly to show your patriotism! Tutorial
18. DIY Sandals Cost Zero Dollars to Make
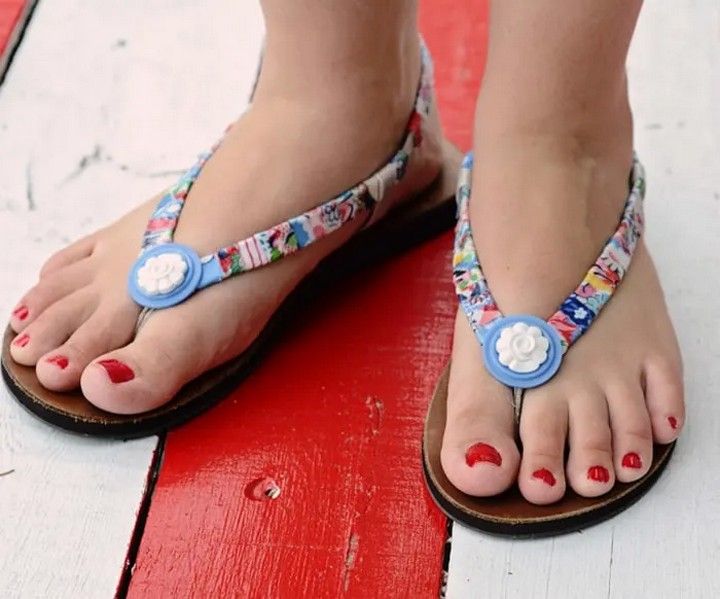
You can build DIY sandals for free! Trace the shape of your foot on a strong piece of cardboard. Make two similar pieces by cutting off the shape. Punch holes around the edges and lace them together using string or ribbon. Markers or paint can be used to decorate the sandals. Enjoy your low-cost, custom-made sandals that will not break the bank! Tutorial
19. Fabric Covered Shelves
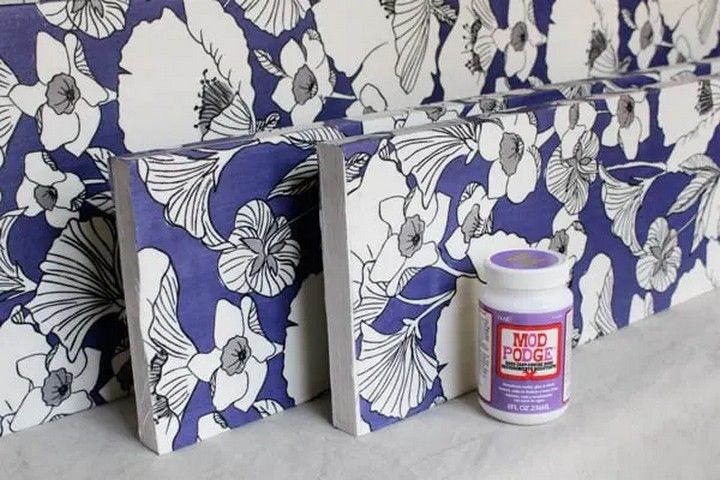
You can give your shelves a new look! Fabric pieces should be measured and cut to fit the width and depth of each shelf. To provide a smooth and wrinkle-free surface, fasten the cloth to the shelves using glue or a staple gun. Cut away any extra cloth. The fabric coverings will give your shelves a flash of colour, pattern, or texture, giving them a new and personalised appeal. Tutorial
20. Fabric-Covered Box
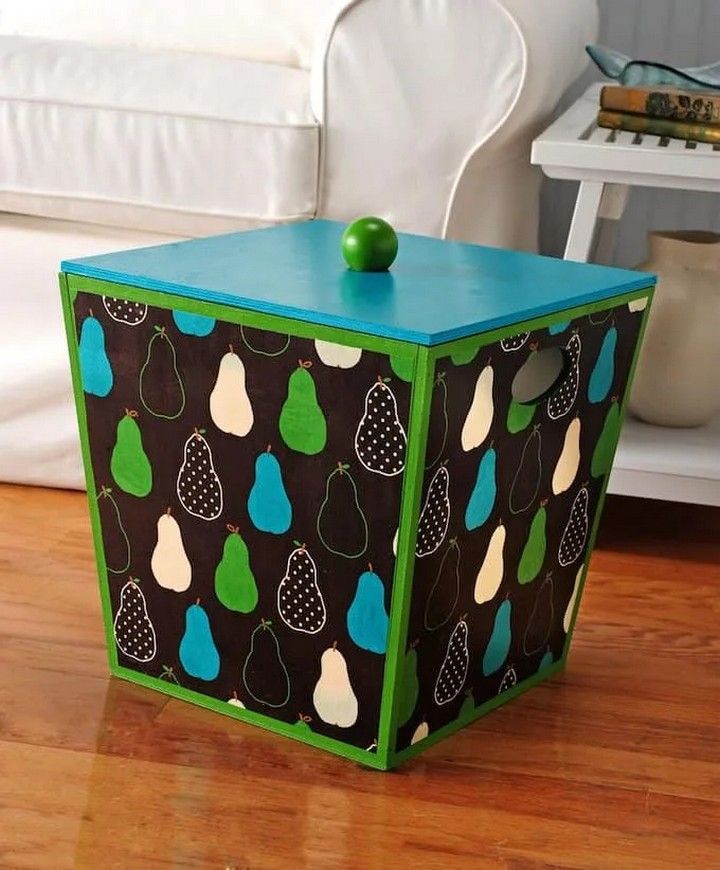
With fabric, you can turn an average box into a fashionable storage option! Choose a solid box and cut cloth to cover the sides and lid. Attach the fabric using fabric glue or a stapler, smoothing out any creases. For a clean finish, trim any extra fabric. You now have a lovely fabric-covered box in which to store your possessions in style and give a touch of refinement to any room. Tutorial

