Creating your own shelves may be an interesting and artistic approach to provide needed storage capacity and enhance the appearance of your property. Susie’s “11 DIY Shelf Projects to Enhance Space” provide a spectrum of ideas that fit different aesthetic tastes and skill levels, so everyone will find something here. With these ideas, which span rustic wooden planks with industrial pipes to sleek, modern floating designs, you may personalize your shelves to meet your own taste.
Every project is meticulously designed with exact instructions, which makes it adaptable enough for more experienced do-it-yourself as well as easy for beginners. Whether your aim is to maximize space in a tiny apartment or provide a unique focal point for a room, Susie’s advice may help you transform ordinary objects into spectacular ones.
1. Modern Ladder Shelf
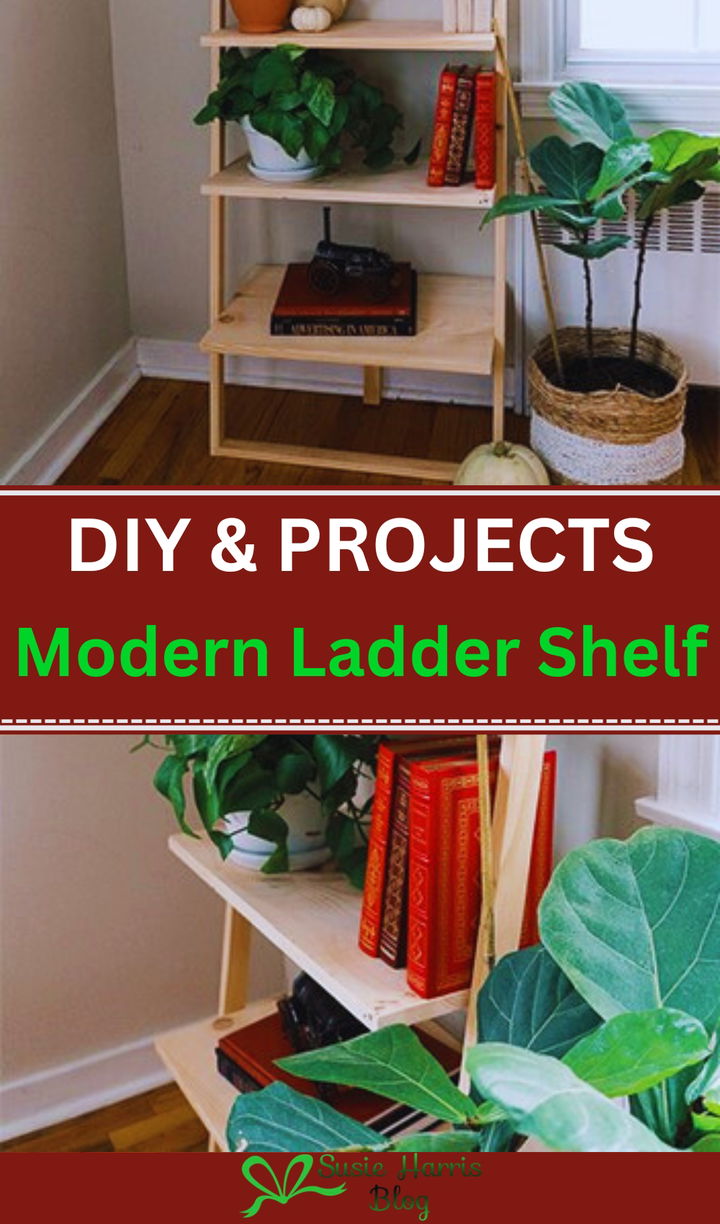
A modern ladder shelf is a common addition to many modern homes due to its practicality and aesthetic value. Sleek and simple in design, the ladder shelf rests against the wall and takes its name from the form of a ladder—its lower shelves are deeper than its upper ones. Aside from making better use of available space, this design also enhances the aesthetic appeal of any given area.
Modern ladder shelves are versatile and may be crafted from a variety of materials, such as wood, metal, or a mix of the two, making them suitable for displaying books, plants, or decorative objects. This versatility makes them suitable for a broad range of interior designs. Its adaptability makes it an ideal storage solution and decorative accent for every area in the house, including bedrooms, living rooms, and even bathrooms.
Supplies needed:
- Wood
- Hammer
- Screw
- Paint
- Paint brush
2. Floating Ladder Shelf
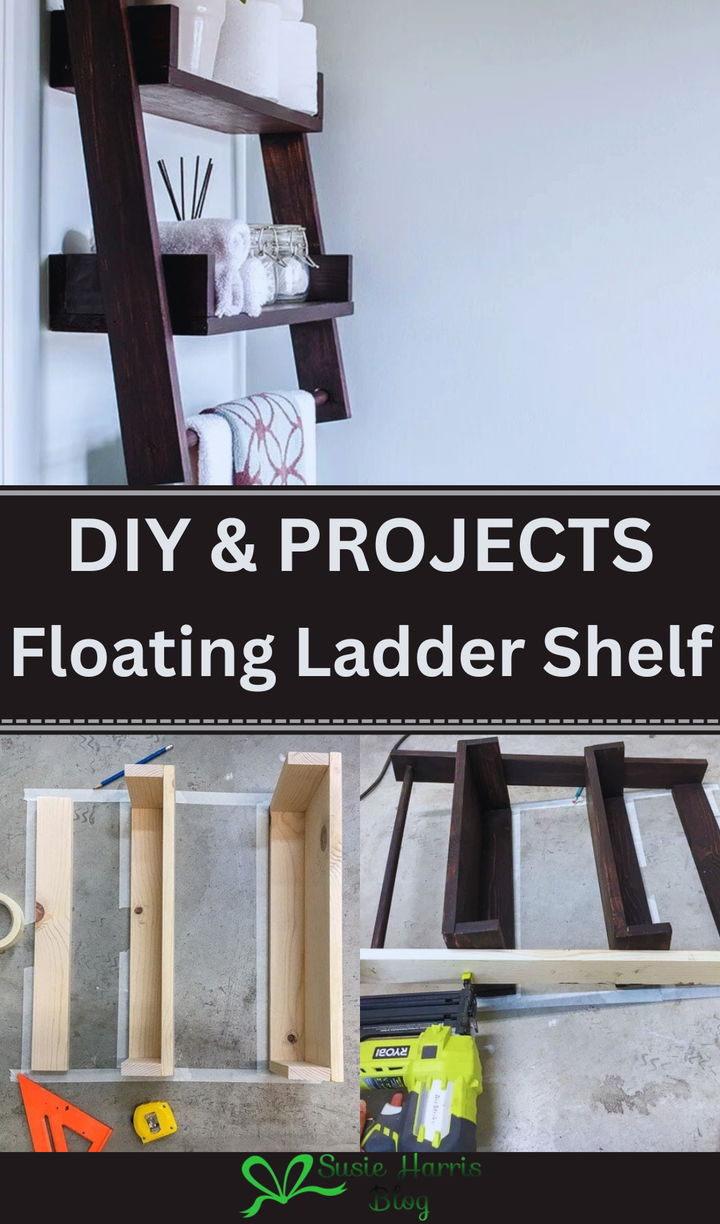
Modern shelving pieces like floating ladder shelves give style and usefulness to any environment. This shelf leans against a wall for a sleek, minimalist style and abundant storage. Building a floating ladder shelf requires a few essential items for stability and endurance. For shelves and side supports, wood or pine is usually used. Screw or wall bolts are needed to fix the ladder’s top to the wall to keep tipping. A finish like paint or stain may preserve the wood and match your décor, depending on your taste. You may make a practical and beautiful item for any living area with these materials.
Material needed:
- Wood or metal
- Screw
- Drill machine
- Measuring tape
- Measuring scale
3. Wall Mounted Ladder Shelf
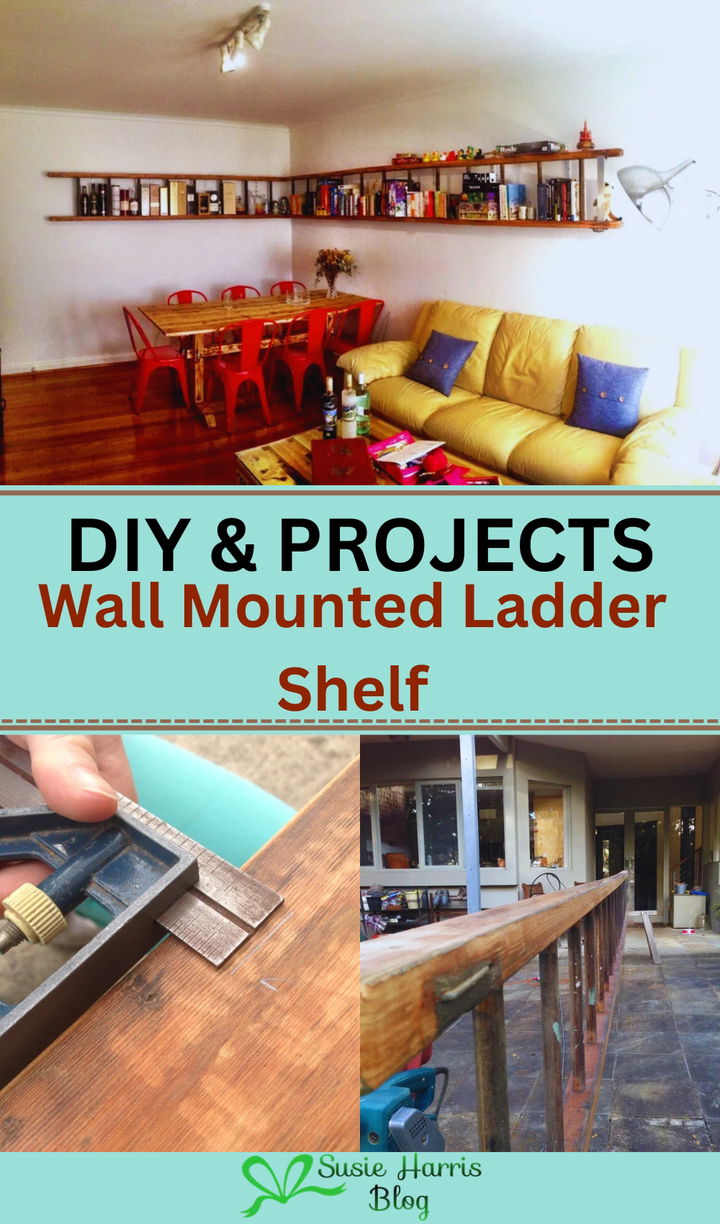
A wall-mounted ladder shelf gives any area a sophisticated and useful way to optimize space and accentuate any wall. Usually with a clean, understated form that fits several décor types—from contemporary to rustic—this adaptable item Made from premium materials, including as metal or exquisite wood, Susie’s ladder shelf offers plenty of space for books, plants, or decorative accents. Small homes or rooms with limited square footage would find it perfect as its shape lets it slant against the wall without using much floor space. A wall-mounted ladder shelf is a useful and fashionable addition to any house whether it is in the living room, bedroom, or workplace.
Material needed:
- Wood
- Measuring scale
- Screw
- Screw gauge
- Measuring tape
4. Mirror Ladder
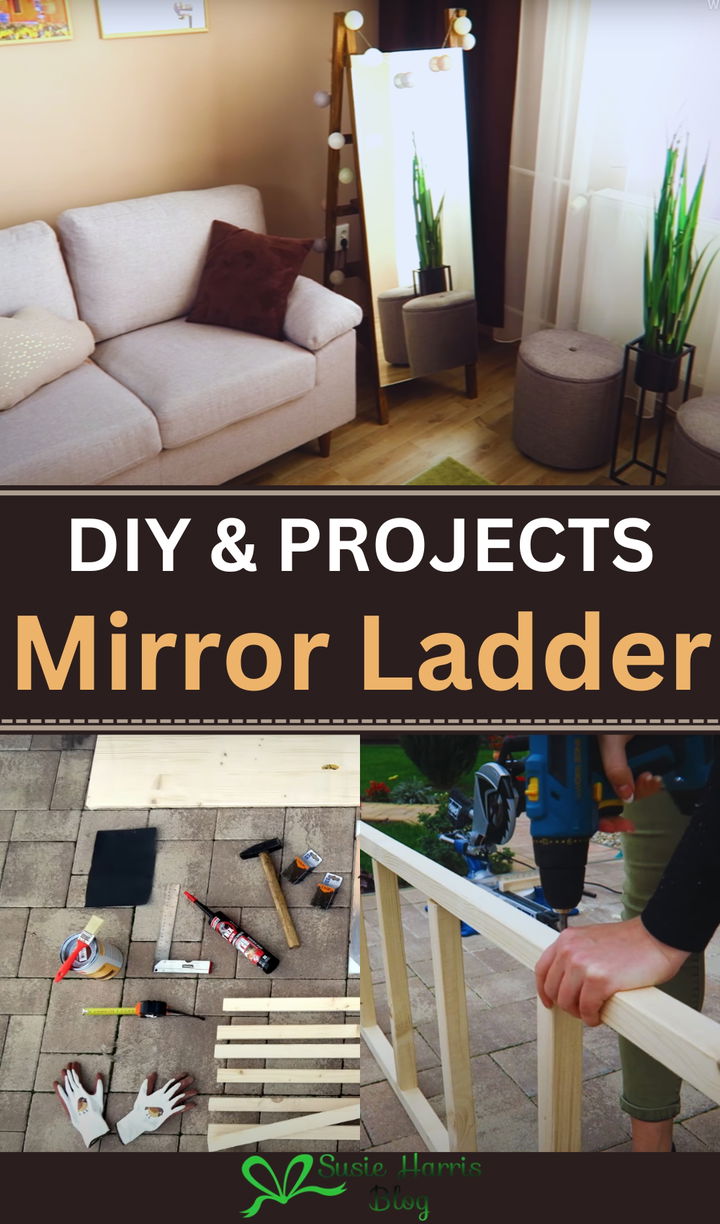
It is highly intriguing to consider a mirror ladder as a metaphor for the journey of self-reflection and professional development. Consider a ladder that has mirrors attached to either side of it. Each rung would represent a different stage in your own personal development. As you climb, you are constantly gazing at yourself in the mirror, which presents you with the opportunity to confront both your strengths and your weaknesses. Not only is it not enough to get to the summit of this ladder, but you also need to take pleasure in the personal development and transformation that occurs along the route. Because it emphasizes how vital it is to know oneself and to continue to improve oneself, adopting this concept may assist you in living a life that is more meaningful and rewarding.
Material needed:
- Wood
- Hammer
- Gloves
- Paint
- Paint brush
- Measuring scale
- Mirror
5. Leaning Ladder
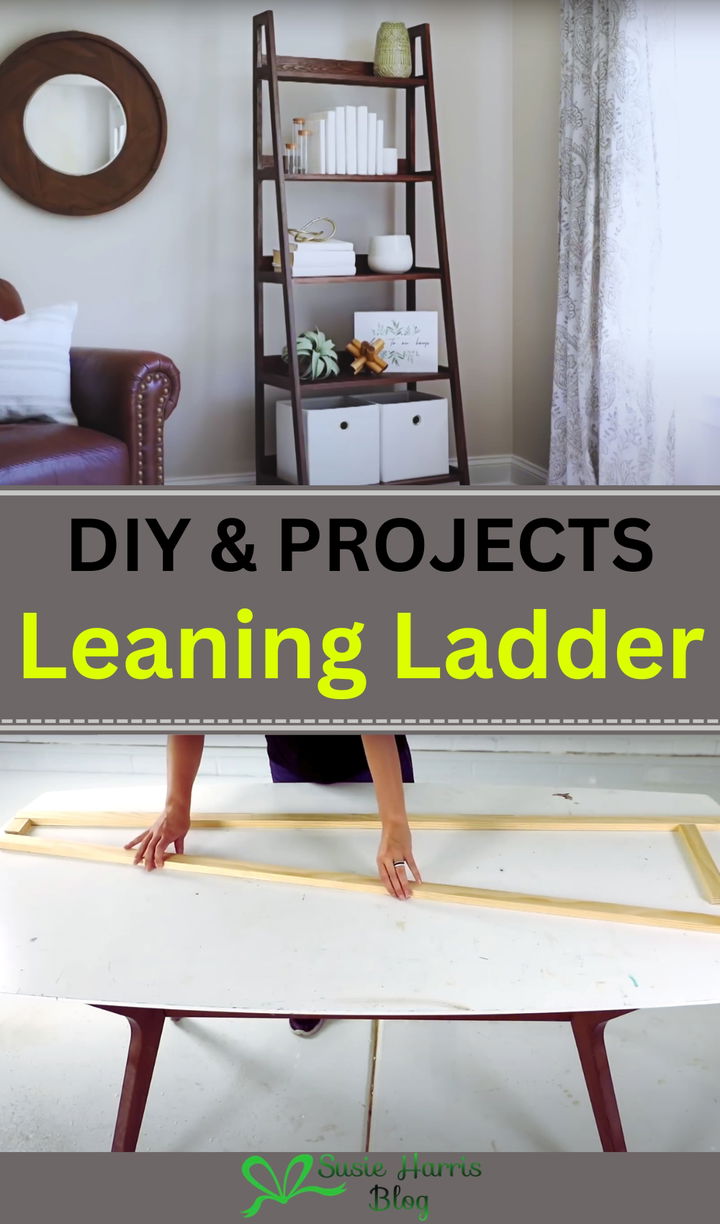
Any room may benefit from the addition of a do-it-yourself leaning ladder, and Susie’s method makes it even better. To begin, collect the necessary tools and materials: a drill, sandpaper, a saw, wood screws, and dowels or boards made of wood. Get the wood for the ladder’s sides and rungs cut to the length you want. Aim for a height of 5 to 6 feet with equally spaced rungs for a classic design. Get the edges smooth by sanding each piece. To put the ladder together, use wood screws to fasten the rungs to the two side sections; make sure the screws are slanted slightly to provide a firm lean against the wall. Lastly, paint or add a finish to make it complement your décor. In addition to adding a bit of personality to your home décor, this easy-to-follow DIY will provide you more space to store blankets and towels.
6. Nautical Floating Rope Shelf
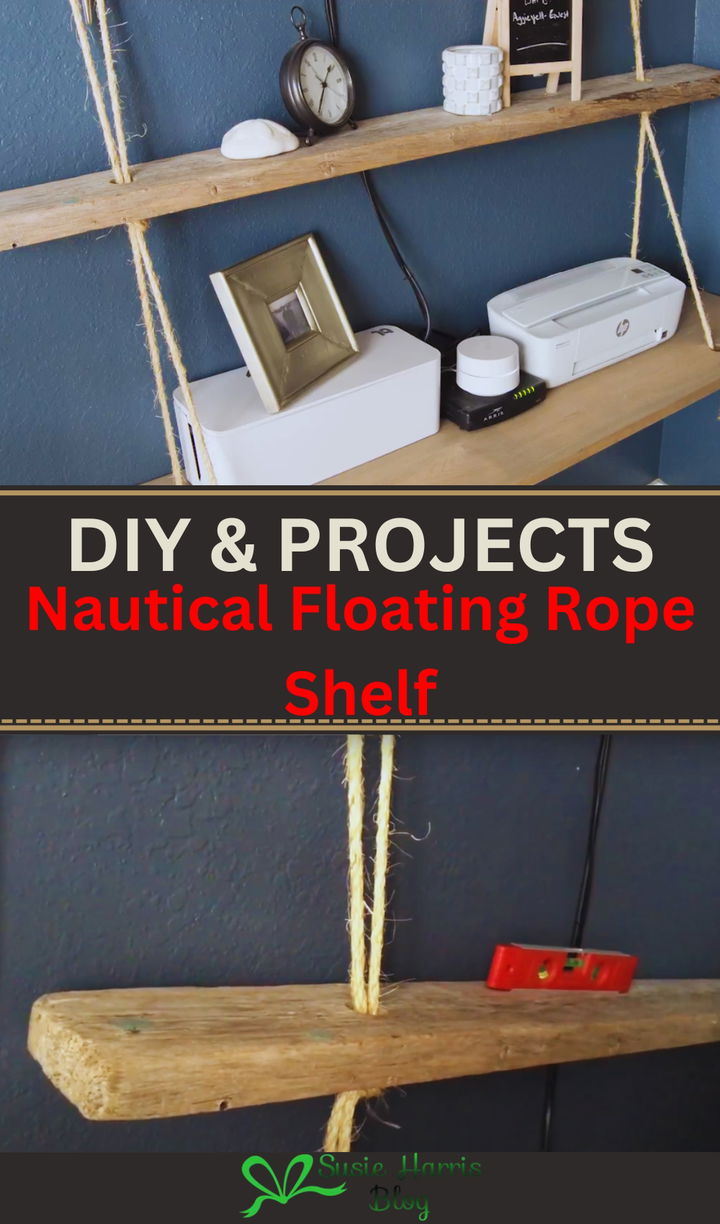
A delightful and practical way to include a bit of the sea into your home design is to create a nautical floating rope shelf. Everything you need is outlined in this easy-to-follow guide. The first item is the wooden shelves: Wood planks that have already been cut are available at hardware stores, or you may use salvaged wood. For each shelf, aim for 24 by 8 inches in measurements that work with your area and a thickness of around 1 inch.
- Rope
- Drill
- Sandpaper
- Wall Brackets or Ceiling Hooks
- A utility knife or scissors
- Measuring Tape
Steps for Assembling:
1. If you want to stain or paint the hardwood planks, sand them until they’re smooth. Give them enough time to dry.
2. Make sure the holes you drill in the corners of the shelves are aligned so you can thread the rope through.
3. Trim the rope to four equal lengths, leaving a little extra for hanging and knots.
4. Tying knots under each shelf to secure the rope, thread it through the holes.
5. After you’ve checked that the shelves are level, fasten the rope ends to wall brackets or ceiling hooks.
6. Cut off any extra rope and put your nautical shelf together with any ornamental pieces.
7. Mocka Porto Corner Shelf
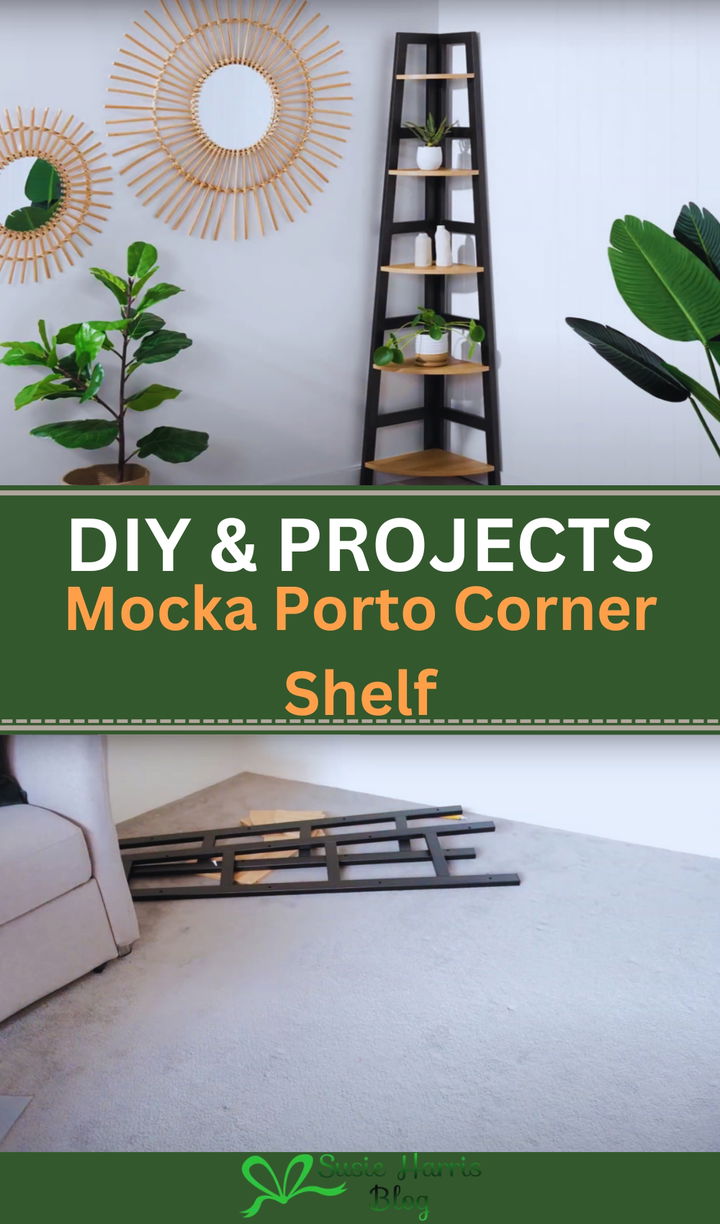
The Mocka Porto Corner Shelf is a stylish and useful addition to any room. Its form makes the best use of space by fitting into corners. This shelf is usually made from high-quality materials like MDF (Medium-Density Fiberboard), and it looks good too. Mocka Porto Corner Shelf is known for having a smooth surface that can be painted or coated to make it look sleek and modern. There may also be metal plates or frames on the shelves that make them stronger and give them a more modern look. This corner shelf is great for showing off plants, books, or artistic items.
8. Simple Corner Shelf
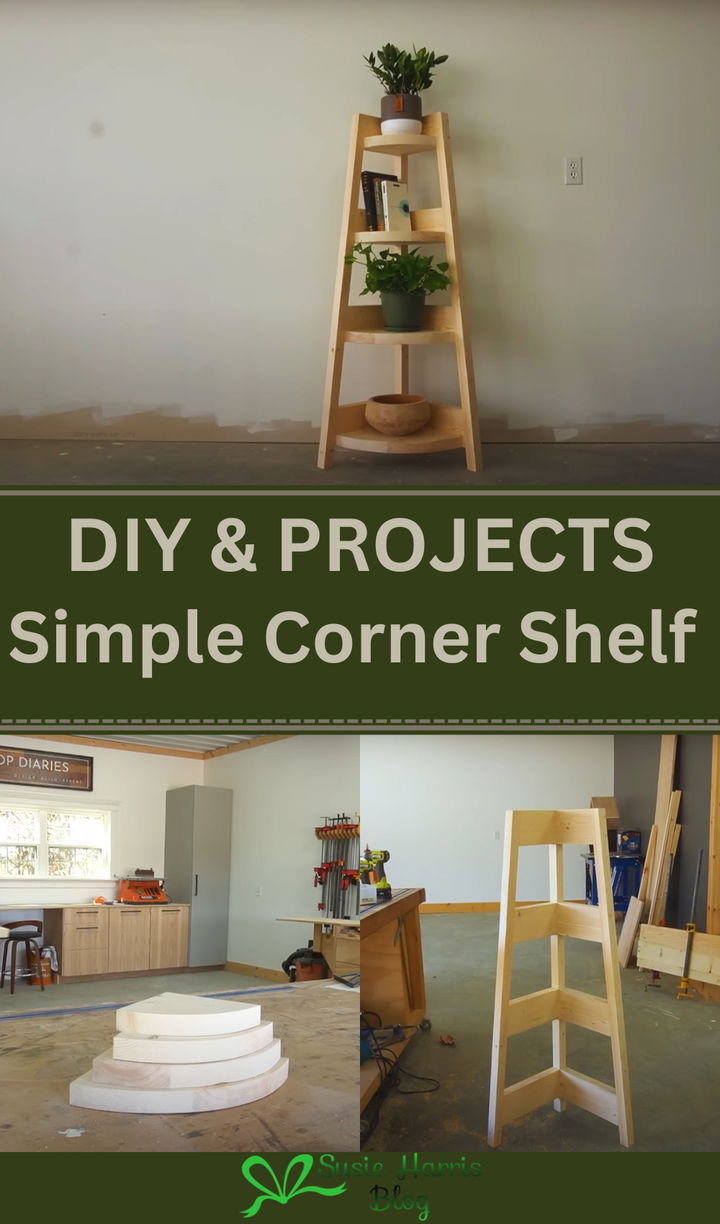
With just a few basic materials, you can make a useful and entertaining corner shelf as a do-it-yourself project. Here are the things you’ll need to get started:
- Select a strong wood
- Brackets
- Screws
- Wall Anchors
- Sandpaper
- Apply Wood Stain or Paint
Get rid of splinters and rough places on the wood by sanding it before assembly. Let the wood dry fully before applying any paint or stain. Secure the brackets to the wall using screws or wall anchors as needed, ensuring they are attached at the height and spacing of your choice. As a last step, screw the wooden shelf onto the brackets using the holes in the brackets. Stylish and functional, this corner shelf is the perfect accent for any space.
9. Blanket Ladder
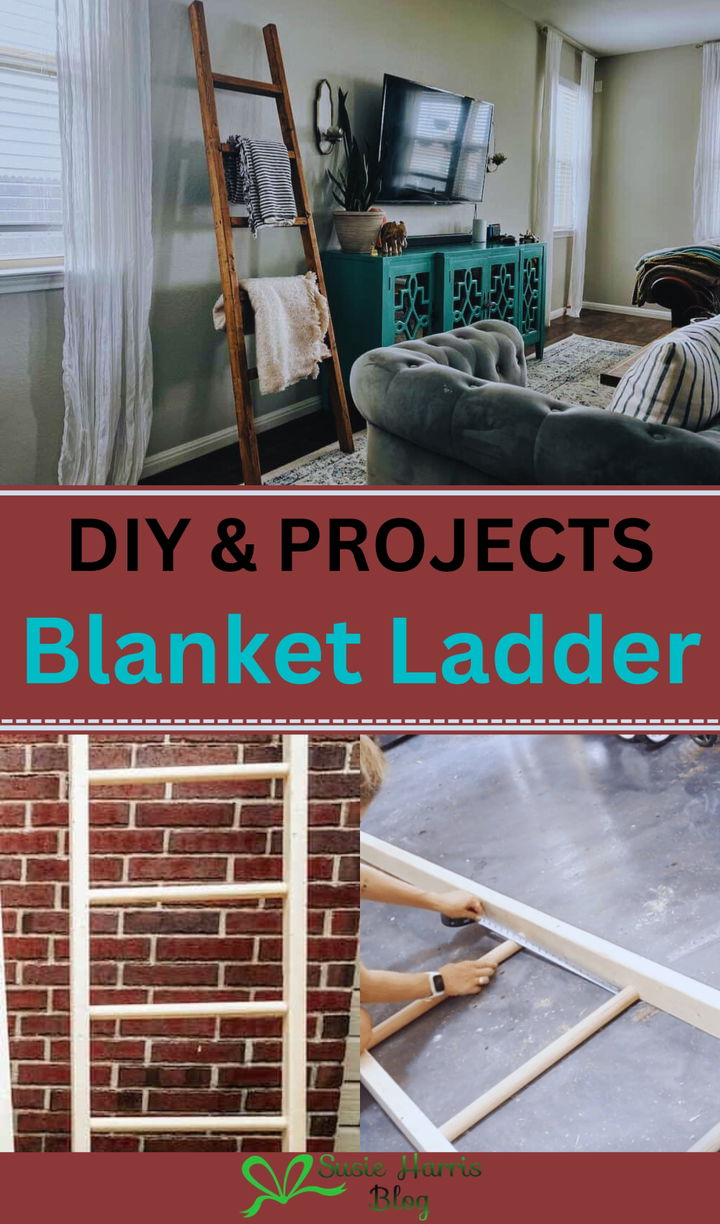
Making a blanket ladder is a fun and useful do-it-yourself project that will add a homey look to your home. The sides should be two wooden boards that are about 4 to 6 feet long, and the steps should be four to five wooden dowels or rungs that are each about 18 inches long. To make it even stronger, you’ll also need wood glue, wood screws or nails, sandpaper, wood color or paint, a saw to cut the wood to size if needed, and a drill to put the pieces together. To make sure the finish is smooth, start by sanding all the wood pieces. Place the boards so that they are straight across from each other. Use the drill and screws or nails to connect the dowels between the boards at even intervals. If you want, you can add extra support with wood glue. After putting it together, give it a finished look by staining or painting it. Let it dry all the way through before putting your best blankets over it and leaning it against a wall.
10. Copper Ladder Shelf

Creating a copper ladder shelf can be a stylish and functional addition to your home decor. Here’s a basic guide on the materials you’ll need and a brief overview of the process:
- Copper Pipes
- Copper Pipe Fittings
- Wooden Shelves
- Pipe Cutter
- Sandpaper
- Copper Pipe Adhesive or Solder
- Wood Finish or Paint
11. Ladder Bookshelf
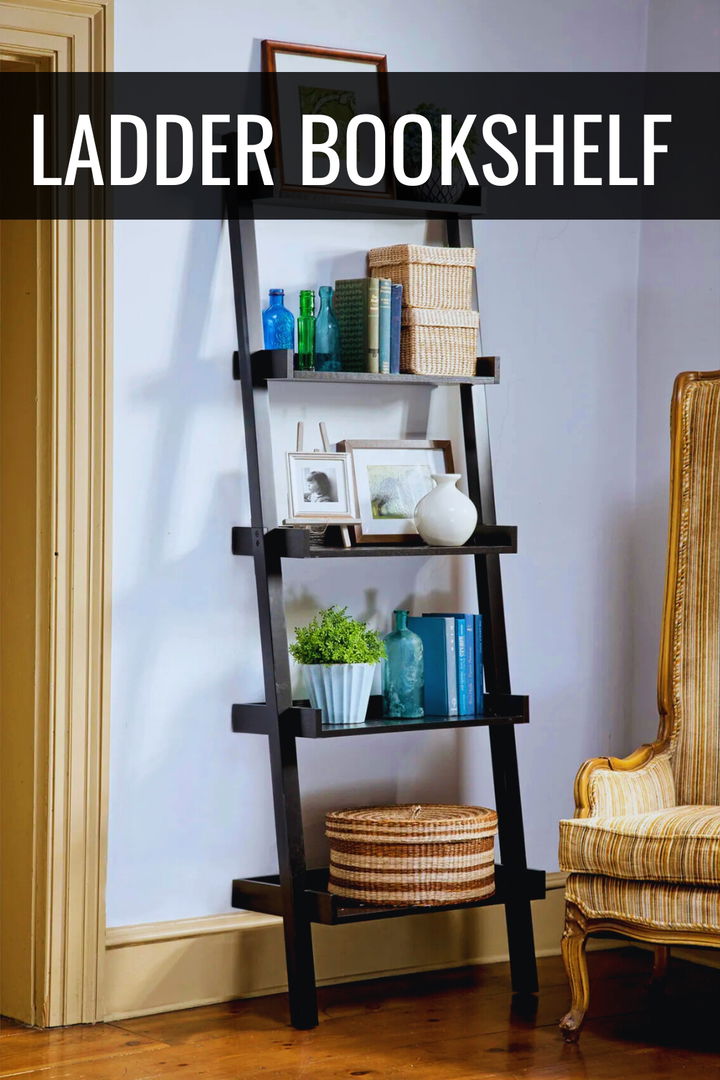
A ladder desk is both stylish and useful; it adds a unique design element to any room and provides storage space. Choosing the right materials for building a ladder desk is important for both sturdiness and looks. The frame is usually made from solid wood like oak, walnut, or pine, which makes it strong and gives it a classic look. The frame can be made of metal like steel or aluminum for a more modern look. This will give it a sleek and industrial look. Depending on the style you want and how much weight they can hold, the shelves can be made from wood, glass, or even plastic. Shelves made of wood are warmer and can hold heavy things, while shelves made of glass look clean and are great for showing off artistic items. It’s also important to think about the finish, like a natural stain, paint, or oil, to protect the materials and match the style of the room. By putting these materials together in the right way, the ladder bookshelf will be both useful and nice to look at.


