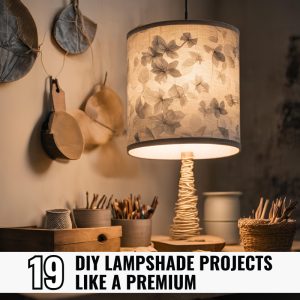
Making your own coasters can help you to personalize your house décor. They are entertaining and practical. Made fun and simple, coasters are a terrific way to prevent surfaces from acquiring water rings or just have some artistic expression. First stage is selecting items that fit your requirements and style. Among items you may use are cork, clay tiles, even wood slices. Instead of dying the wood slices, cover them with a clear lacquer to preserve them and provide a raw effect. Painting, decoupaging, or carving out forms from the flat surface of clay tiles can help them to seem more contemporary.
Another versatile choice with plenty of applications is cork. Cutting it is easy; you may embellish it with fabric, paint, or even pressed-into pattern design. By placing felt or rubber pads on the rear of your roller coasters, they would remain more durable and prevent movement and scratches. Making your own coasters is not only enjoyable but also allows you to showcase your skills and present them as one-of-a-kind presents to relatives and friends.
1. Marbleized Coasters
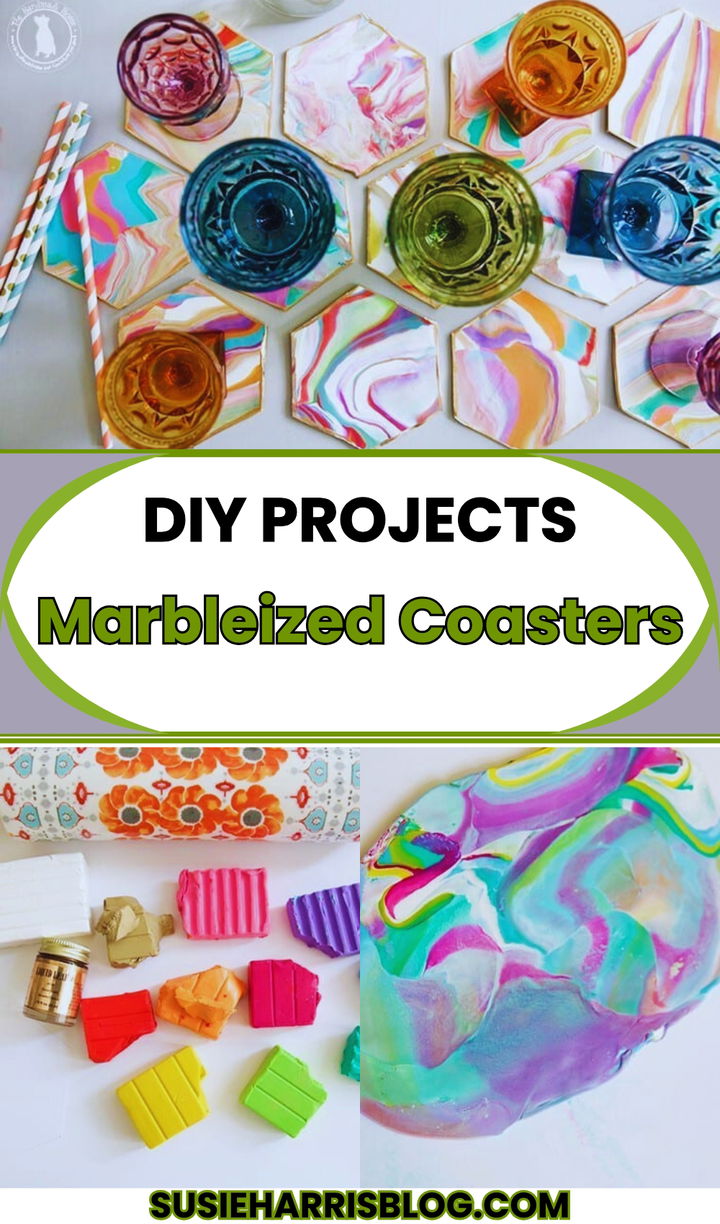
A fun and easy do-it-yourself activity that accentuates any home décor is marbleizing coasters. First collect plain ceramic tiles, nail paint in the colors you choose, a disposable container, and water. Pour some water into the container then dab some nail paint on top. Swirl the colors gently together with a toothpick to get a marble impression. Turn the tile face down into the mixture so that the polish adheres to the surface. Let it thoroughly dry then apply a durable clear sealer. Love your unique, personalized coasters!
2. Conversation Heart Coasters
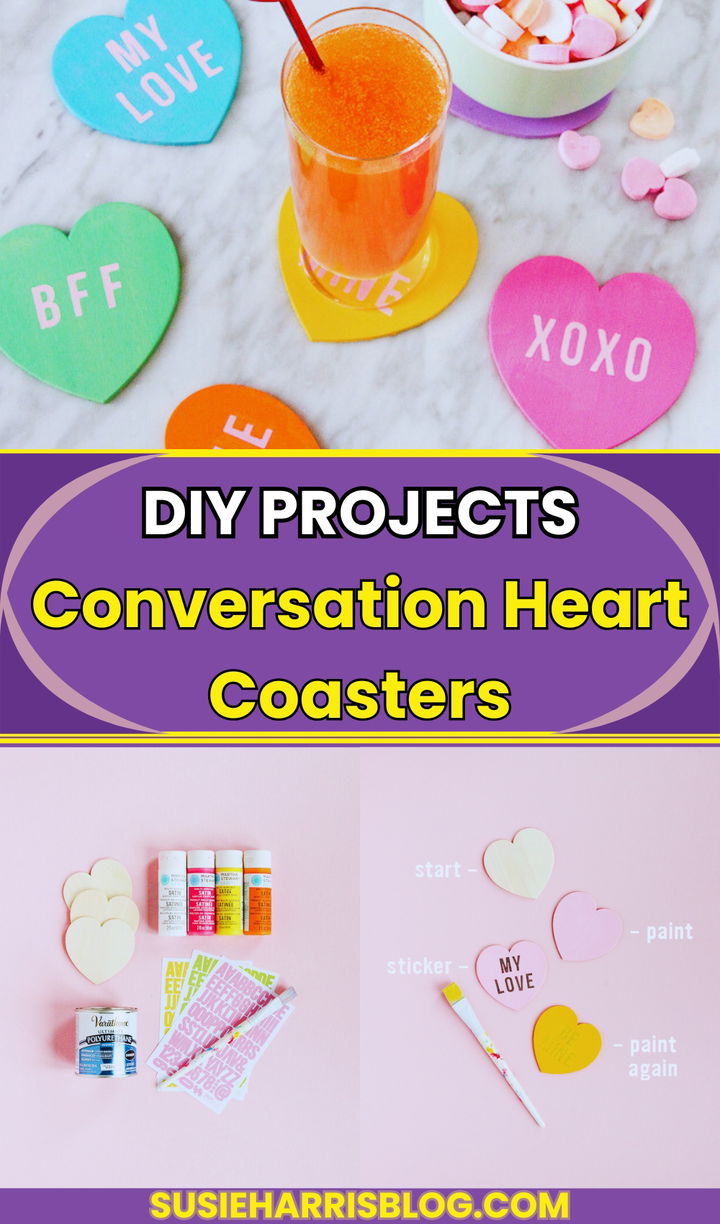
Starting a Conversation A fun do-it-yourself project, Heart Coasters gives your house décor a little of nostalgia and charm. Inspired by the traditional Valentine’s Day sweets, these coasters are simple to create and ideal for year-round celebration of love. Begin by shopping at a craft store for basic ceramic tiles. Paint them lavender, pink, and yellow pastels. With acrylic paint, stencils or freehand imaginative inscriptions like “Be Mine” or “Hug Me” End with a transparent sealer to preserve the design. These coasters are great talking starters in addition to protecting surfaces.
3. French Knitted Knotted Coasters
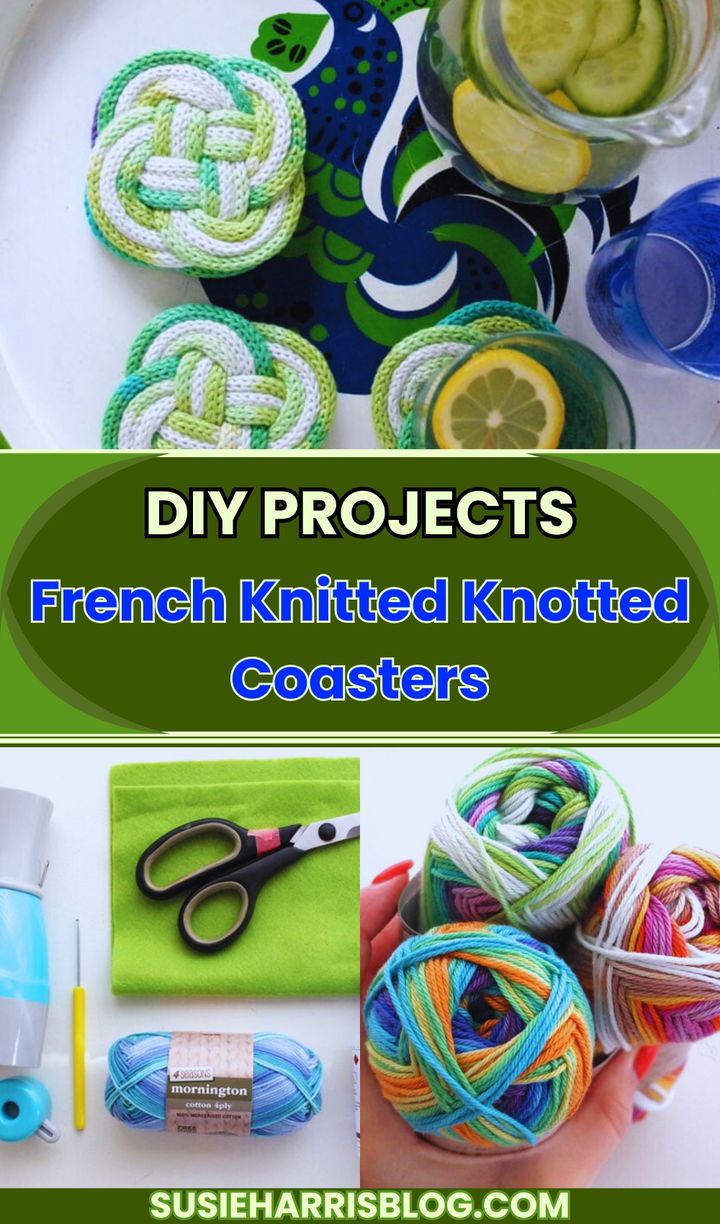
A fun and simple do-it-yourself hobby that personalizes your home décor is making French knitted knotted coasters. Create a long knitted cable first from a French knitting spool or loom. Once you have your string, form it into a spiral or knot design, then dab fabric glue to hold each layer in place. To complement your home decor, use vibrant yarns; try many knot techniques for a distinctive appearance. These handcrafted coasters preserve your surfaces and are great conversation starters.
4. Water Marbled Leather Coasters
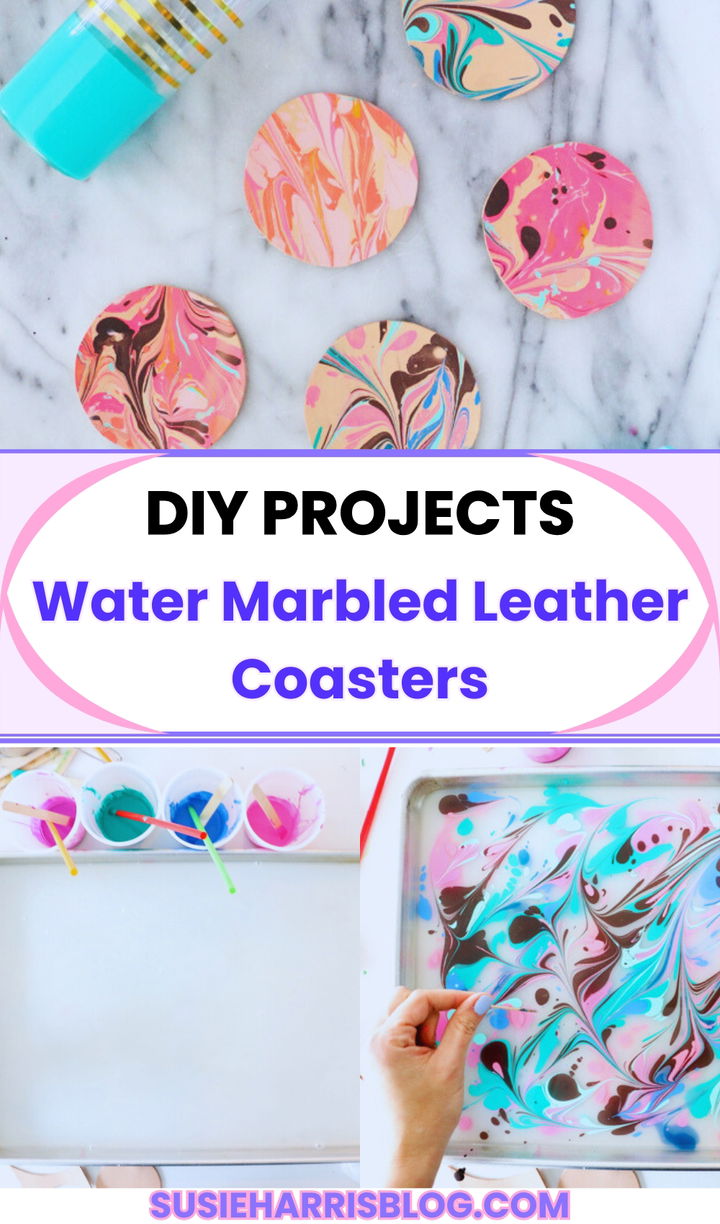
A unique do-it-yourself project combining function with creativity is making water-marbled leather coasters. Choose first good leather plates on which to build atop. Put water and drop acrylic paint in the colors you desire in a small pan. Softly swirl them to give the paint drizes marble-like look. Every coaster should be gently submerged in water so the paint will stick to the leather. Remove the plate and let it completely dry when you think the design good. This kind of artistic expression not only generates original, outstanding coasters but also gives your property personal touch.
5. Air Dry Clay Coasters
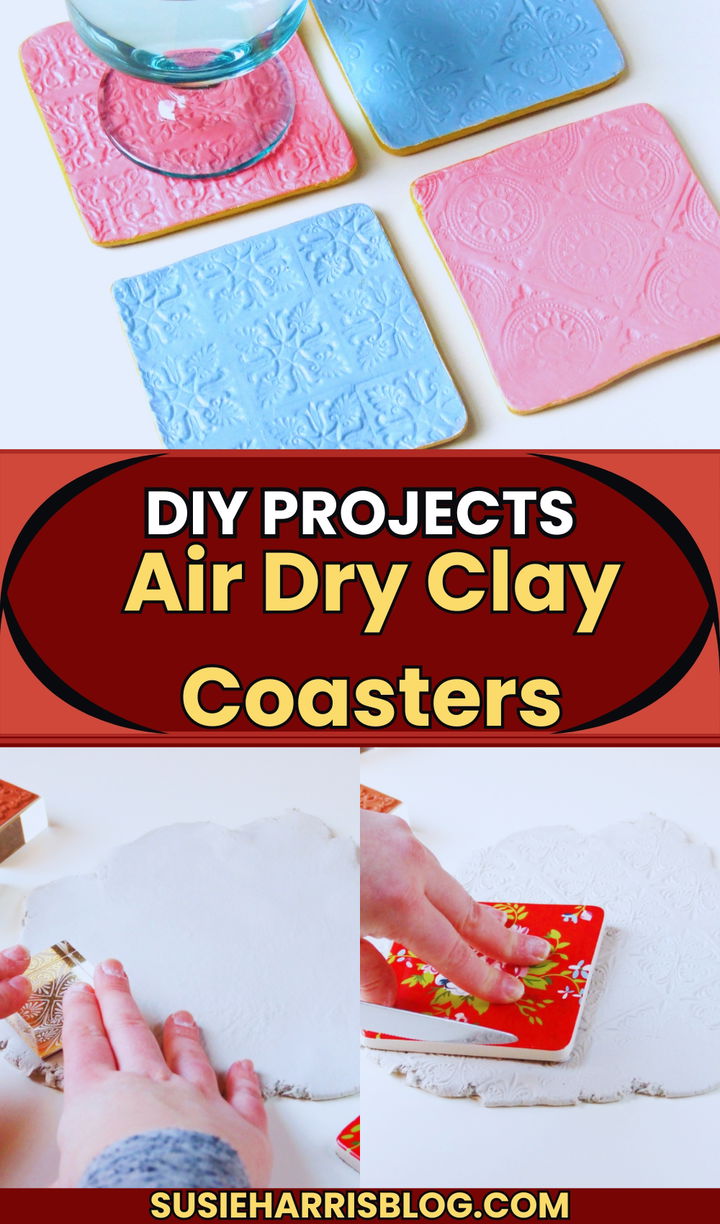
Air dry clay coasters are a great way to put your stamp on any room. DIYing it is a breeze and a lot of fun. Obtain a sealer, watercolor paints, and air-dry clay first. Prepare a level, uniform surface with clay that is about ¼ inch thick. Use a glass or a circular knife to cut out the coaster forms. Let the clay dry for at least two days. Once the coasters are fully dry, decorate them whatever your heart desires. Finally, to make the coasters waterproof and to save your artwork, apply a sealant. Put your handmade coasters to good use as decorative accents in your house.
6. Infusible Ink Coasters
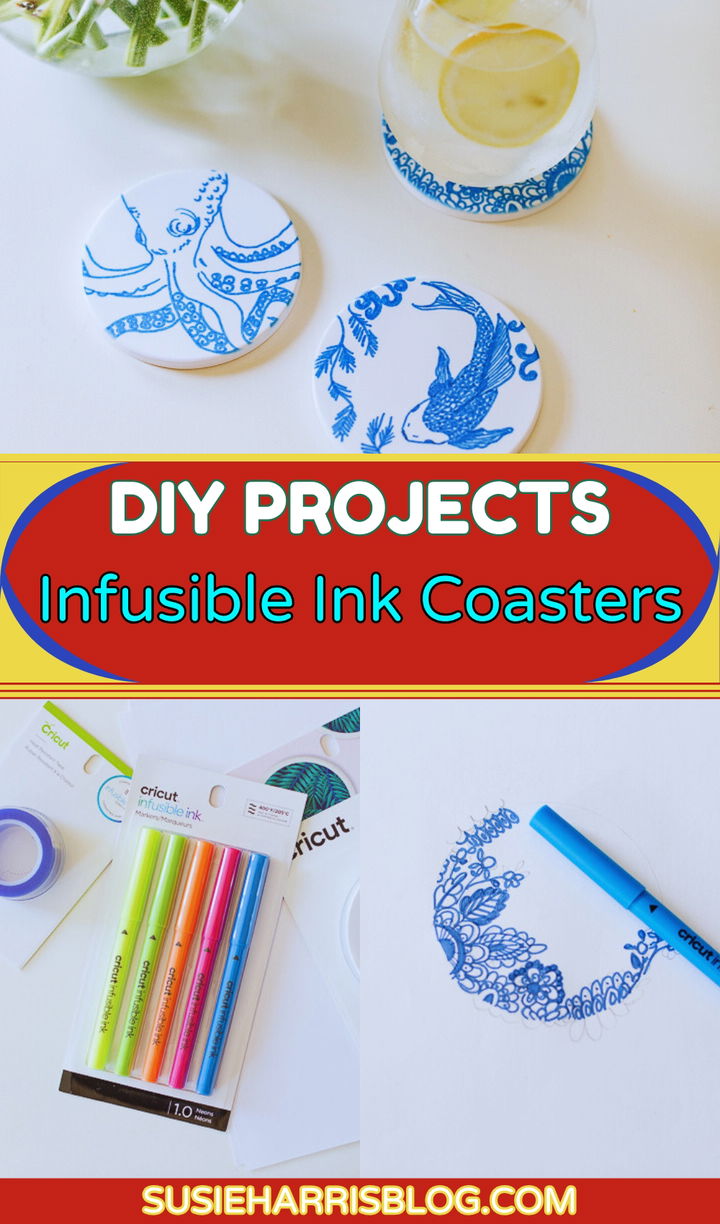
Making infusible ink plates is a creative and enjoyable do-it-yourself hobby that enables adding your own style simple for your house décor. These coasters are fashioned using infusible ink transfer sheets or pens. Right into the coaster’s surface, they leave brilliant, enduring patterns. Sort your finest Infusible Ink colors and designs first. Then manually create draw forms and patterns with a cutting machine. Once your design is finished, place it on a blank coaster that complements it. Add heat then using a heat press or iron, and see how your design transforms into a brilliant, long-lasting piece of art.
7. Emoji Craft Coasters
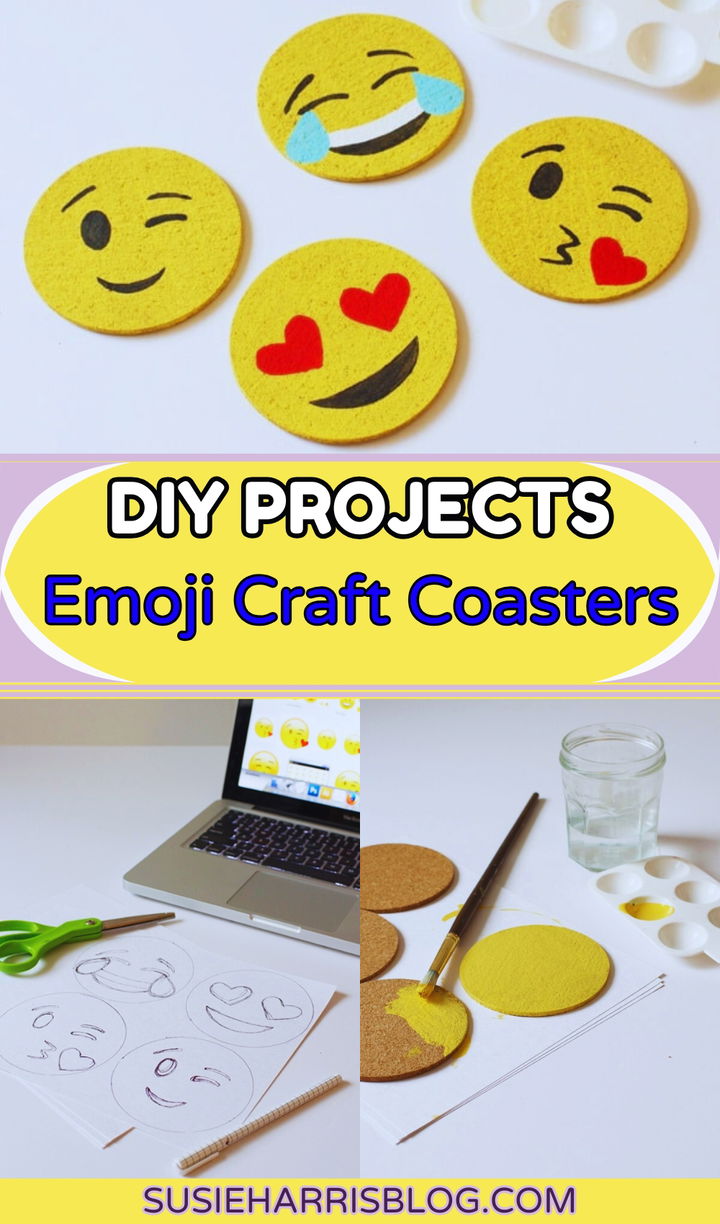
A great and easy do-it-yourself project that adds a distinctive, personal touch to any home is creating emoji craft coasters. Gather first small brushes, acrylic paints, and basic cork coasters. First, lightly sketch your chosen emoji designs on the cork surface. Once satisfied with the contour, vividly acrylic paints employing expressive details and bold colors will help to life every emoji. Let the paint fully dry before coating any coaster with a clear, weatherproof sealant. These beautiful coasters will inspire perfect gifts or quirky decorations for any house.
8. Clay Coasters
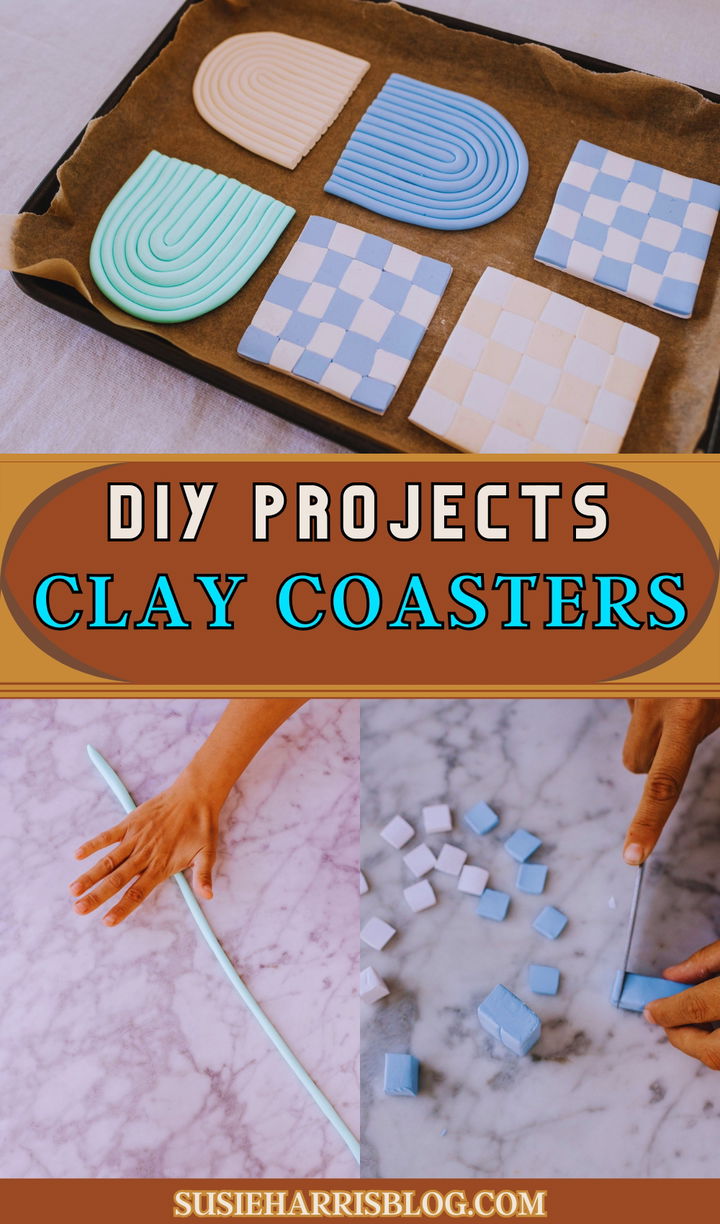
With this simple and entertaining do-it-yourself project, make one-of- a-kind coasters from clay. Before you begin, gather several air-dry or polymer clay colors. Cut out coasters’ worth of circles from the equally rolled-out clay using a glass or circular cutter. Stamps, textures, or paint patterns let you customize them before they dry or bake. Making your coasters impenetrable requires a waterproof sealant. With these coasters you created yourself, make someone happy and show off your artistic side.
9. Rope Coasters
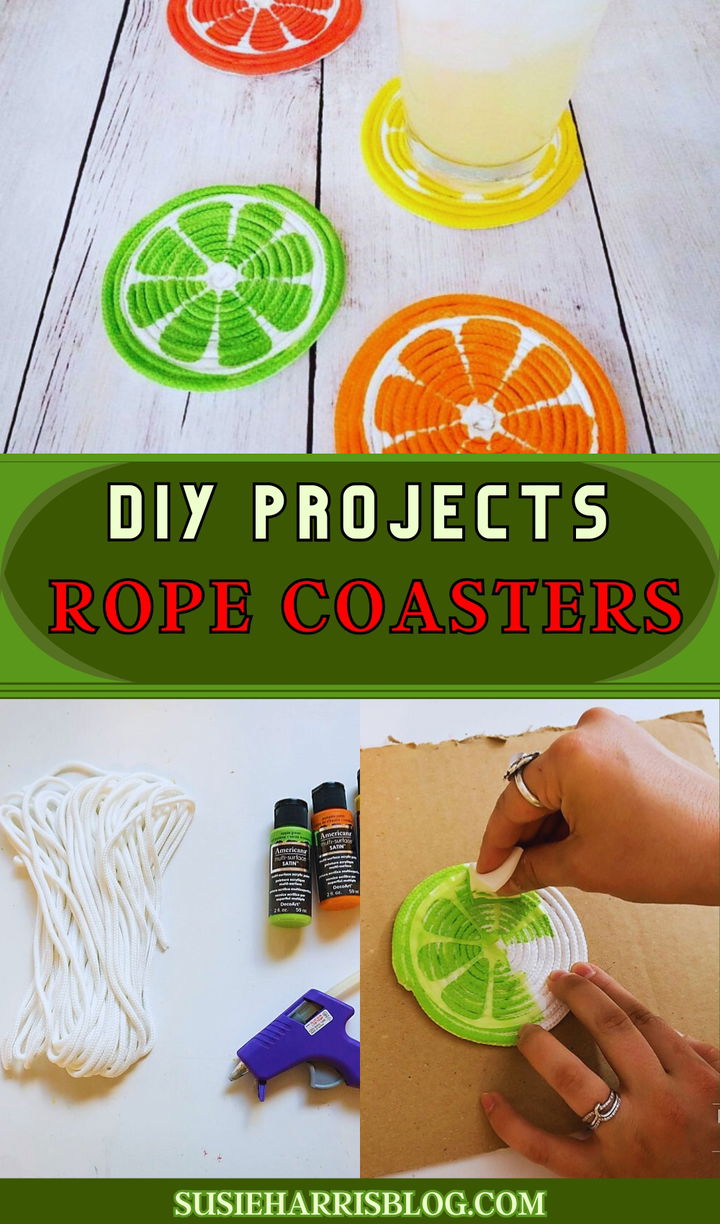
Create your own rope coasters for a really rustically pleasing addition to your decor. This is a fun and satisfying project. First things first: get a spherical base (cork, felt, etc.) and some strong rope—sisal, jute, etc.). As you start to tightly coil the rope from the center, fast glue it. Proceed in an outward spiral until your desired size. Bring the rope’s ends up and snip off any surplus. These coasters might also be beautiful handmade gifts and useful for surface protection. Paint or dye will help them to reach their next degree of originality.
10. Alcohol Ink Coasters
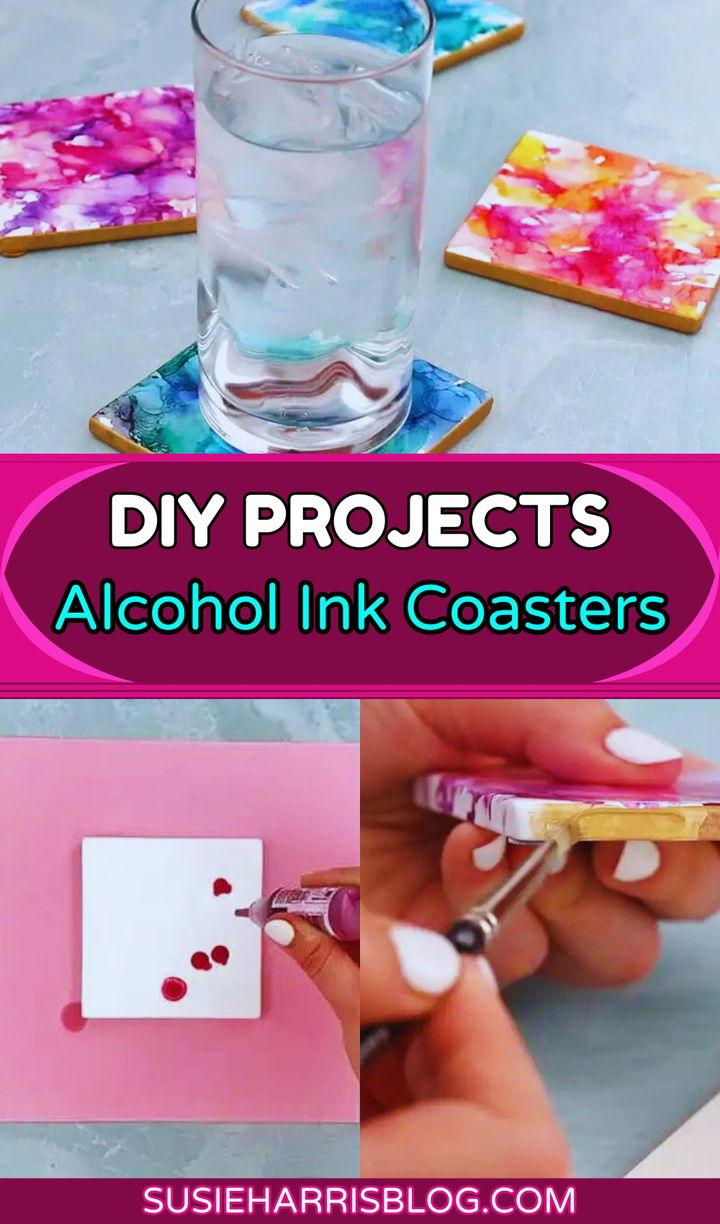
A simple way to show off your talent and give your home a unique look is to make alcohol ink coasters. Pick clay tiles to use as the base for your coasters. Make sure the tiles are clean before you put the colors you want on them with alcohol ink. You can drip, twirl, or paint with a brush to make your own patterns. Wait until the ink is completely dry before moving on to the next step. Spray the art with a clear, heat-resistant sealant to keep it safe from heat and water. Last but not least, attach the felt pads to the base so that the surface doesn’t get scratched. Enjoy your customized, bright plates!
11. Wool Felt Ball Coasters
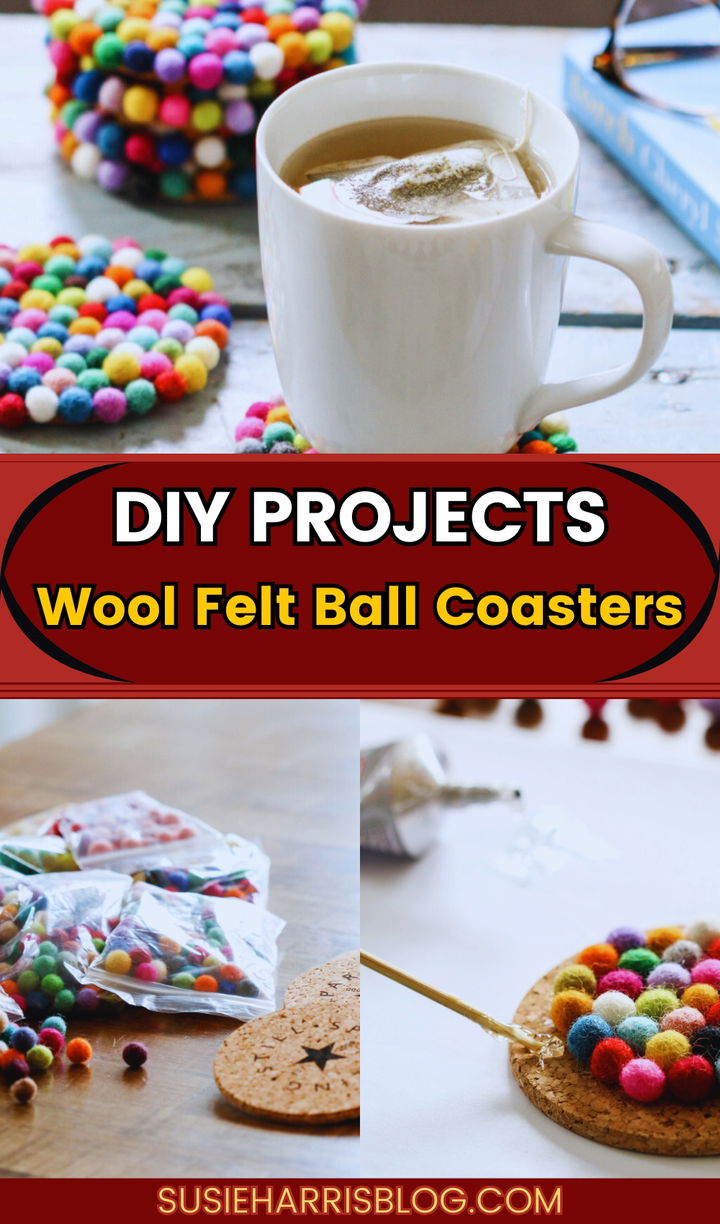
Making wool felt ball coasters is a fun do-it-yourself project that gives any table setting a cozy, elegant touch. First, get some bright wool felt balls. You can buy them or use wool spinning and a felting needle to make them by hand. The balls should be arranged in a circle so that they fit together tightly. Use a strong glue or strong thread to hold them together. Not only do these coasters protect your surfaces, they’re also cute and useful pieces of decor that you can use yourself or give as gifts.
12. Faux Terrazzo Coasters
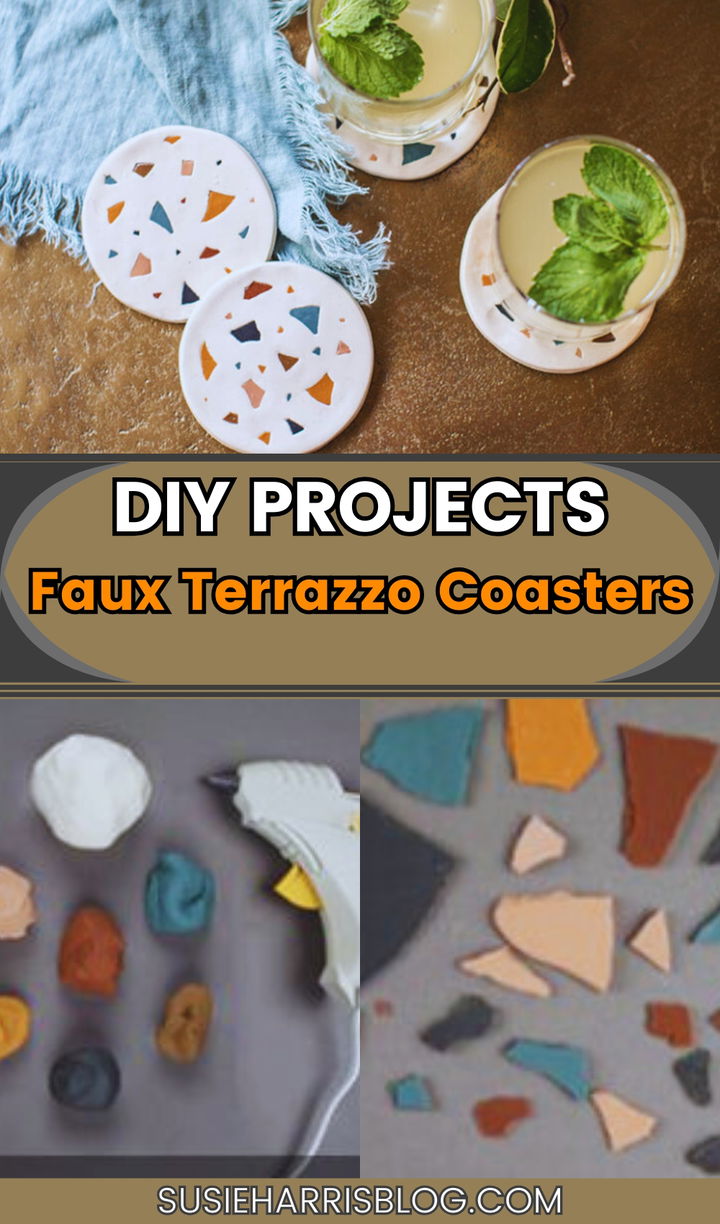
Making fake terrazzo coasters is a fun and satisfying do-it-yourself project that will give any home a touch of class. Get acrylic paint, a clear finish, and cork or clay coaster bottoms to start. Pick a base color for the cups and paint them all the same way. Once it’s dry, use a small brush to add different colors of paint in random, wavy designs that look like terrazzo. Try out different color choices to find the ones that look best with your style. Apply a clear finish to protect the design and make sure it lasts after the paint is completely dry. Have fun with your stylish, hand-made coasters!
13. Crushed Glass Coasters
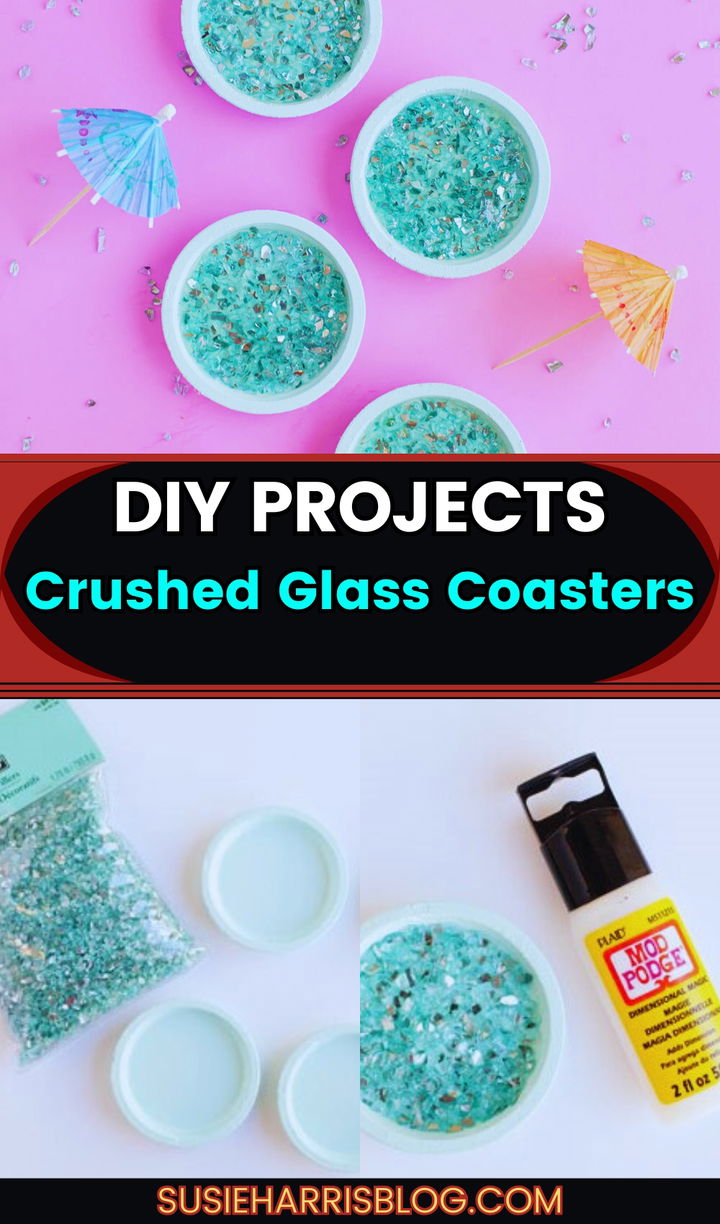
Making coasters out of broken glass is a fun do-it-yourself project that is both creative and useful. Start by getting your tools together. You’ll need safety gear, broken glass, silicone molds, and clear plastic. Follow the directions on the package to mix the glue and smooth it out. In the second step, a small layer of glue is put on the mold. After the glue has dried, put the broken glass in a design that looks good. Once you’re happy with the shape, add a second layer of glue to keep it in place. Once the coasters are completely dry, which usually takes 24 to 48 hours, your one-of-a-kind, beautiful table decorations are ready to use.