Use these 20 DIY Mod Podge Napkin Decoupage Ideas to make something beautiful. These napkin decoupage ideas has become very popular now a days. This project can be a little tricky but with a little practice, you can have it mastered in no time. You can decoupage a napkin onto furniture like drawer fronts and table tops. If you want to give a new look to your furniture or any other household item, decoupaged it. You can use any paper or light fabric material to cover your surface, napkin papers are great because they are light in weight.
With Decoupage, you can create amazing designs and patterns by using different types of paper and fabric. Another benefit of decoupage is it’s a great way to upcycle old things. These napkin decoupage ideas are great for all ages from kids to adults. You can decoupage masson jars, picnic basket, floral wood table, pendant lamp, gift box, and many more. You can use these napkin decoupages for gift giving for many occasion like mother’s day, teacher’s day, and friendship day. Simple and cute printed napkins decoupage on the top of various things makes an amazing art for your home decor.
1. Picnic Basket Makeover
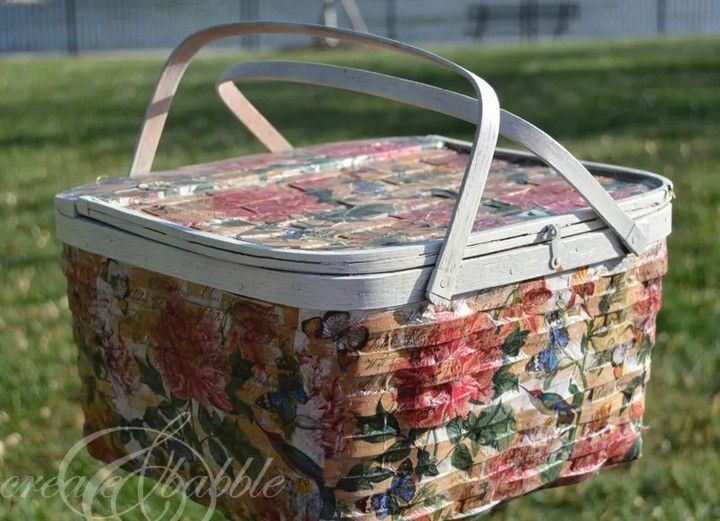
Makeover a boring picnic basket into an attractive and practical item. Begin by sanding and cleaning the basket. Apply a fresh layer of paint in your preferred colour. For extra appeal, add leather handles or colourful ribbons. Line the inside with a beautiful cloth or a waterproof lining. Fill it with picnic necessities and enjoy a stylish and redesigned picnic basket for your outdoor activities. Tutorial
2. Mod Podge a Chair with Napkins
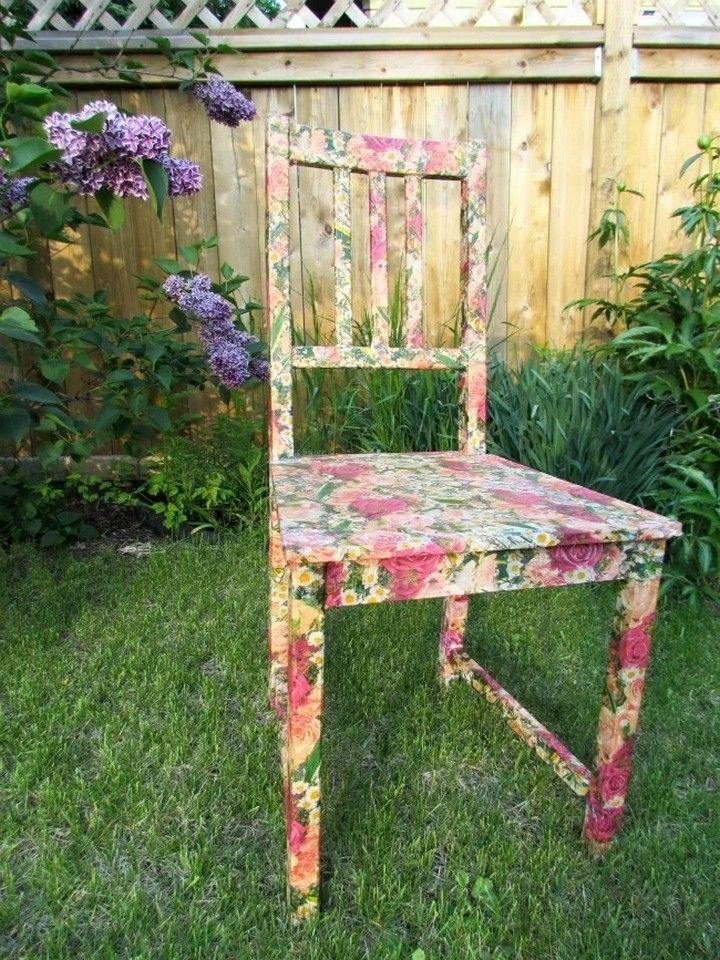
Using Mod Podge and beautiful napkins, give a chair a vivid and one-of-a-kind makeover. Clean and prepare the surface of the chair. Cut the napkins into shapes or strips as desired. Apply Mod Podge to the chair surface and smooth out any creases or bubbles before adhering the serviette pieces. Allow it to totally dry. For further durability, apply extra coats of Mod Podge. Take pleasure in your stunningly changed and eye-catching Mod Podge serviette chair. Tutorial
3. Floral Wood Table Tutorial
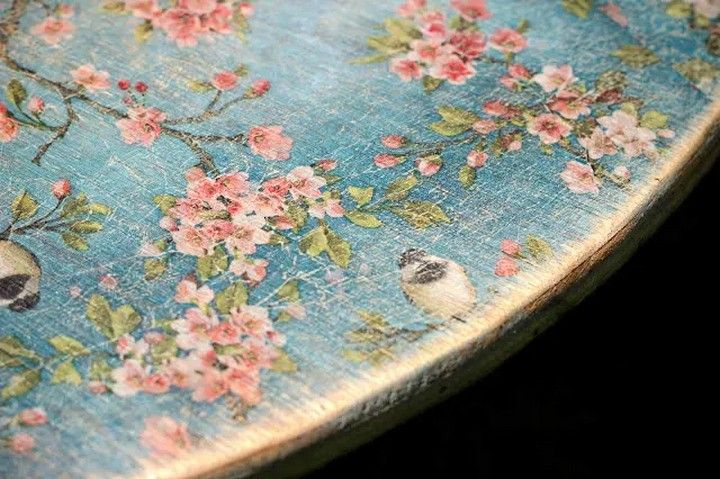
With this DIY technique, you can make a beautiful flowery wood table. Begin with a wooden table or a tabletop that can be attached to an existing table. Choose a colour to paint the surface. Arrange artificial flowers and leaves in a beautiful style using floral adhesive or decoupage material on the tabletop. Allow it to totally dry. Enjoy your one-of-a-kind and stunning floral wood table. Tutorial
4. Coastal Inspired Globe Makeover
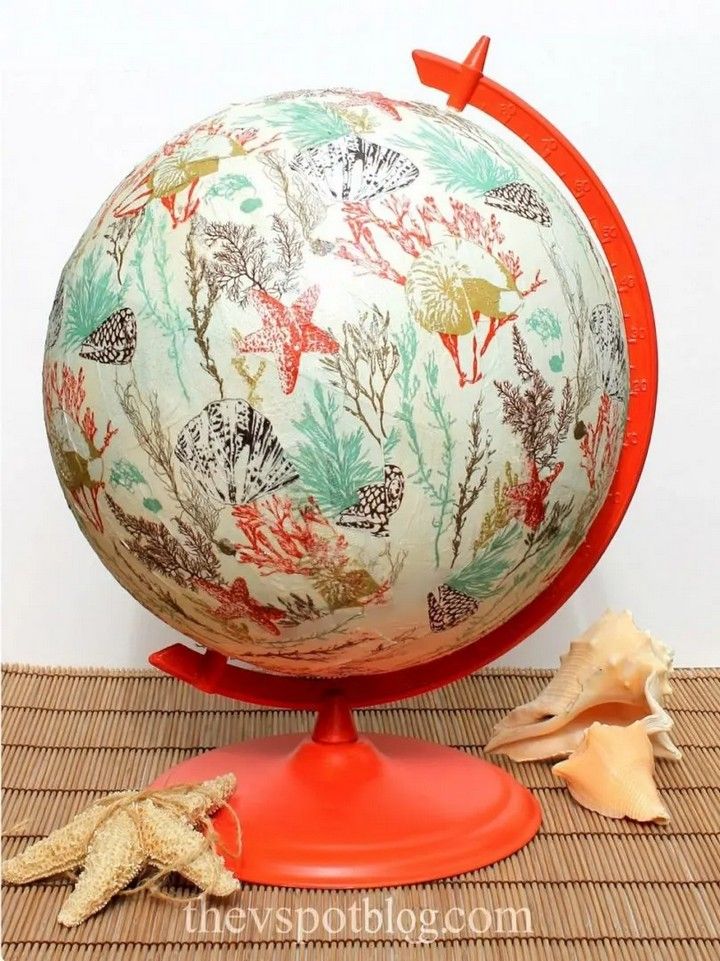
With a few simple steps, you can give a globe a coastal-inspired makeover. Begin by scrubbing the globe’s surface. Allow a coat of primer to dry before proceeding. Paint the globe in blue and green to look like the ocean. To add details like waves or beach objects, use a fine brush. Finally, apply a coat of sealant. Make a wonderful decorative item out of your modified coastal globe. Tutorial
5. Napkins on Wood Crates
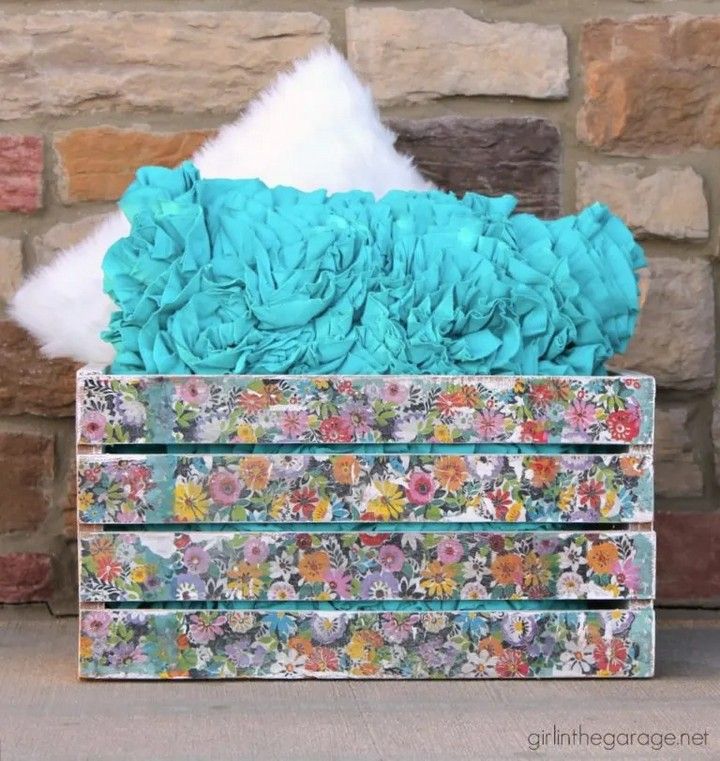
Decorative napkins provide a charming touch to wood crates. Clean the crates and, if desired, add a base coat of paint. The napkins should be cut to suit the crate panels. Apply a small layer of Mod Podge to the crate surface and gently press the napkins into place, smoothing out any creases. For further durability, seal with extra Mod Podge coatings. Enjoy your attractive napkin-decorated wood containers for storing or display. Tutorial
6. Decorate a Pendant Lamp
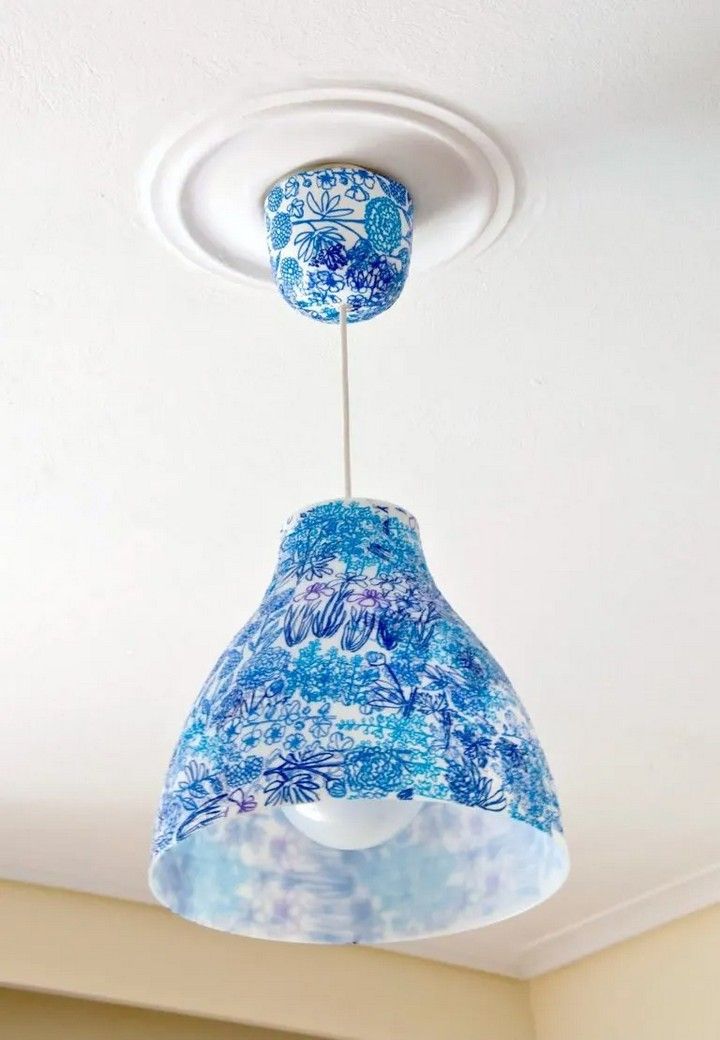
Decorate a pendant lamp to make it more stylish. To add a personal touch, wrap the lamp cord with beautiful fabric or rope. Decorate the Lampshade frame with beads, shells, or charms. Using acrylic paint, decorate the lampshade with patterns or motifs. Make a one-of-a-kind design on the lampshade with washi tape or stickers. Light up your room with a gorgeously adorned pendant lamp that shows your personal taste. Tutorial
7. Colorful Magnetic Clothespins
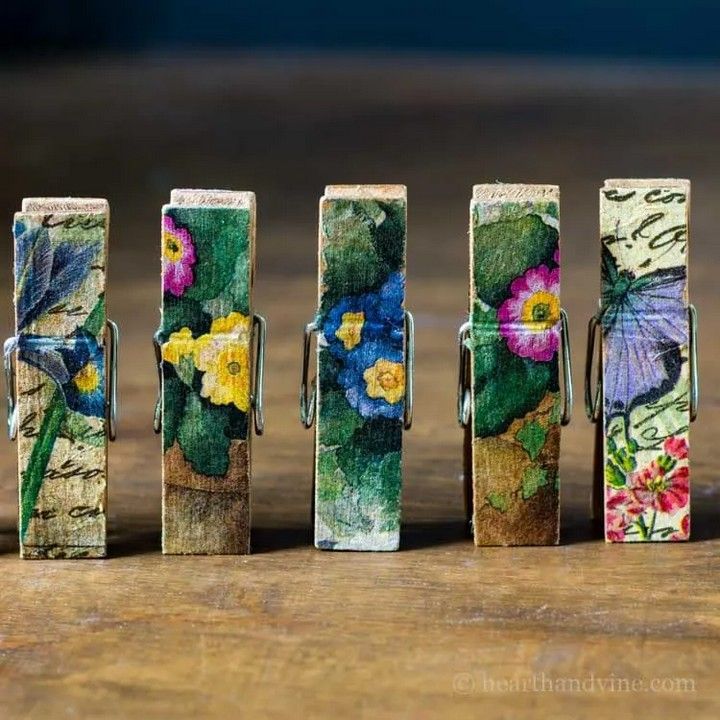
A simple DIY technique may transform regular clothespins into colourful and effective magnets. Begin by using acrylic paint to paint the clothespins in bright colours. Once dried, use strong glue to attach tiny magnets to the back of each clothespin. You now have colourful magnetic clothespins that you can use to attach notes, photographs, or artwork on your refrigerator or other magnetic surface, brightening up your home. Tutorial
8. Napkin Decoupage Milk Bottle
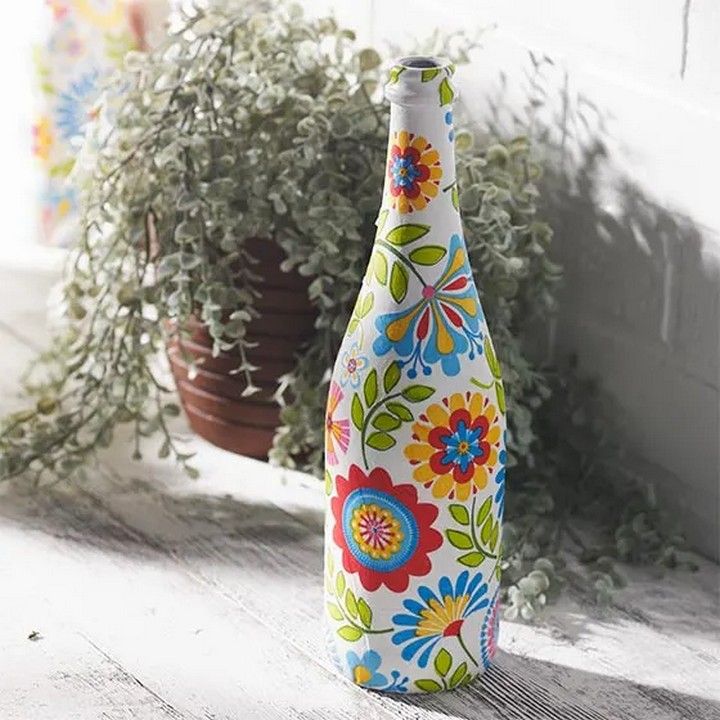
Using serviette decoupage, give a milk bottle a beautiful makeover. Thoroughly clean and dry the milk bottle. Cut the serviette into tiny strips or bits. Apply a coating of decoupage material on the surface of the bottle. Smooth down any creases or bubbles as you adhere the serviette pieces. Cover the serviette with another layer of decoupage material. Allow it to totally dry. Use your decoupaged milk bottle as a stylish vase or centrepiece. Tutorial
9. Party Lanterns with Napkins and Glitter
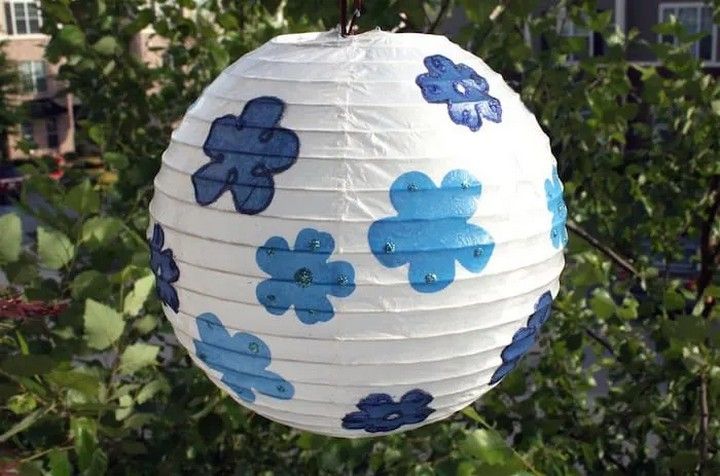
Using napkins and glitter, make dazzling party lanterns. Make little shapes or strips out of colourful napkins. Apply decoupage material to the surface of the lantern and gently glue the serviette pieces. To add sparkle, sprinkle glitter onto the wet decoupage material. Allow it to totally dry. Once dry, the napkins and glitter will shimmer and shine on the lanterns, creating the perfect ambience for your celebration. Tutorial
10. Decoupage Easter Eggs
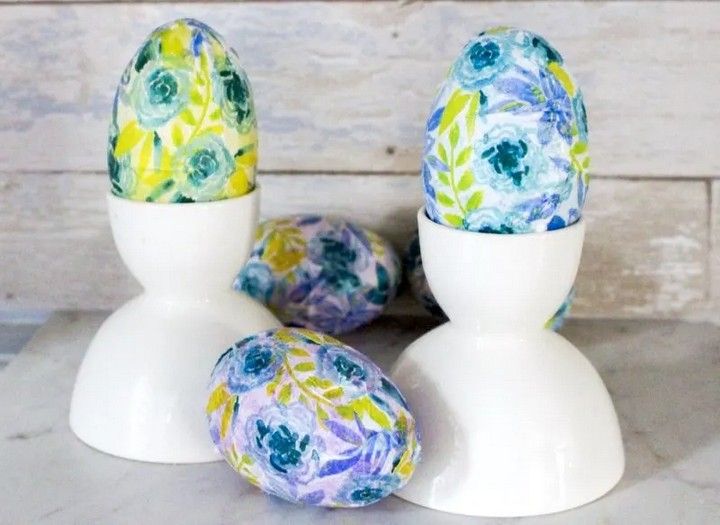
Decoupage Easter eggs can provide a special touch to your Easter celebration. To begin, hard boil or empty the eggs. Small pieces of ornamental napkins or patterned paper should be cut off. Apply decoupage glue to the egg and apply the paper pieces gently, smoothing out any creases. Allow it to totally dry. Show off your decoupaged Easter eggs, which include colourful motifs and patterns that are guaranteed to wow. Tutorial
11. Fall Napkin Dollar Store Pumpkin Makeover
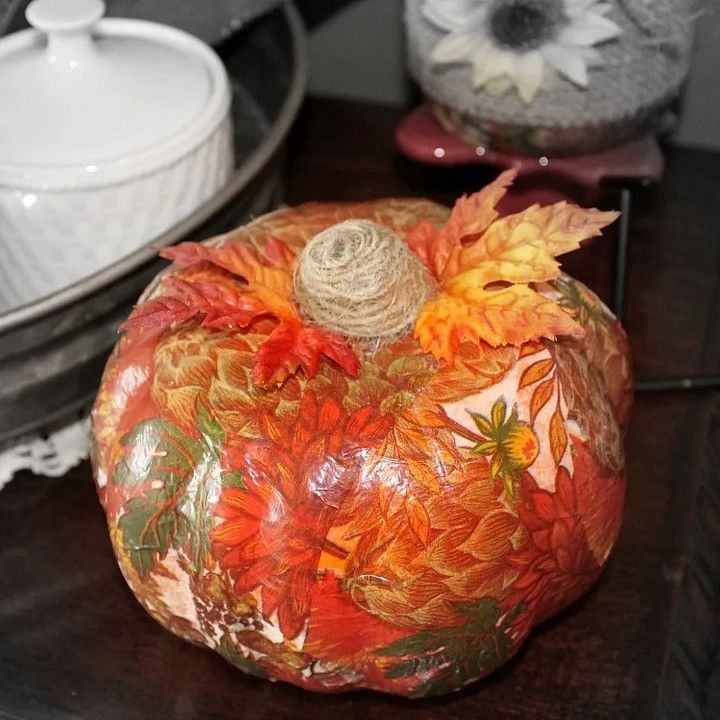
Using beautiful napkins, give dollar store pumpkins a fall-inspired facelift. To begin, clean the pumpkins and remove any labels or markings. Make little shapes or strips out of the napkins. Apply decoupage material to the surface of the pumpkin and gently glue the serviette pieces. Remove any creases or bubbles. Allow it to totally dry. Display your lovely decoupaged autumn pumpkins to give a festive touch to your home decor. Tutorial
12. Napkin Decoupage Gift Boxes
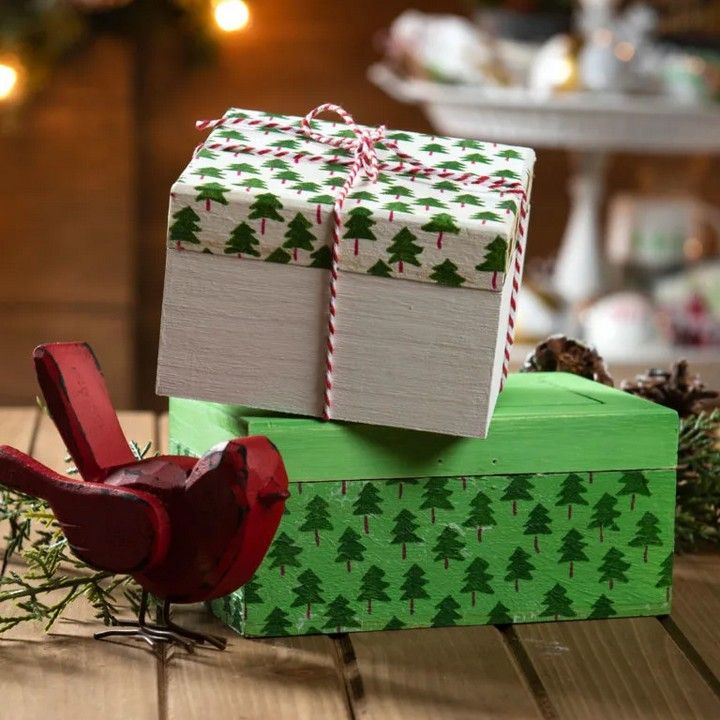
Using serviette decoupage, you can make stunning and personalised gift boxes. Begin with basic gift boxes in a variety of sizes. Cut little pieces or strips of ornamental napkins. Apply the decoupage material to the surface of the box and carefully glue the serviette pieces, smoothing out any creases. Allow it to totally dry. Your decoupaged gift boxes are now ready to be filled with thoughtful items, giving your presents an extra touch of elegance and originality. Tutorial
13. DIY Seashell Christmas Ornaments
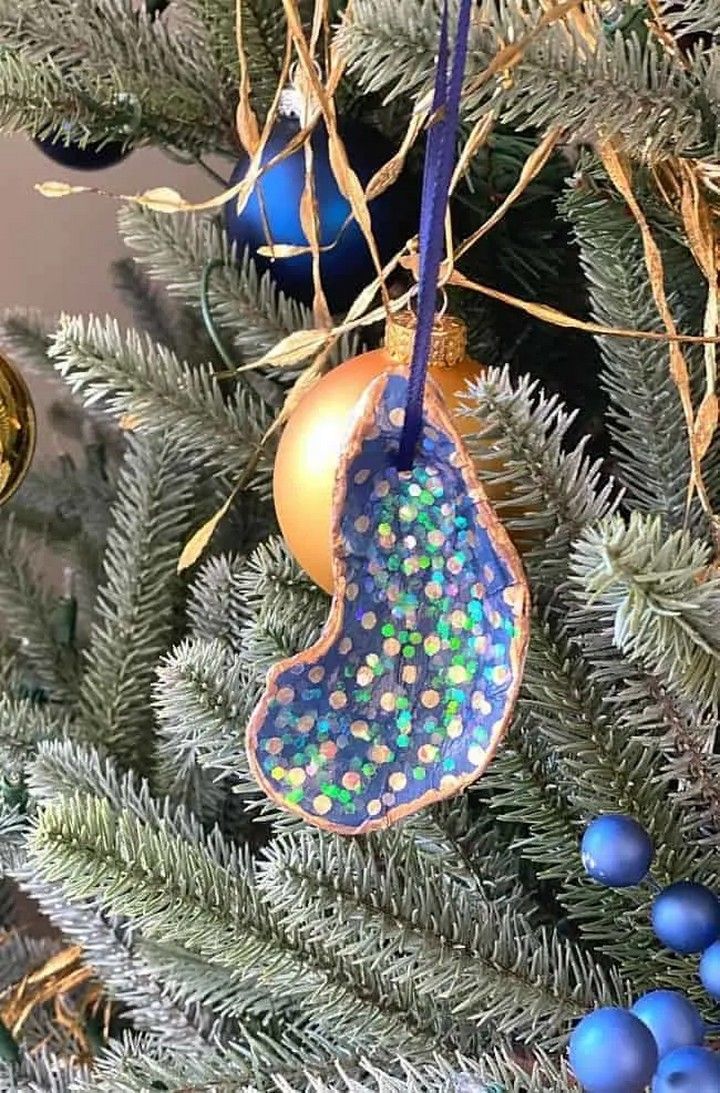
DIY seashell decorations will provide a beachy touch to your Christmas tree. Seashells of all shapes and sizes, clean and dry. Using hot glue or transparent adhesive, attach little loops of ribbon or string to the shells. Glitter, paint, or other trinkets can be used to decorate the shells. Use ornament hooks or ribbon to hang them on your tree. Take pleasure in the coastal-inspired appeal of your DIY seashell Christmas ornaments. Tutorial
14. Candles with Tropical Napkins
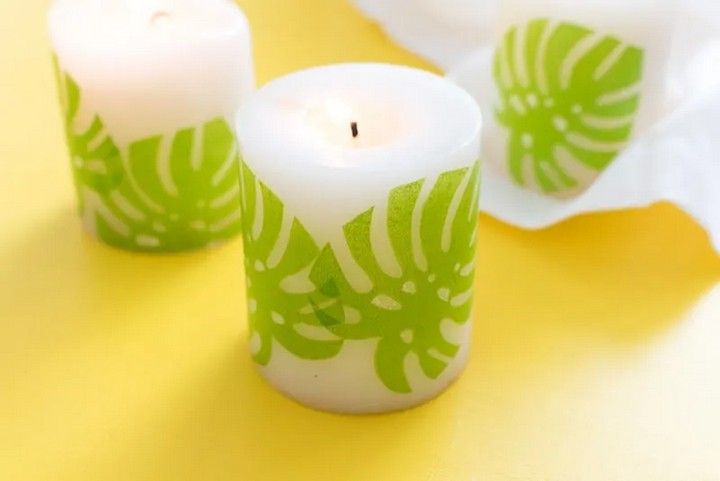
Using beautiful napkins, infuse a tropical flavour into your candles. Choose napkins with tropical motifs or bright flora. Cut out serviette parts that are the same size as your candles. Apply decoupage material to the surface of the candle and carefully glue the serviette pieces, smoothing out any creases. Allow them to totally dry. Create a pleasant and exotic mood by lighting your room with candles covered with tropical napkins. Tutorial
15. Mod Podge a Box with Napkins
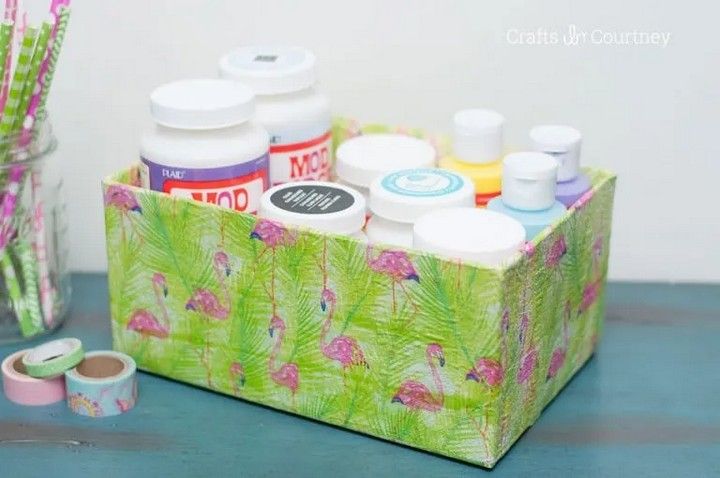
Using Mod Podge and ornamental napkins, turn a simple box into a gorgeously adorned masterpiece. Cut the napkins into shapes or strips as desired. Apply a coat of Mod Podge to the surface of the box and carefully glue the serviette pieces, smoothing out any creases. Additional coatings of Mod Podge are used to seal the whole box. You now have a beautiful and personalised box that adds a special touch to your storage or giving. Tutorial
16. Transform a Plastic Plant Pot
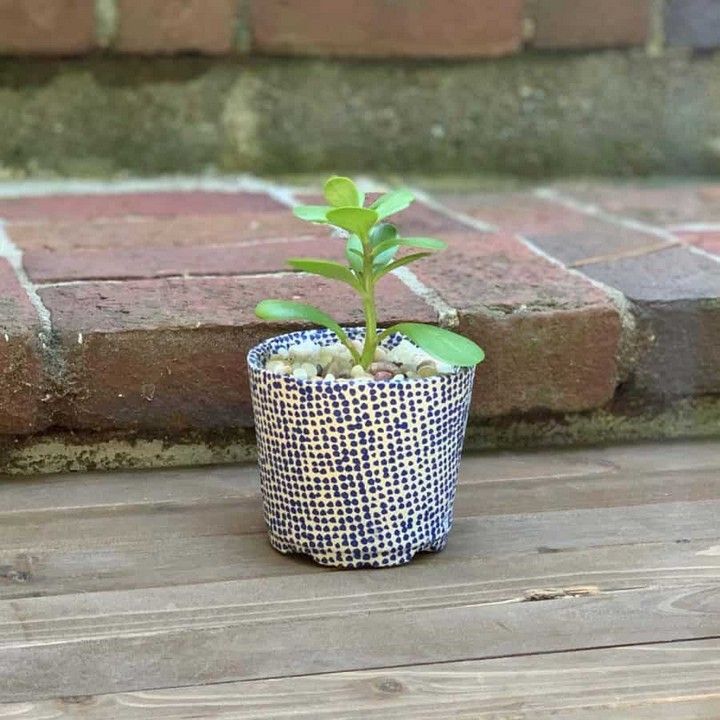
With a few simple steps, you can transform a conventional plastic plant planter. Allow the pot to dry after carefully cleaning it. For improved adherence, apply a base layer of primer. Paint the pot in your preferred colour or design with acrylic paint. For further longevity, apply a layer of varnish. Enjoy your stylishly converted plastic plant planter. Tutorial
17. Upcycled Vintage Hanging Colander Planter
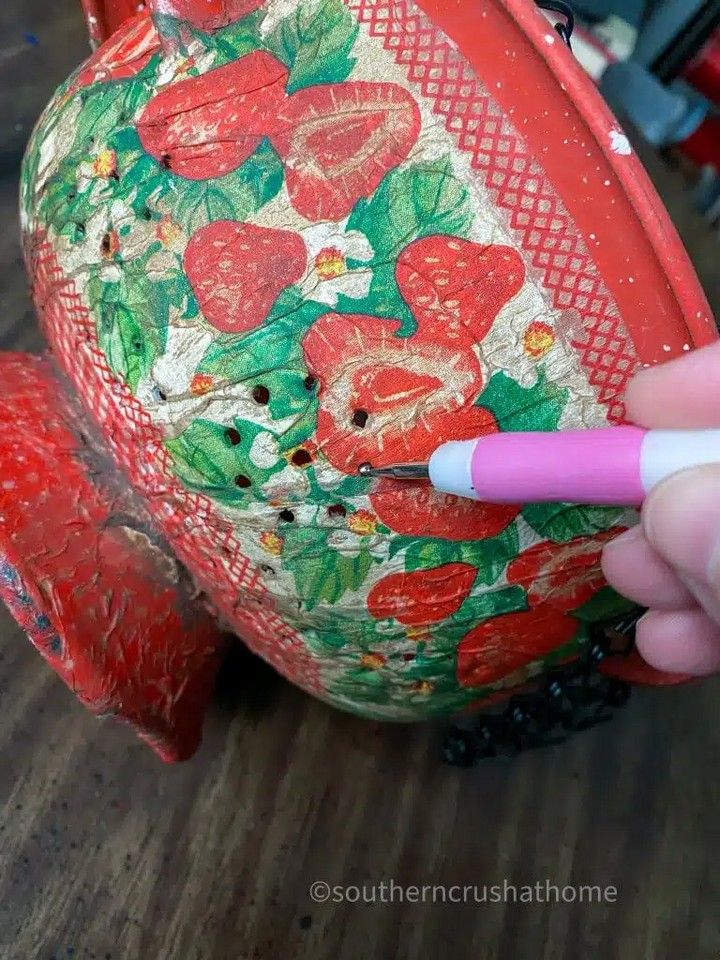
Upcycle an antique colander to become a one-of-a-kind hanging planter. Remove any handles or attachments from the colander and clean it. You may either paint the colander or keep it in its natural antique condition. Hang the colander using robust, long-lasting ropes or chains. Fill it with soil and your favourite plants, then hang it in your yard or on your porch as a wonderful vintage-inspired planter. Tutorial
18. Vintage Toolbox Succulent Display
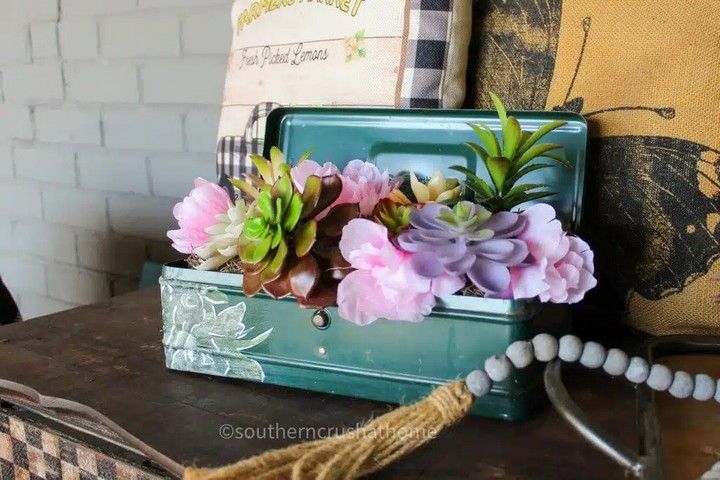
Make a lovely succulent display out of an old toolbox. Remove any loose or rusted items from the toolbox. To avoid water damage, line the bottom with a plastic sheet or tiny containers. Plant a variety of succulents in the toolbox and fill it with succulent soil. Arrange them in a unique way inside the toolbox. Set it on a tabletop or shelf to create a rustic and old feel to your room. Tutorial
19. Easy Napkin Art Canvas DIY
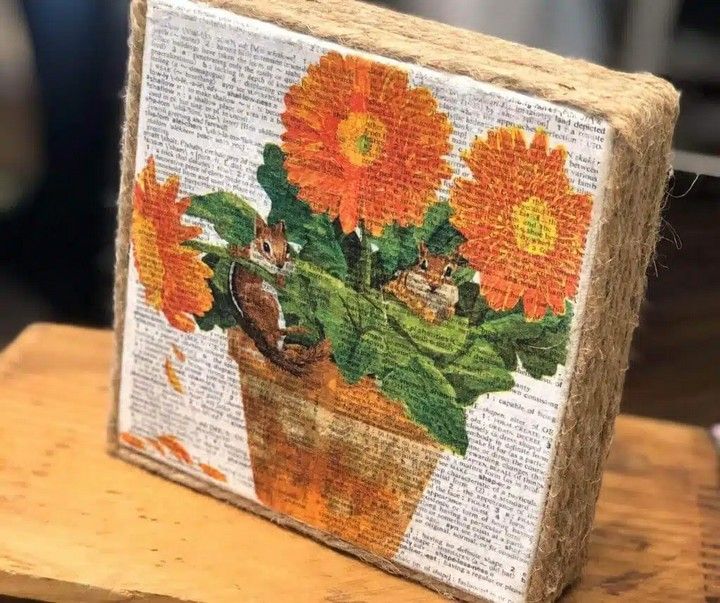
With this simple DIY project, you can make a lovely serviette art canvas. Begin with a blank canvas of the appropriate size. Choose elegant napkins with your favourite patterns or designs. On the canvas, apply a layer of decoupage material. Smooth out any creases on the serviette before adhering it to the canvas. Allow it to totally dry. Show off your one-of-a-kind serviette art canvas, displaying stunning patterns and adding creative flair to your environment. Tutorial
20. Farmhouse Garden Tray Napkin Painting Tutorial
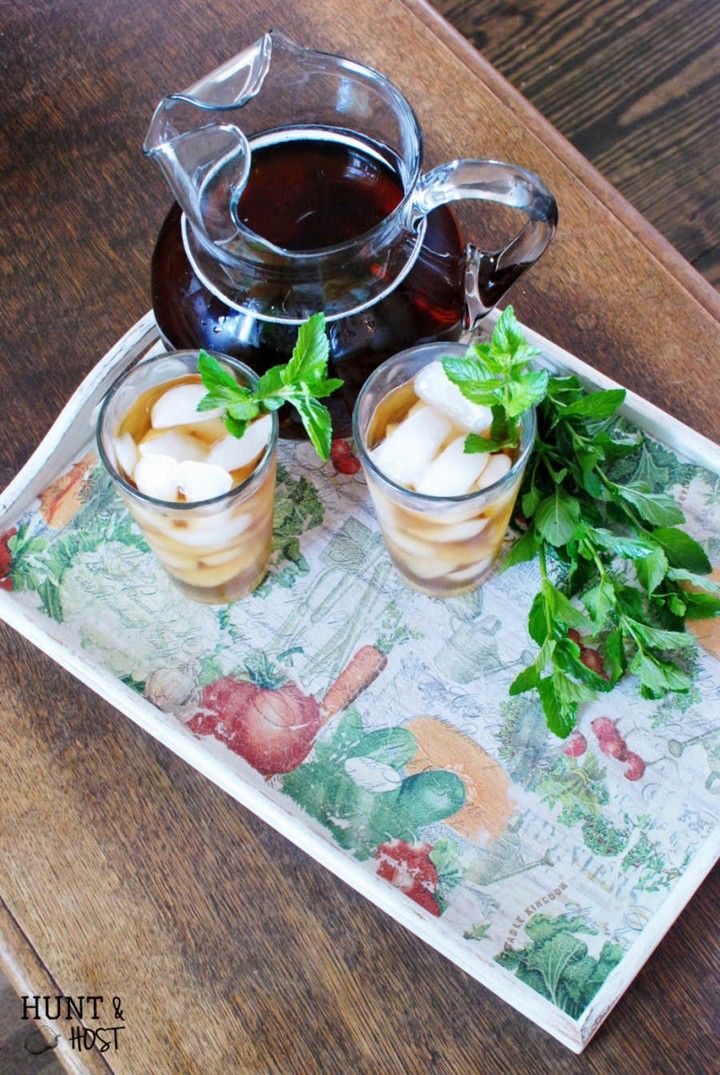
Make a DIY painted tray out of ornamental napkins to add rustic charm to your yard. Begin with a simple wooden tray. Paint the tray in a faded white or worn grey rustic farmhouse design. Sections of napkins with floral or farmhouse motifs should be cut out. Apply decoupage material to the tray surface and carefully glue the serviette pieces to make a lovely painted serviette pattern. Display garden tools or potted plants on the tray to complete the farmhouse garden look. Tutorial


